
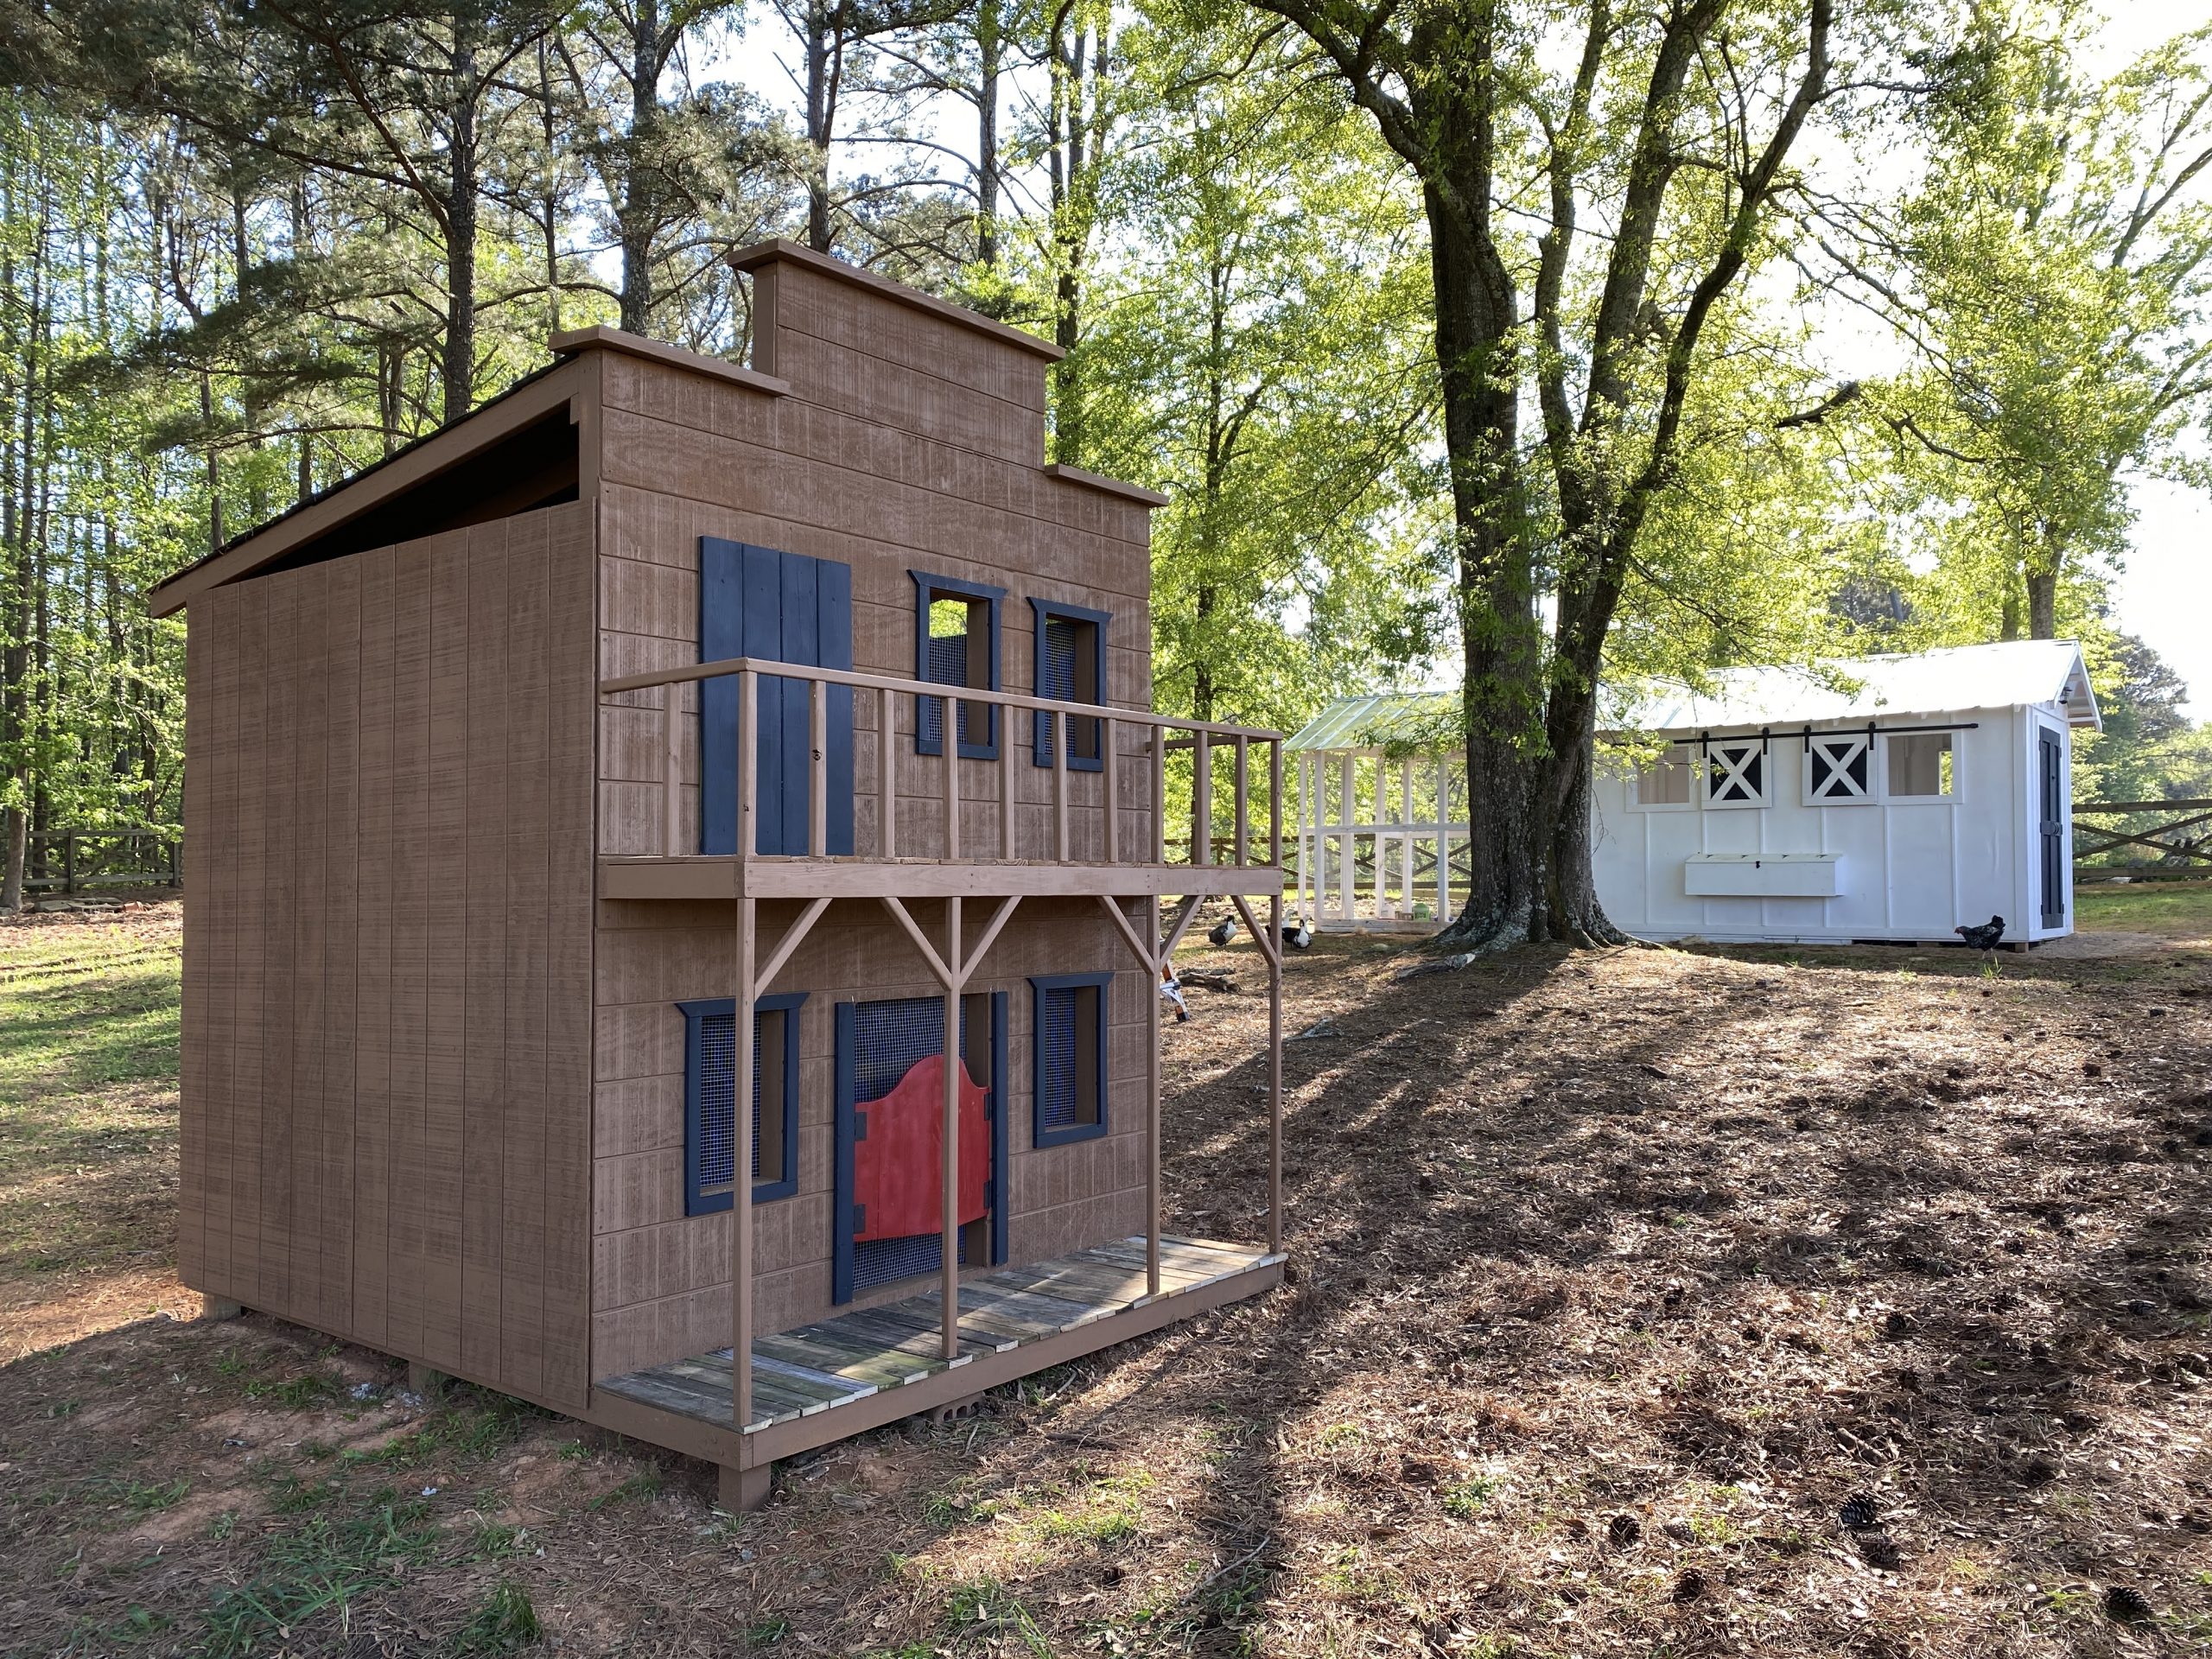
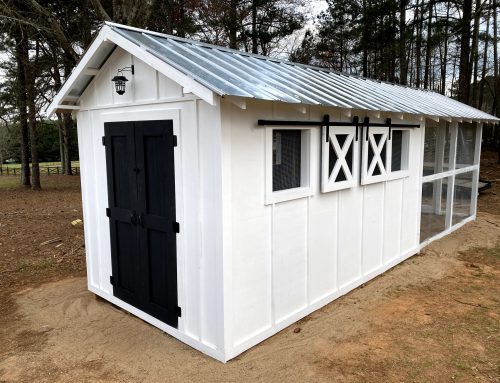
Building a permanent structure on your property is a long term commitment. If I’m going to build something, I want it to be aesthetic, fit in with its surrounding, and generally be a pleasure to look at. I searched the internet high and low for a simple structure that could be built in just a few short weeks. But most of what I found, I didn’t want in my yard.
I ran across a coop that looked like a wild west looking building and I knew this is what I wanted in my yard. But there were no plans and as an engineer myself, I know better than to start a project without plans, so I put my experience from my previous chicken coop build to use. I watch some YouTube videos on how to make sheds and I developed my own plans.
I love a good Do It Yourself (DIY) project and this one took me three weekends to complete. The simplicity of the design is what made it so easy.
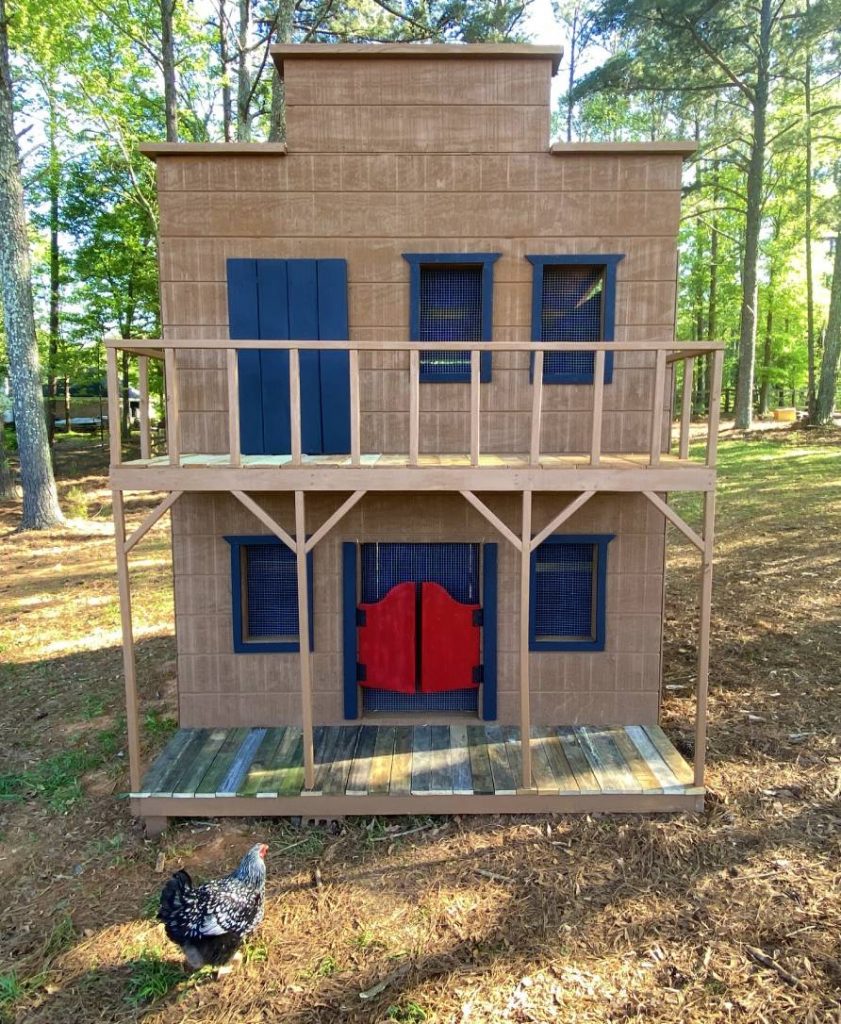
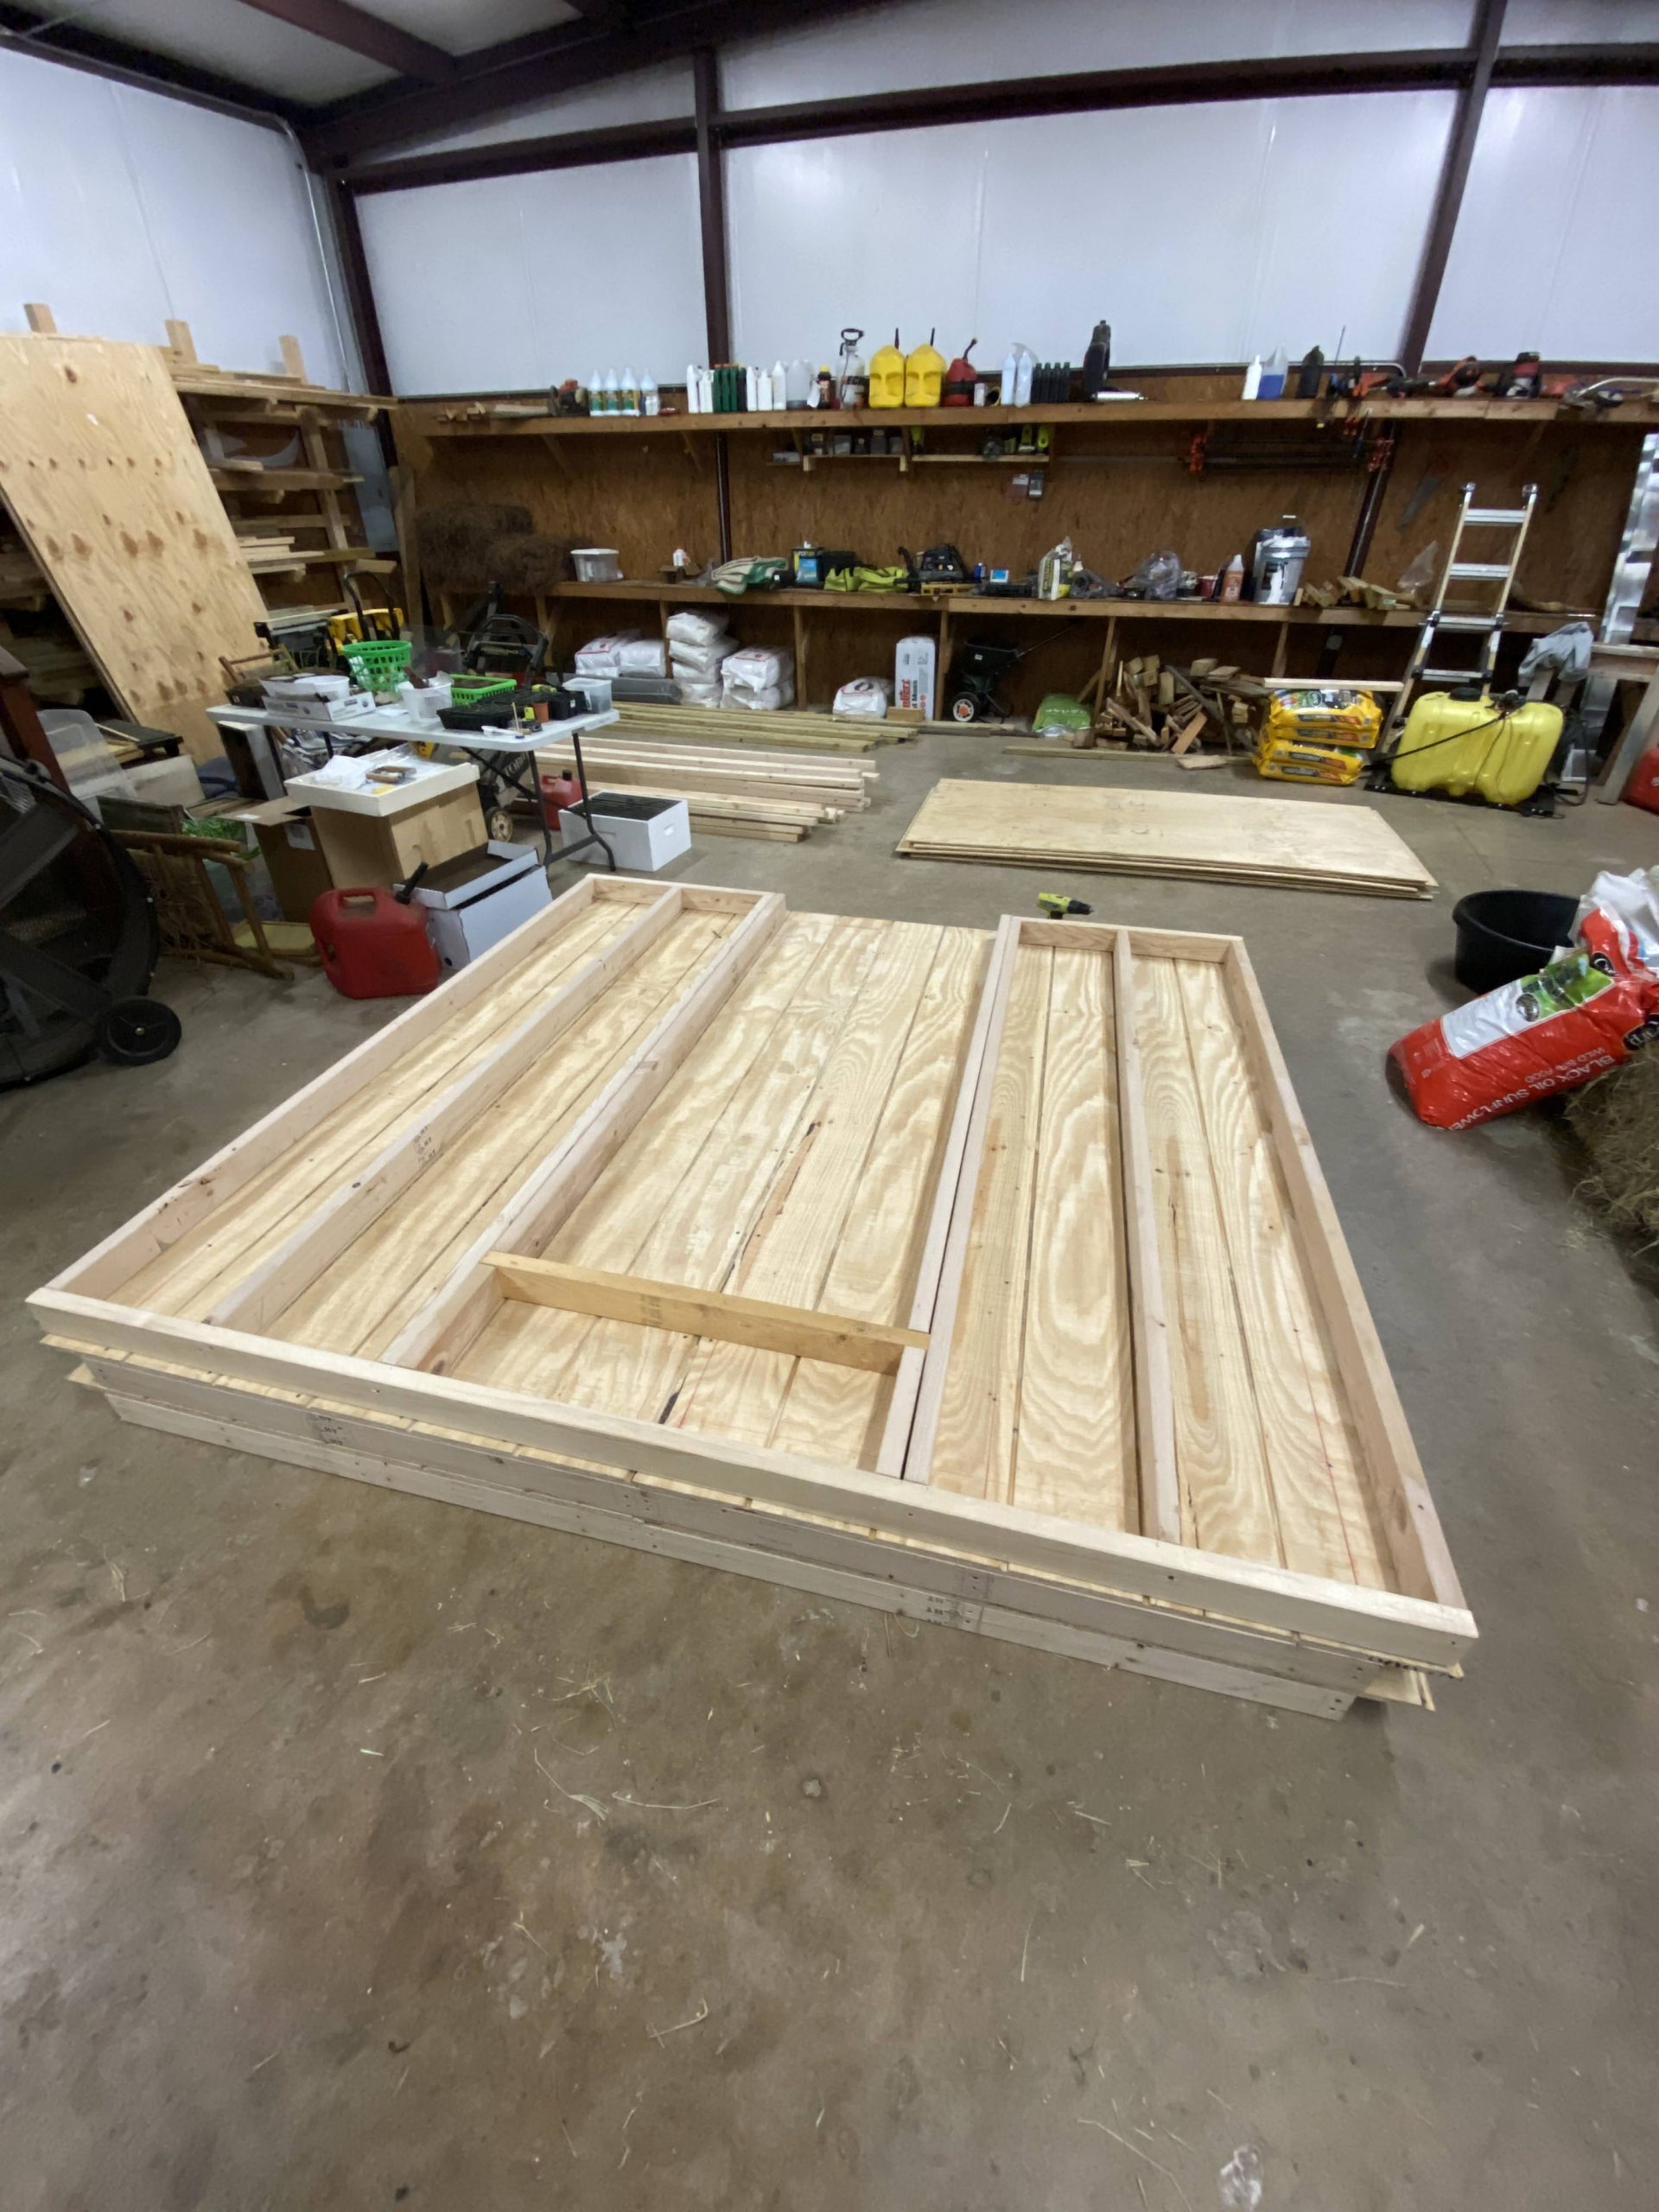
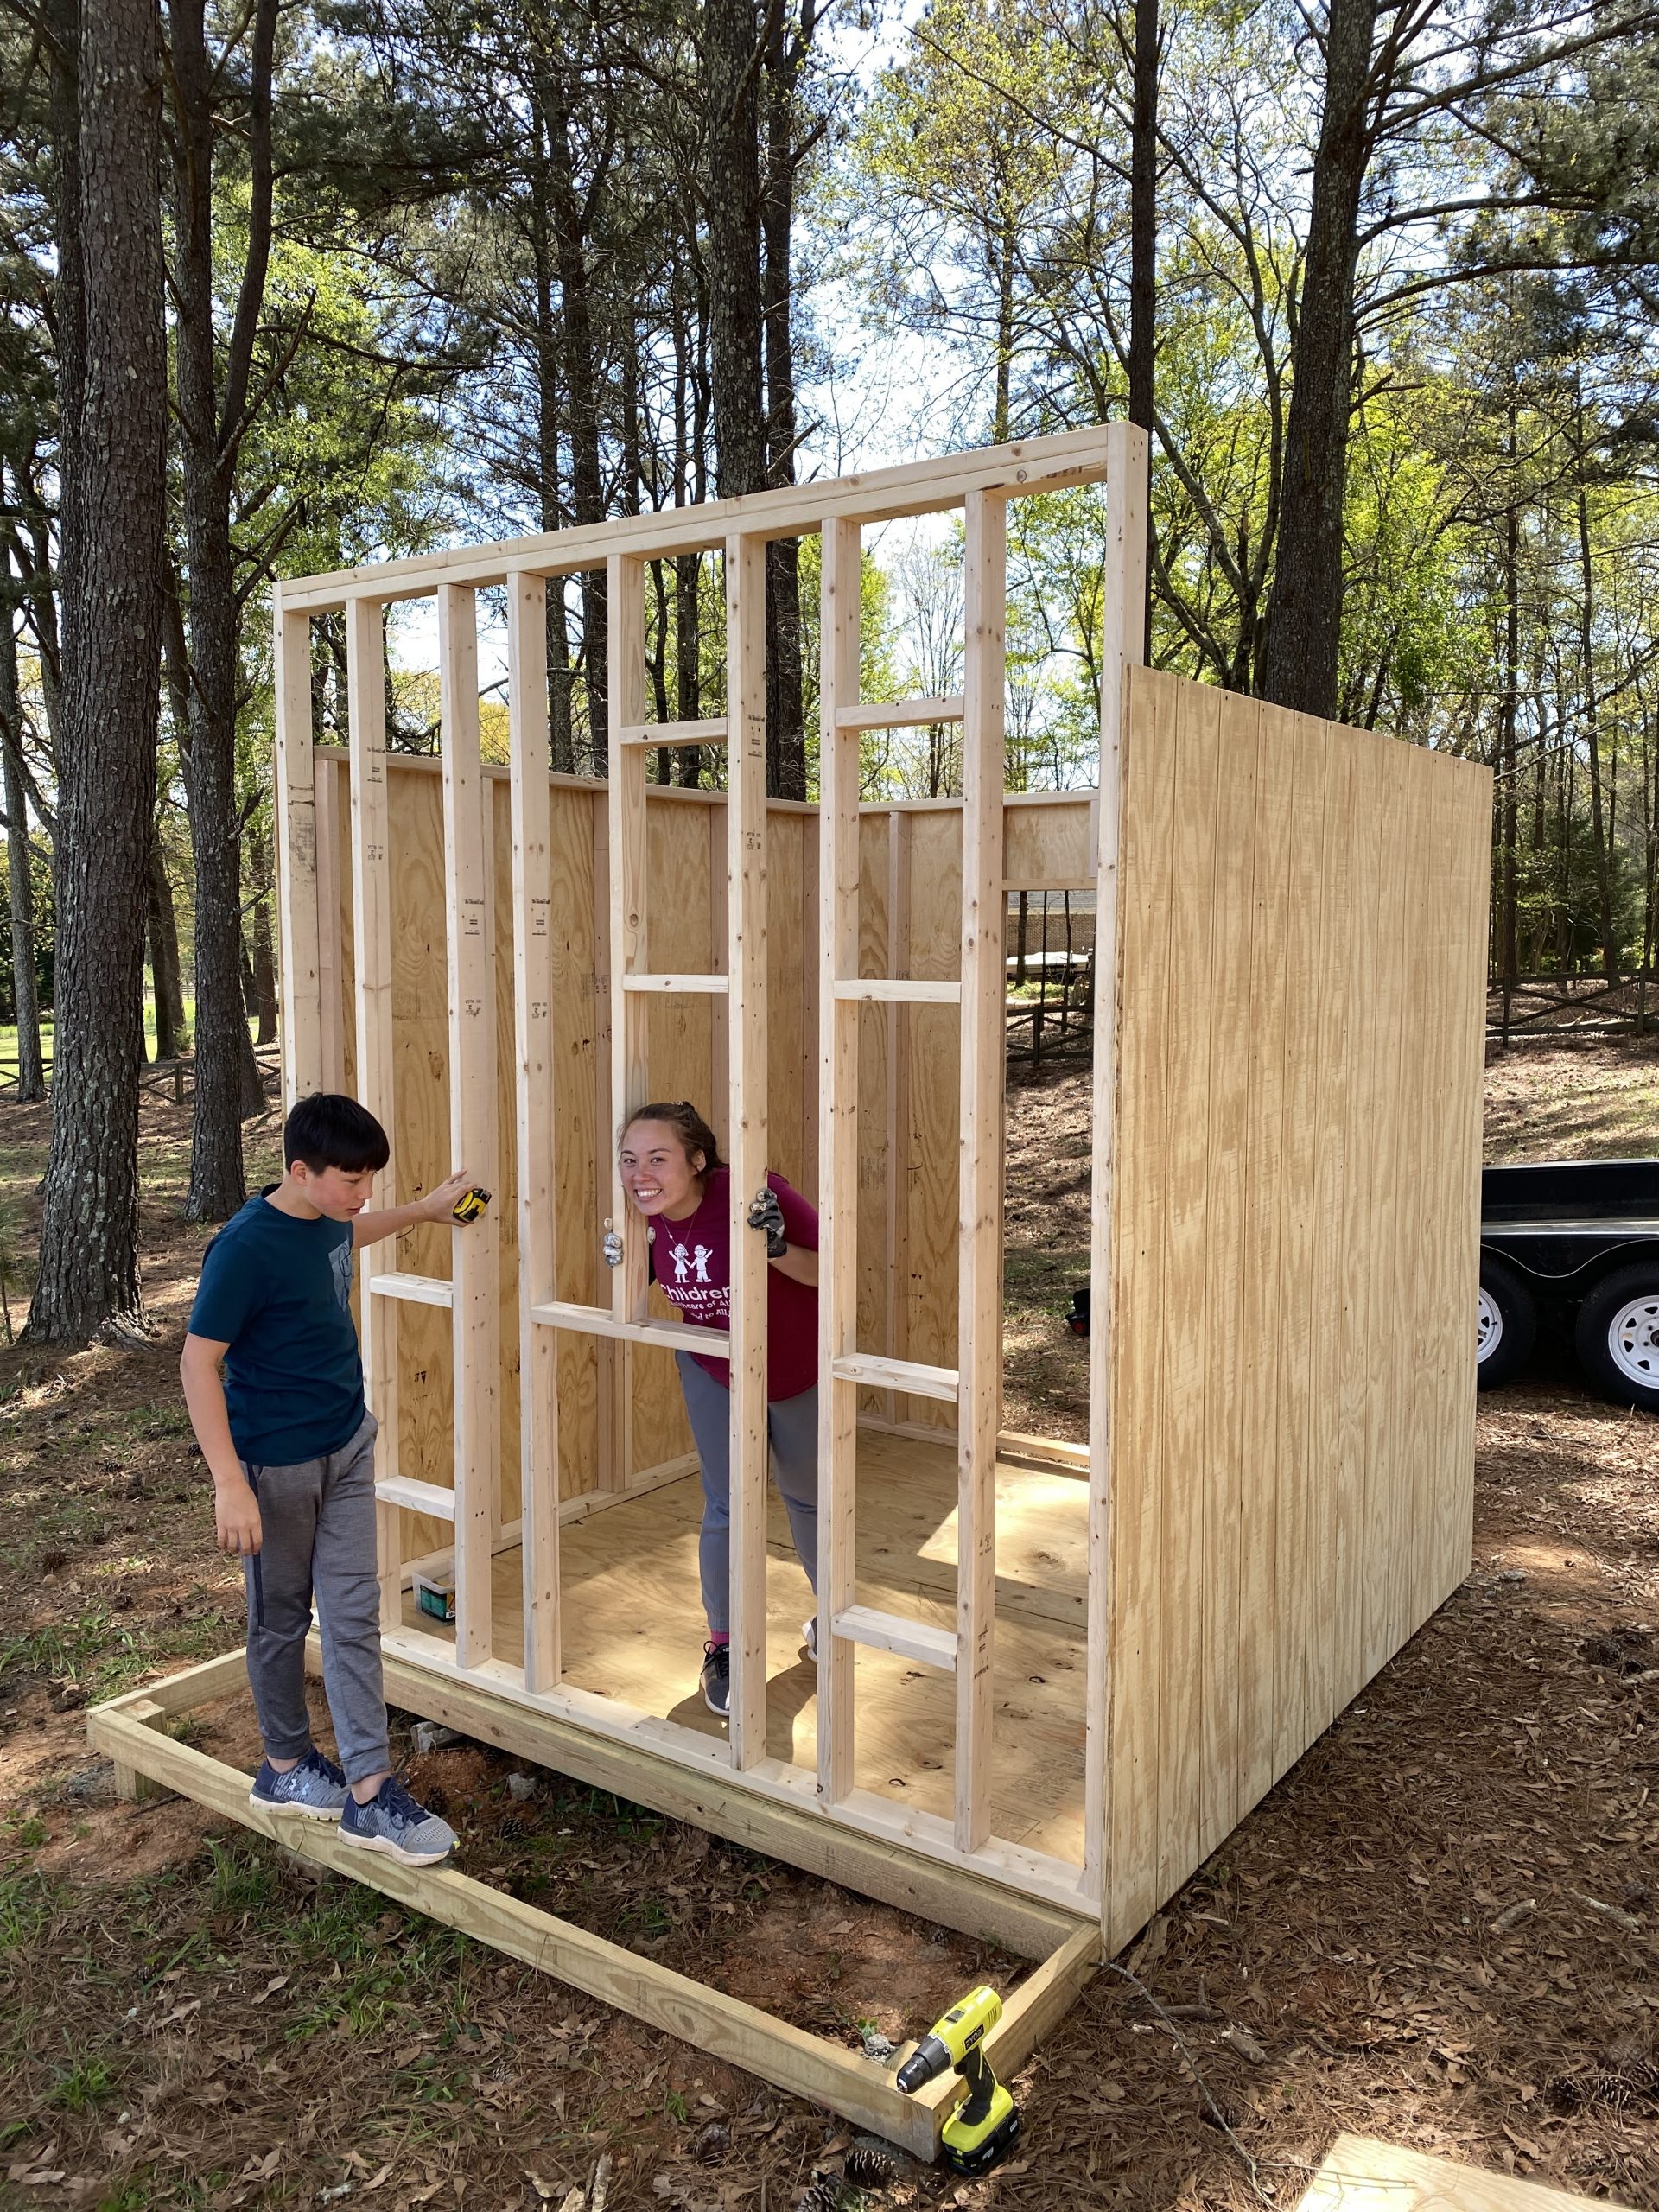
The size of the structure is 10-ft by 8-ft. The four walls are each 8-ft by 8-ft which makes building the frames and attaching the siding something that can be done offsite. Being able to build the walls on a flat concrete surface was a blessing after my previous “in-field” build. I built the frame of each side and then placed the siding on top and after getting everything square, it was a breeze to fasten the siding onto the frames. Since each wall is the same size as the siding the only cutting that had to be done was for the back door. I left the siding off of the front as there was a lot more cutting of the fake doors and windows to be done.
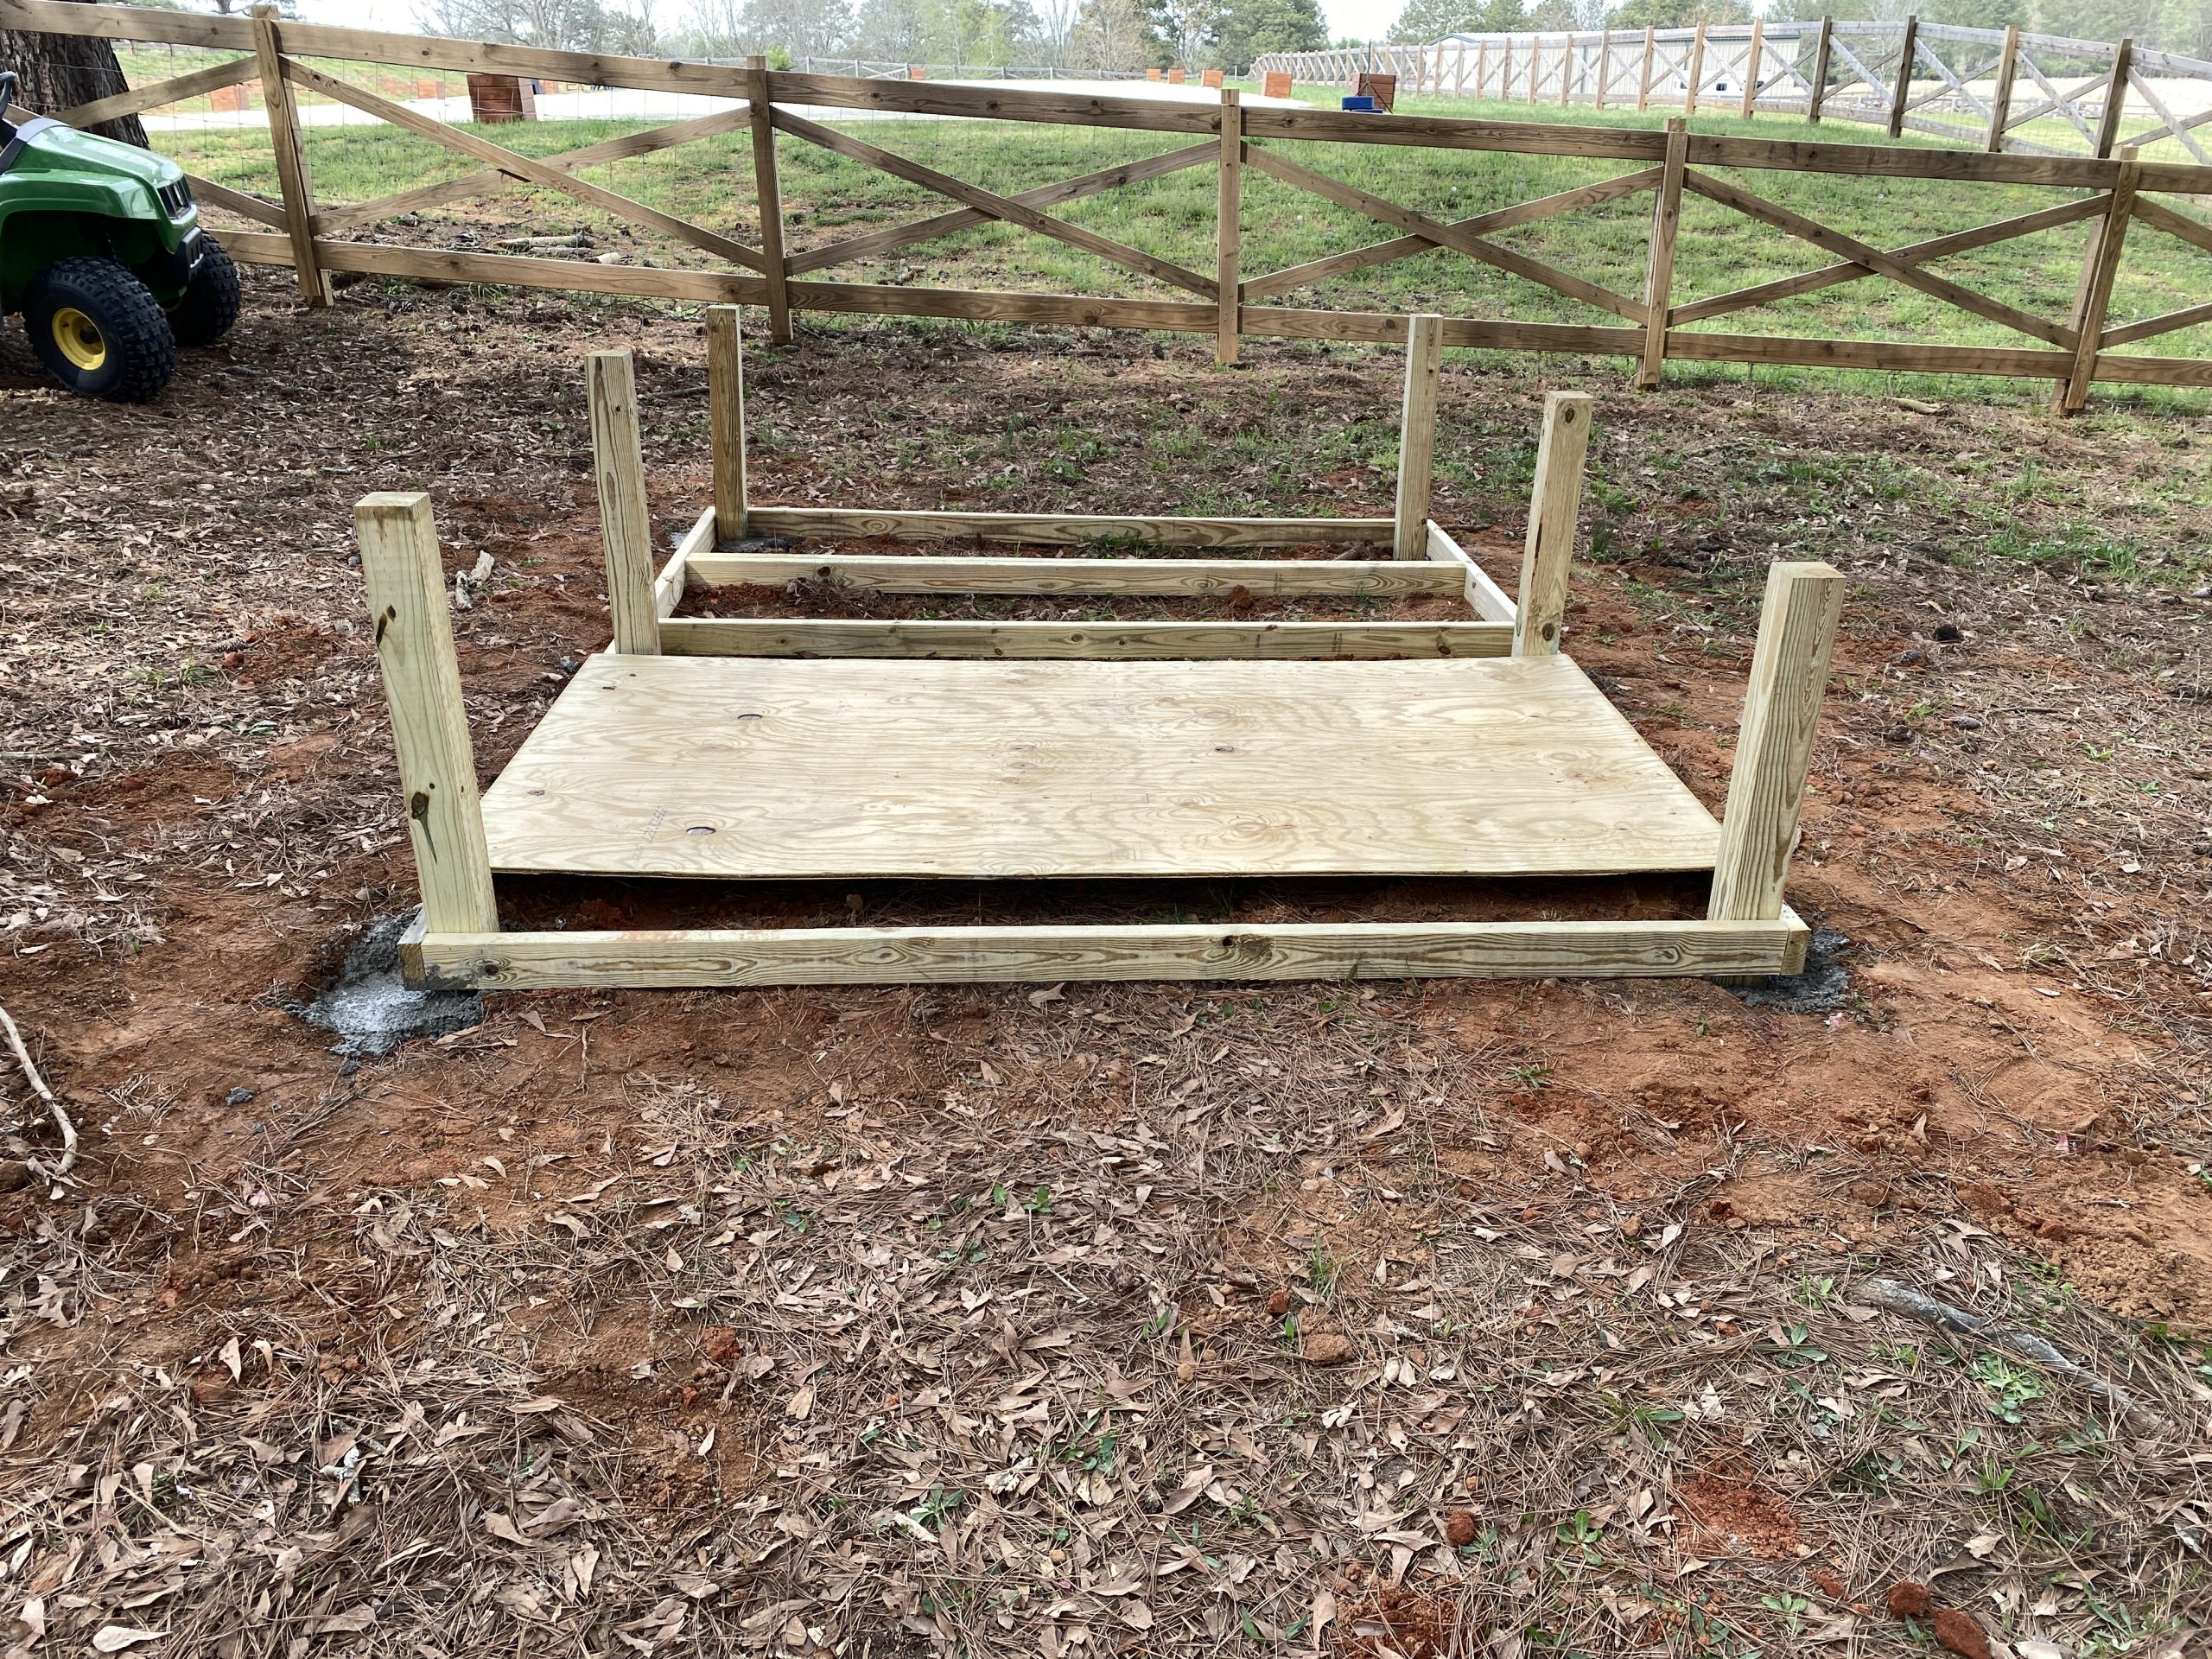
Meanwhile, we had taken the base out to the site and used it as a template to mark where the 4×4 pressure treated posts were to be concreted into the ground. We removed the base, dug the holes, and then replaced the base and put the 4×4 into the ground. We concreted them in place knowing that they would be touching the sides of the base. After the concrete hardened, we leveled the base and marked the tops of the 4×4 posts, removed the base and used a circular saw to cut the posts. We put the base back in place and used lag bolts to attach the base to the posts. The sheeting for the flooring was square
With the help of my adult daughter and 12 year old son, we placed the the four walls onto my truck and drove them from our barn to the project site. Since the siding overlaps the bottom of the frames it was easy to hold erect the fours sides and know they were all in the correct place. With my two helpers holding everything together, I went along the inside of the structure and screwed everything together.

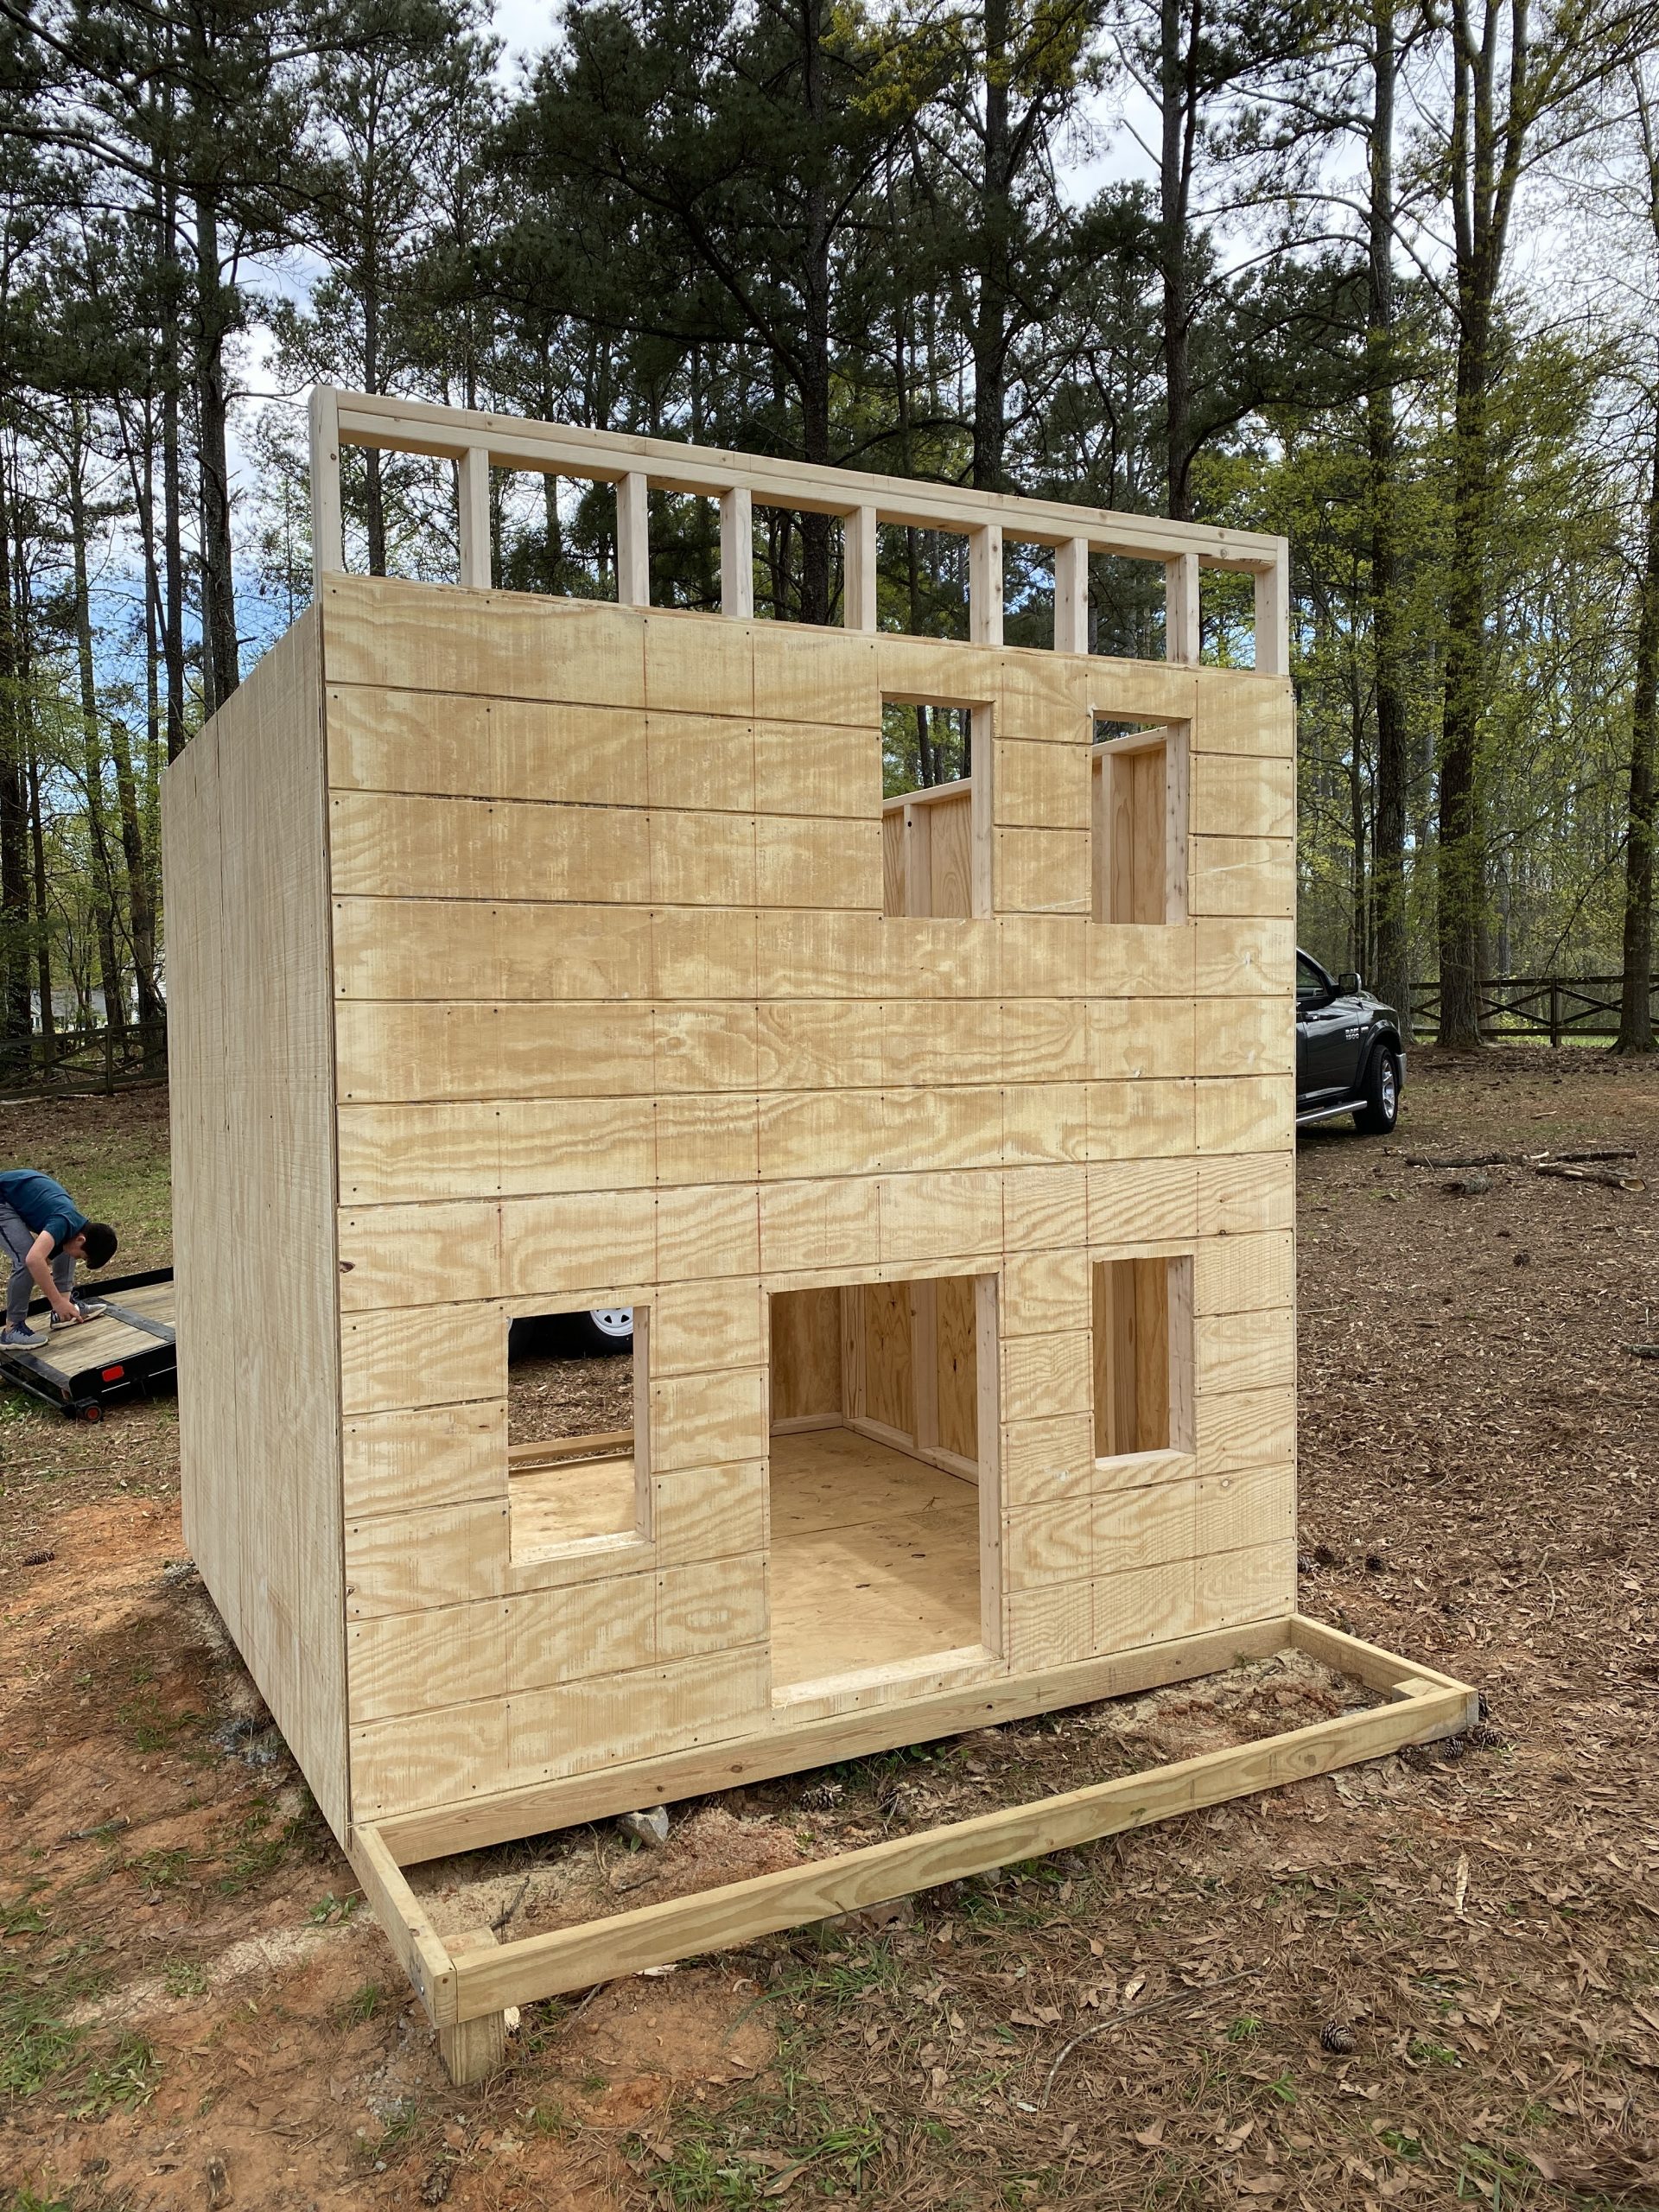
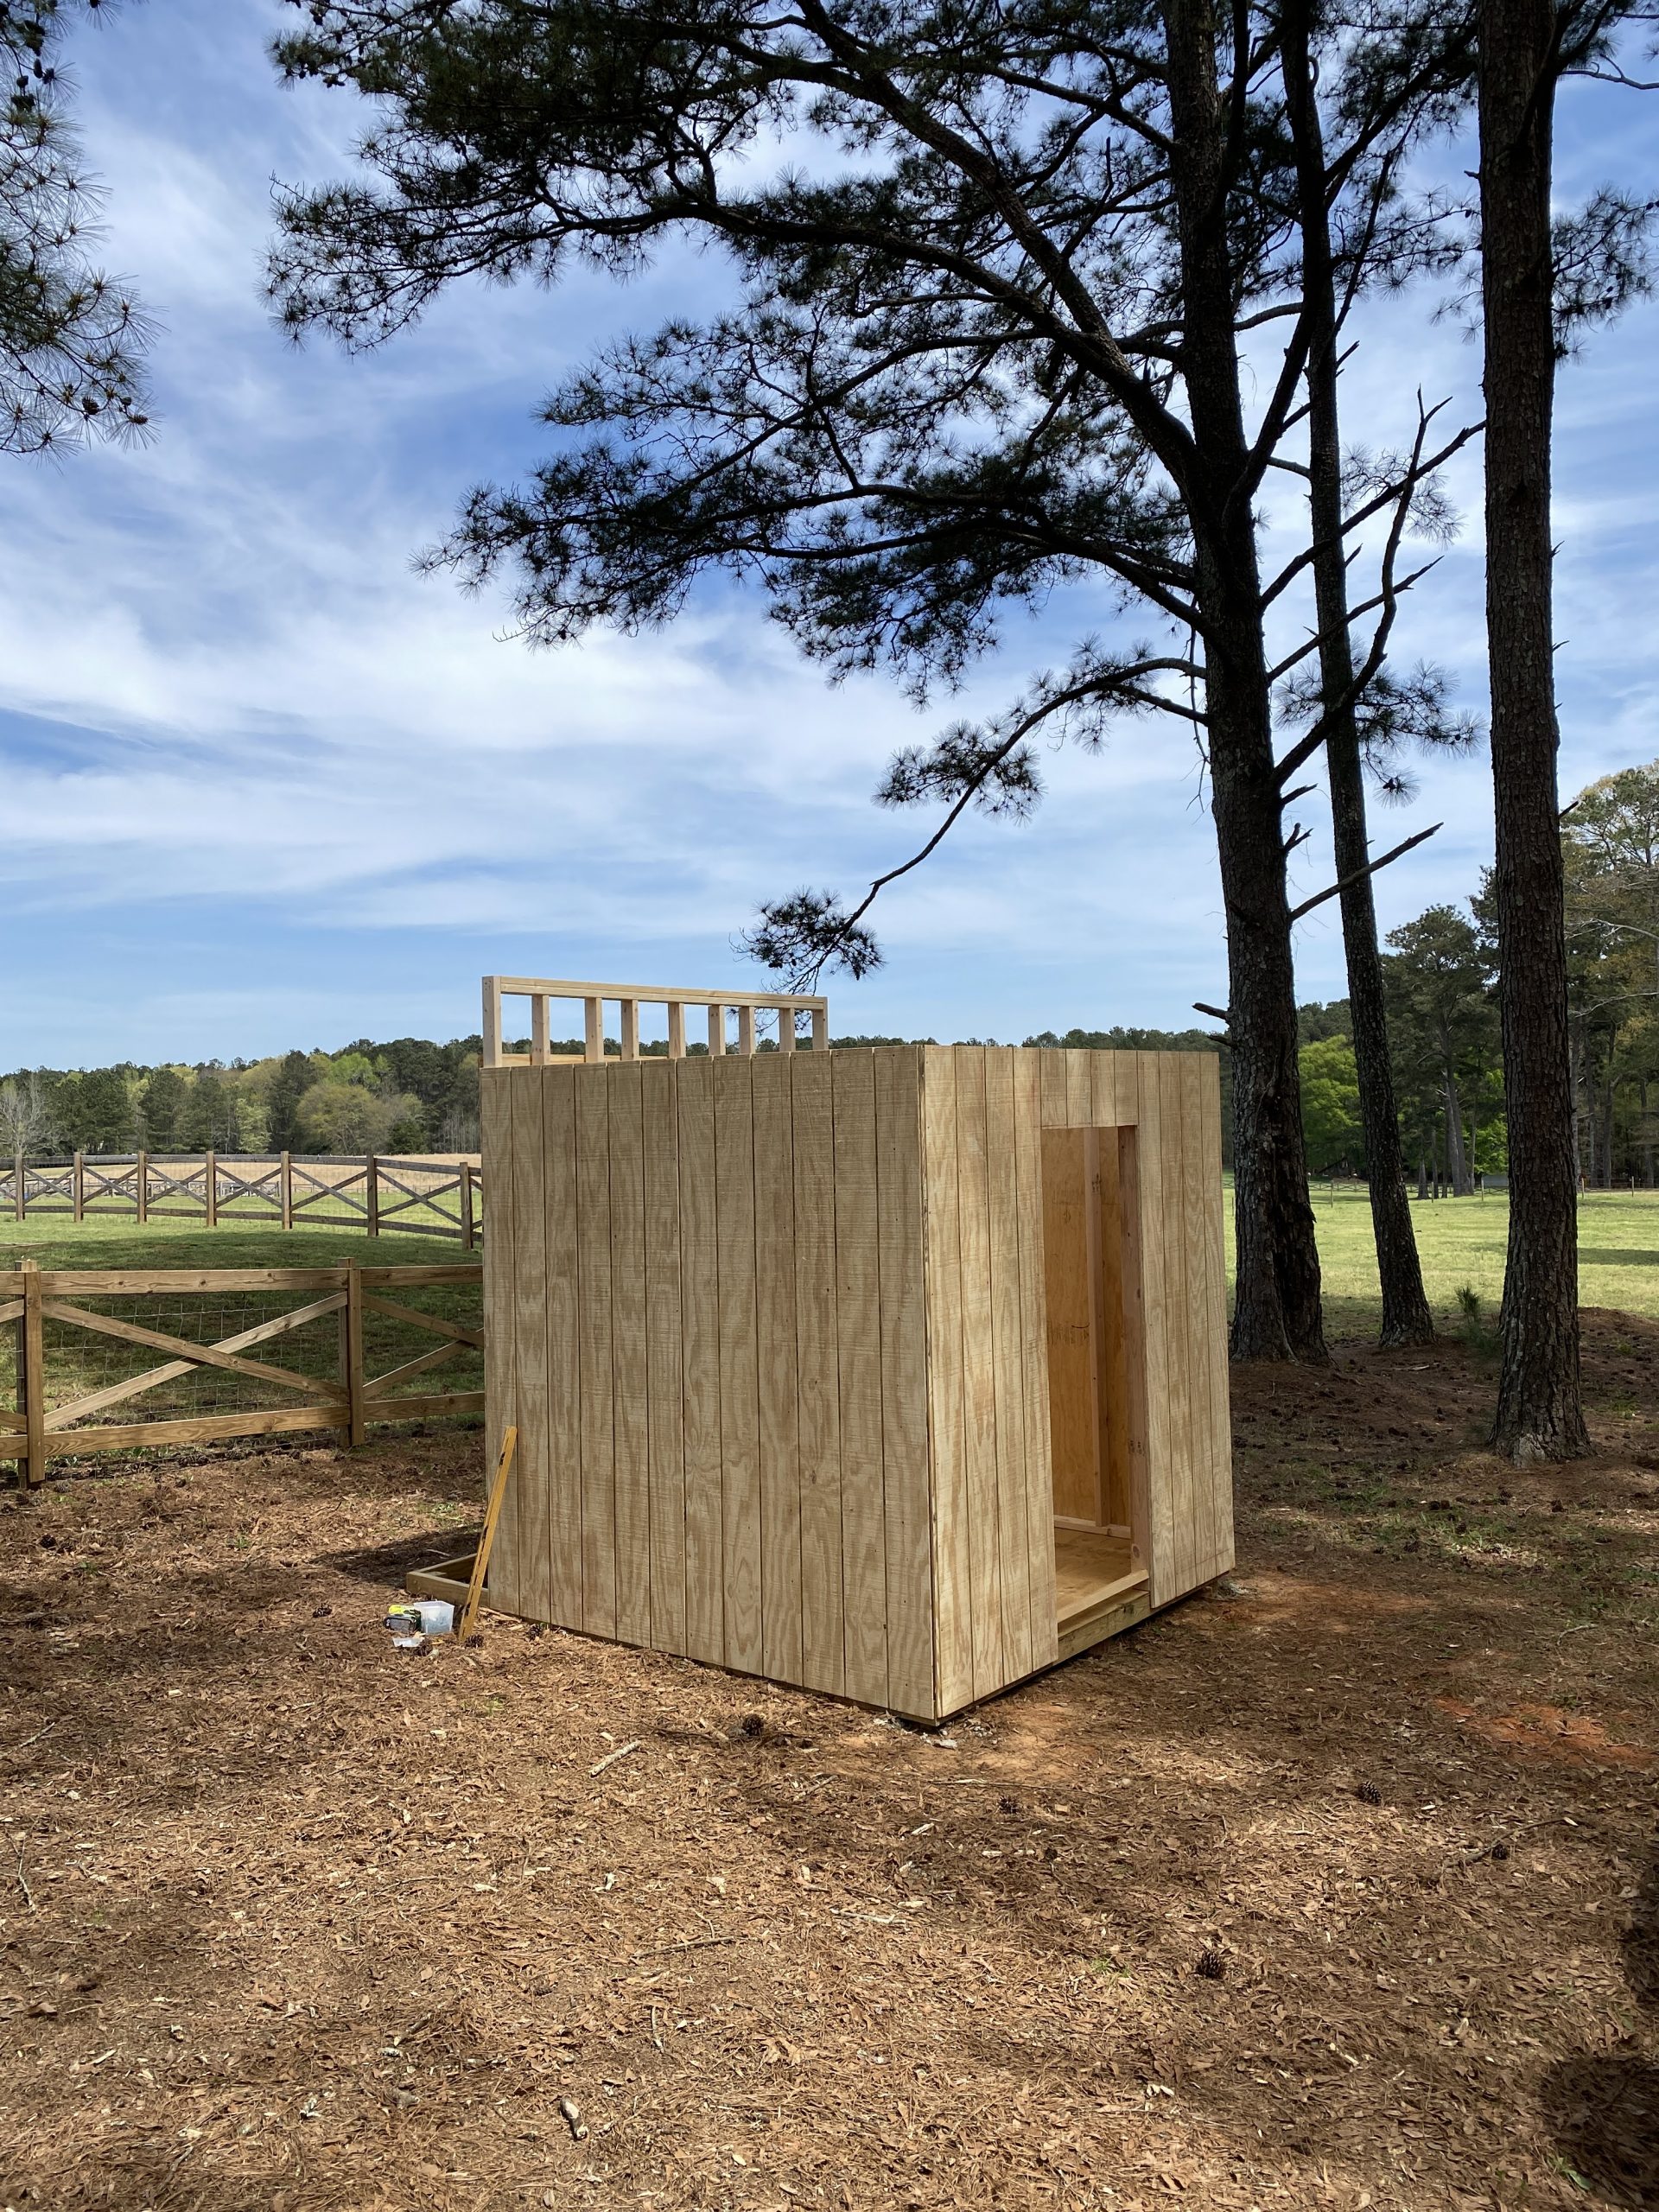
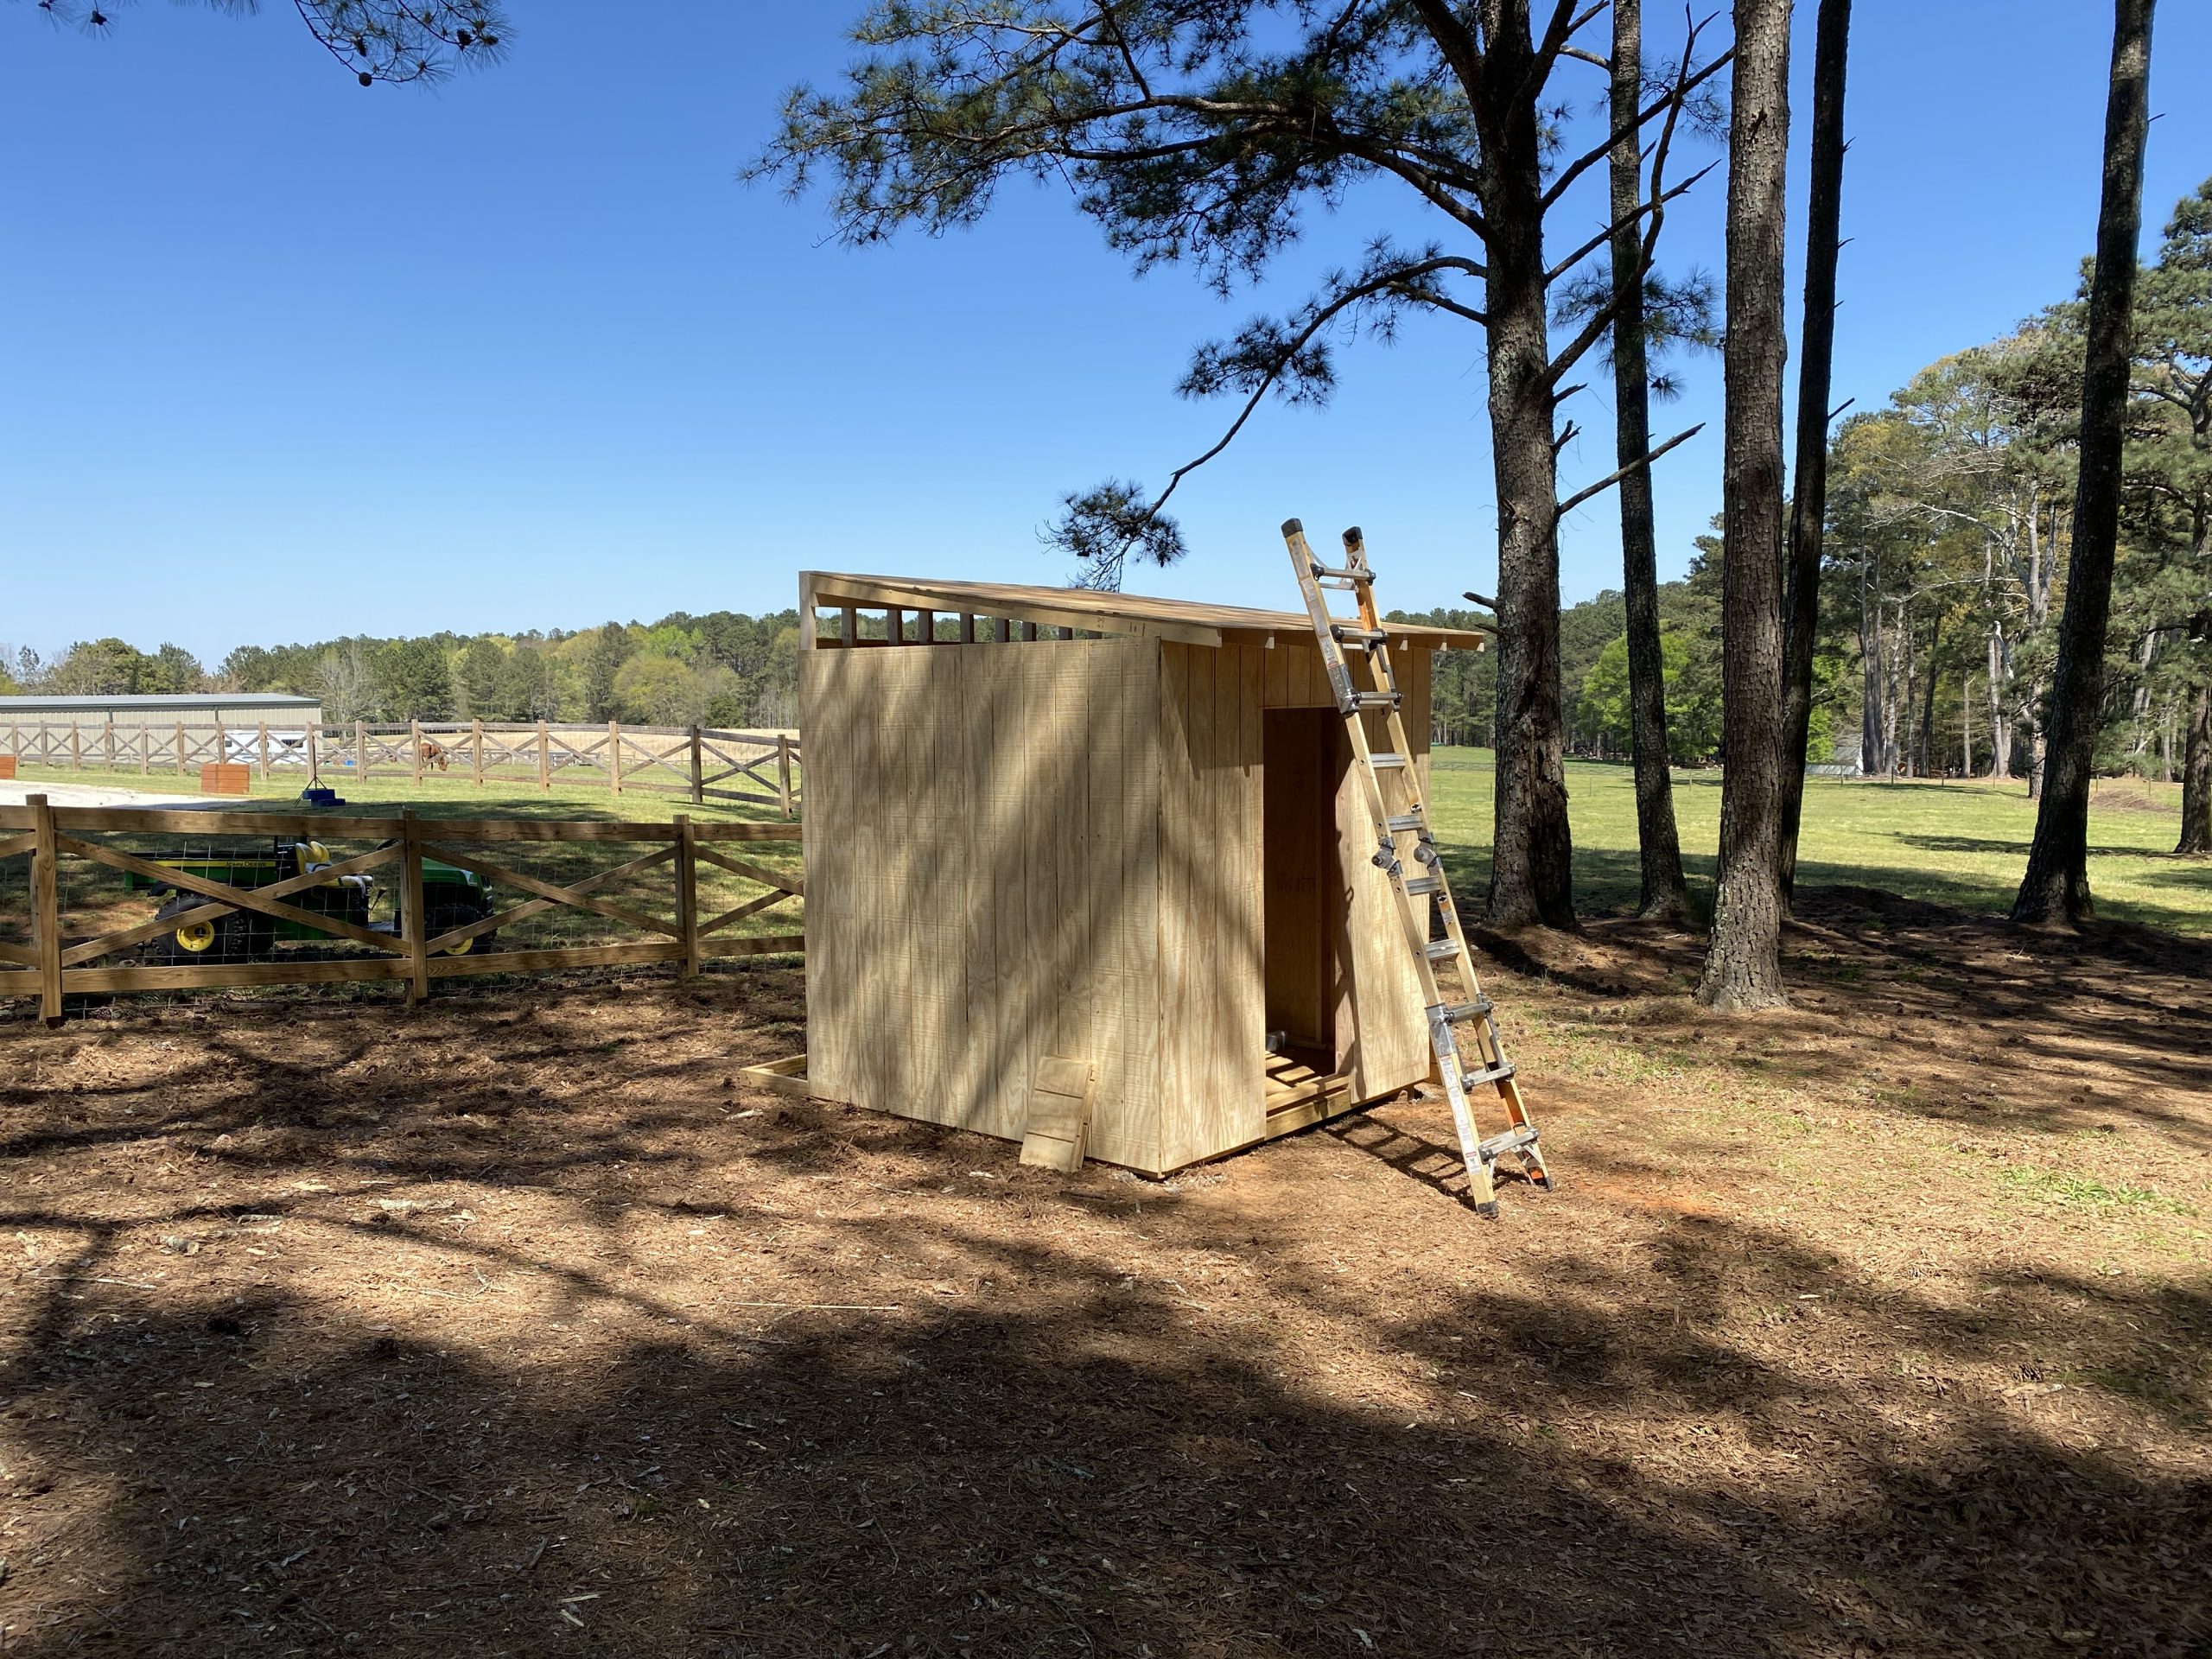
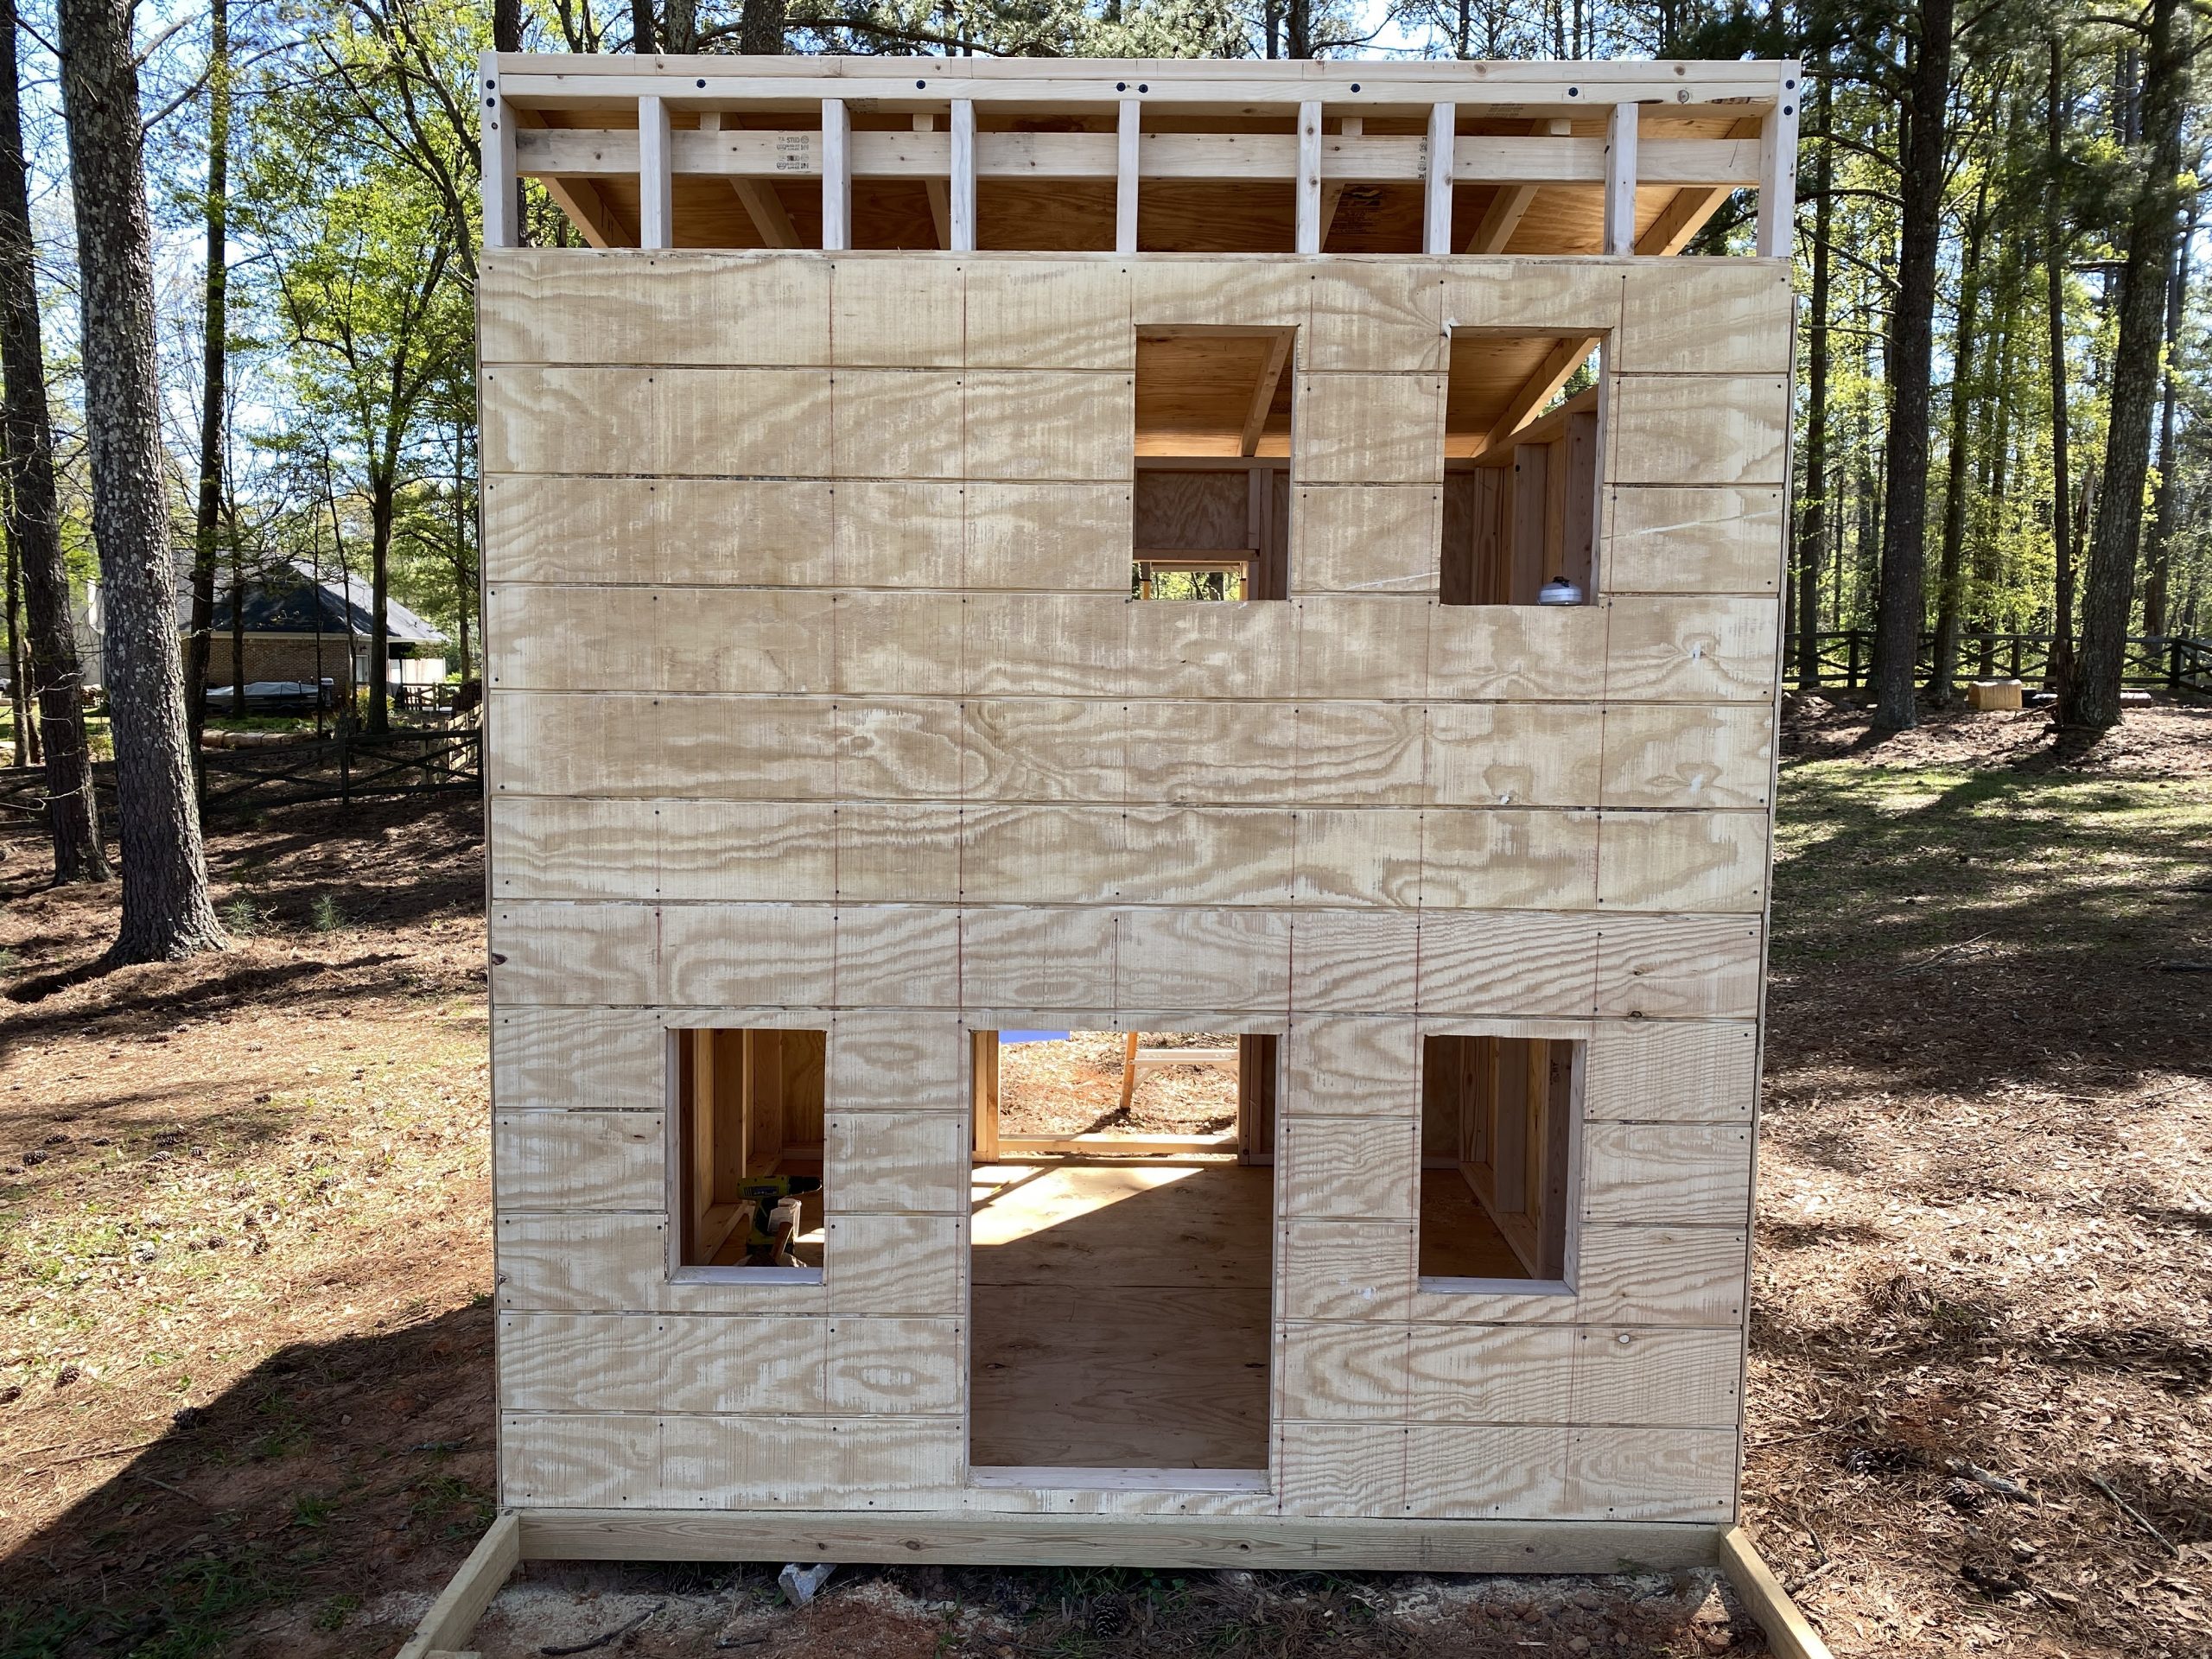
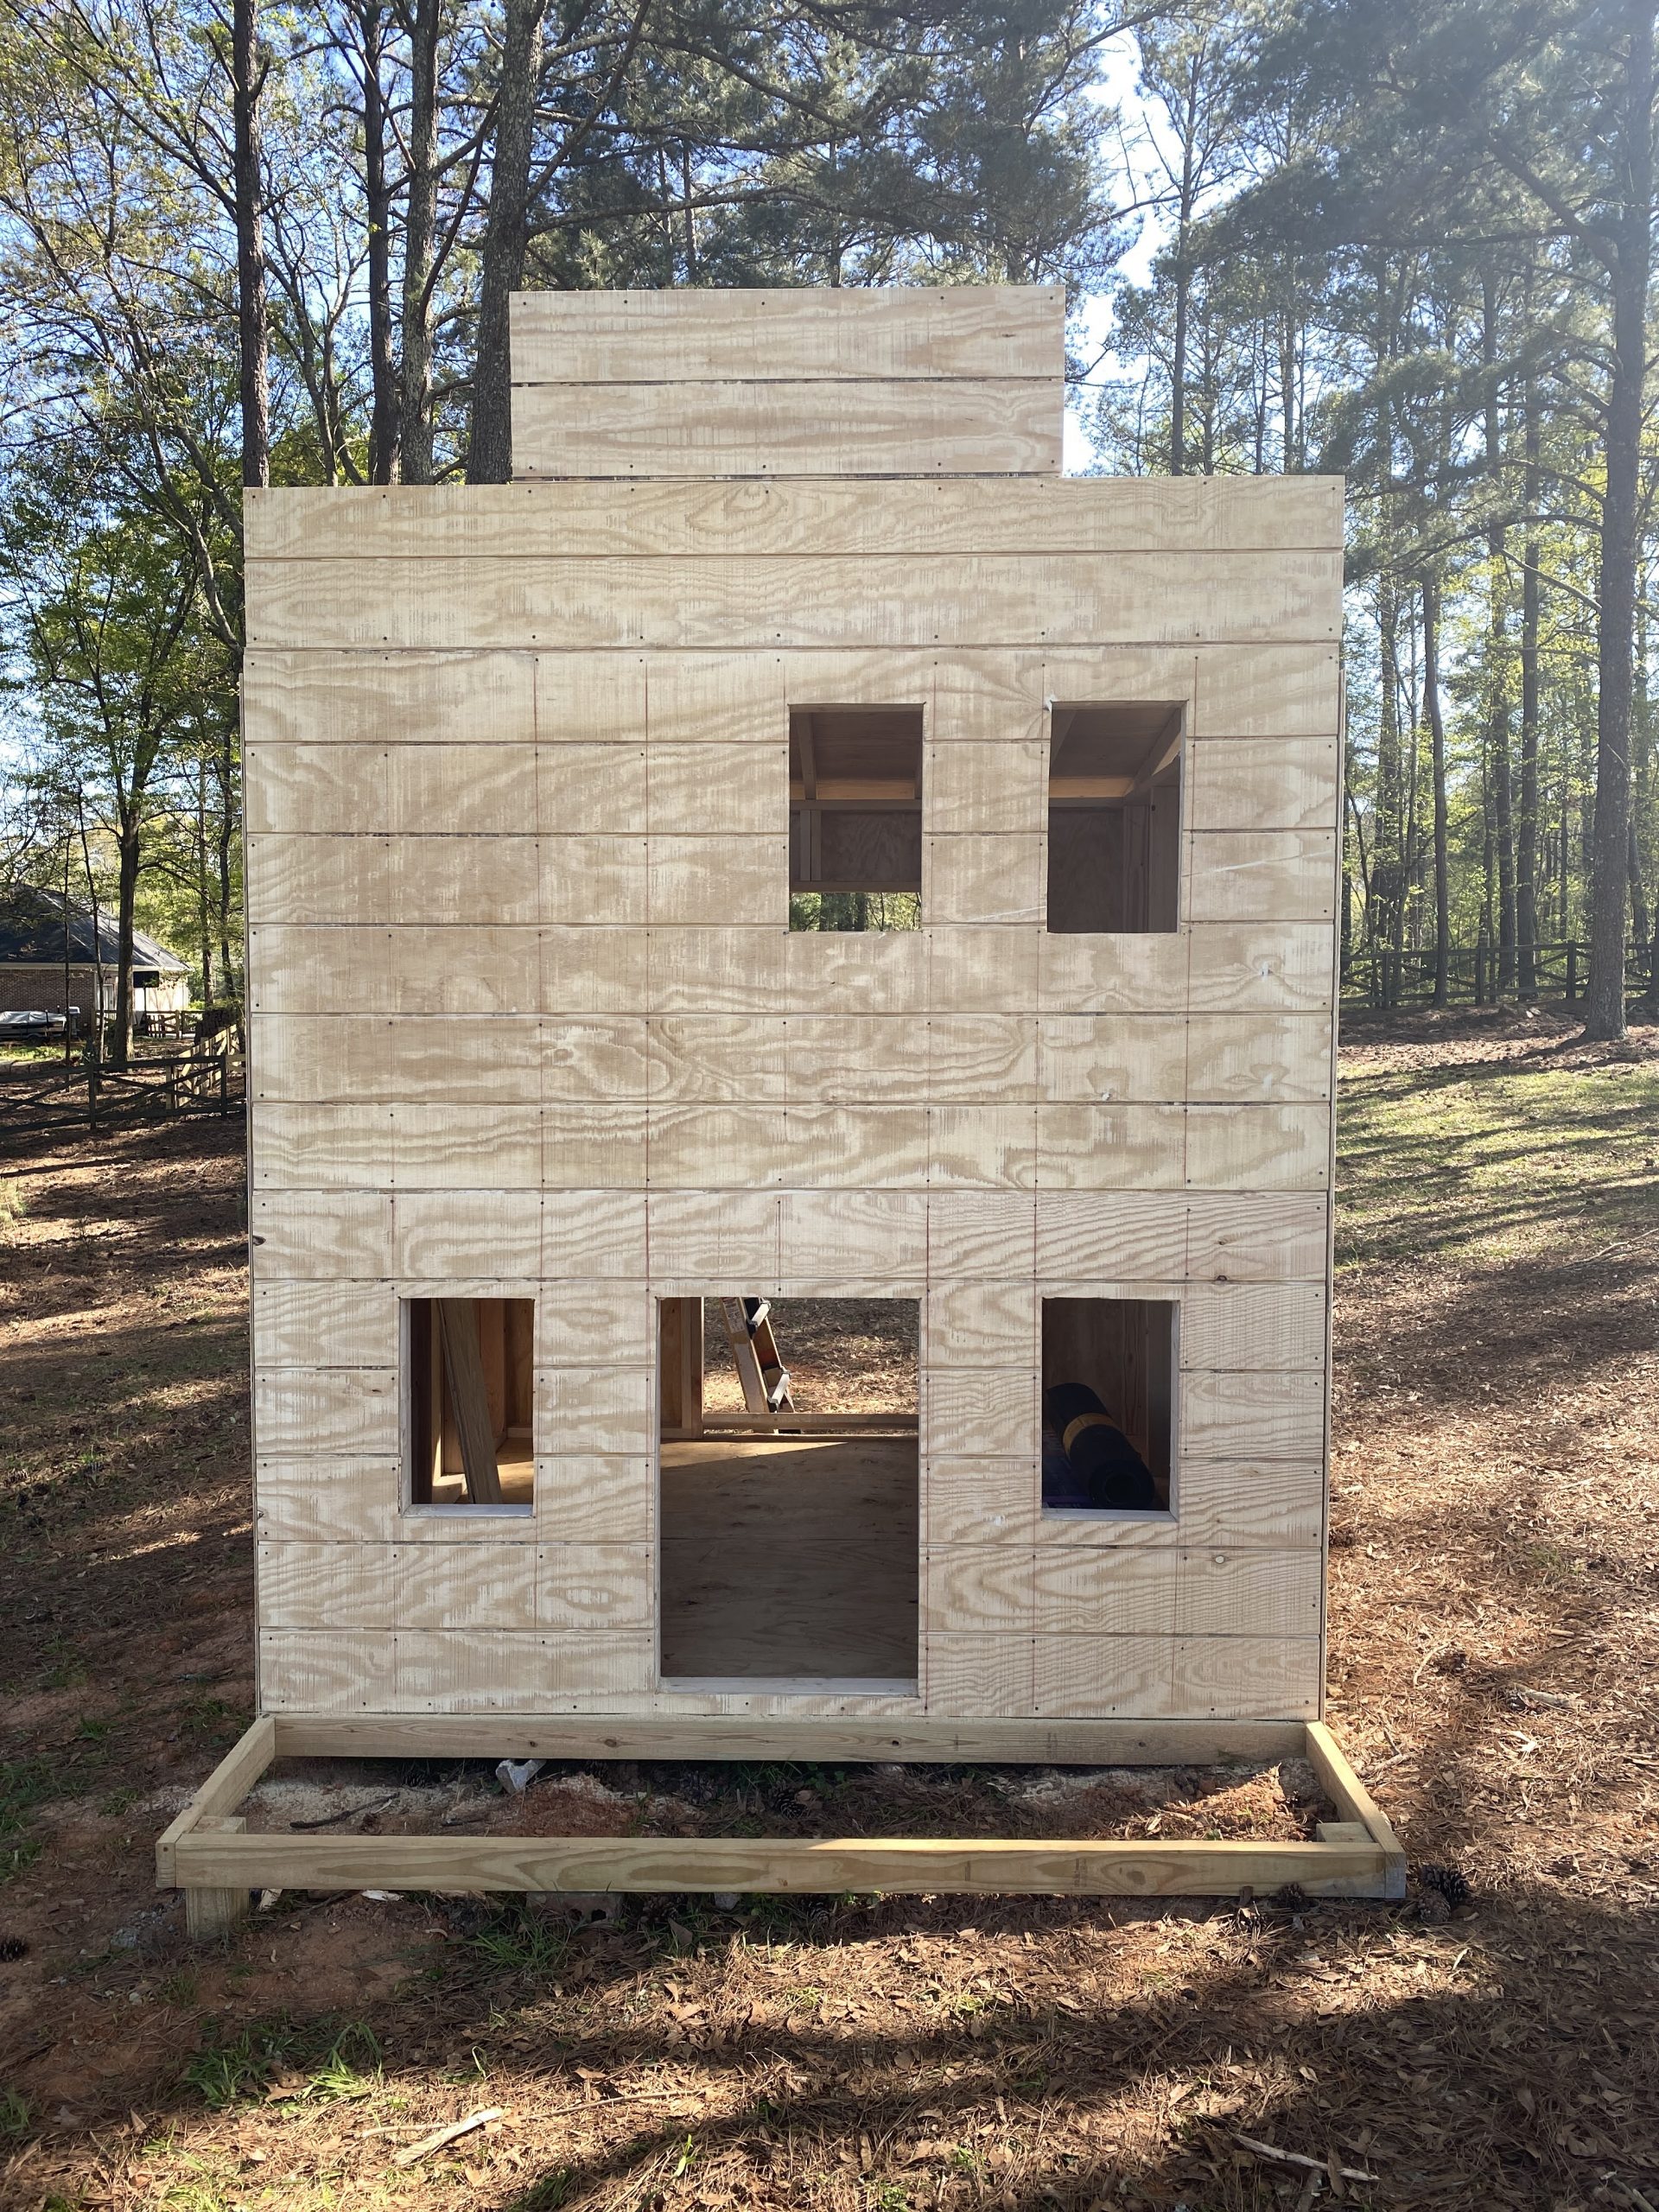
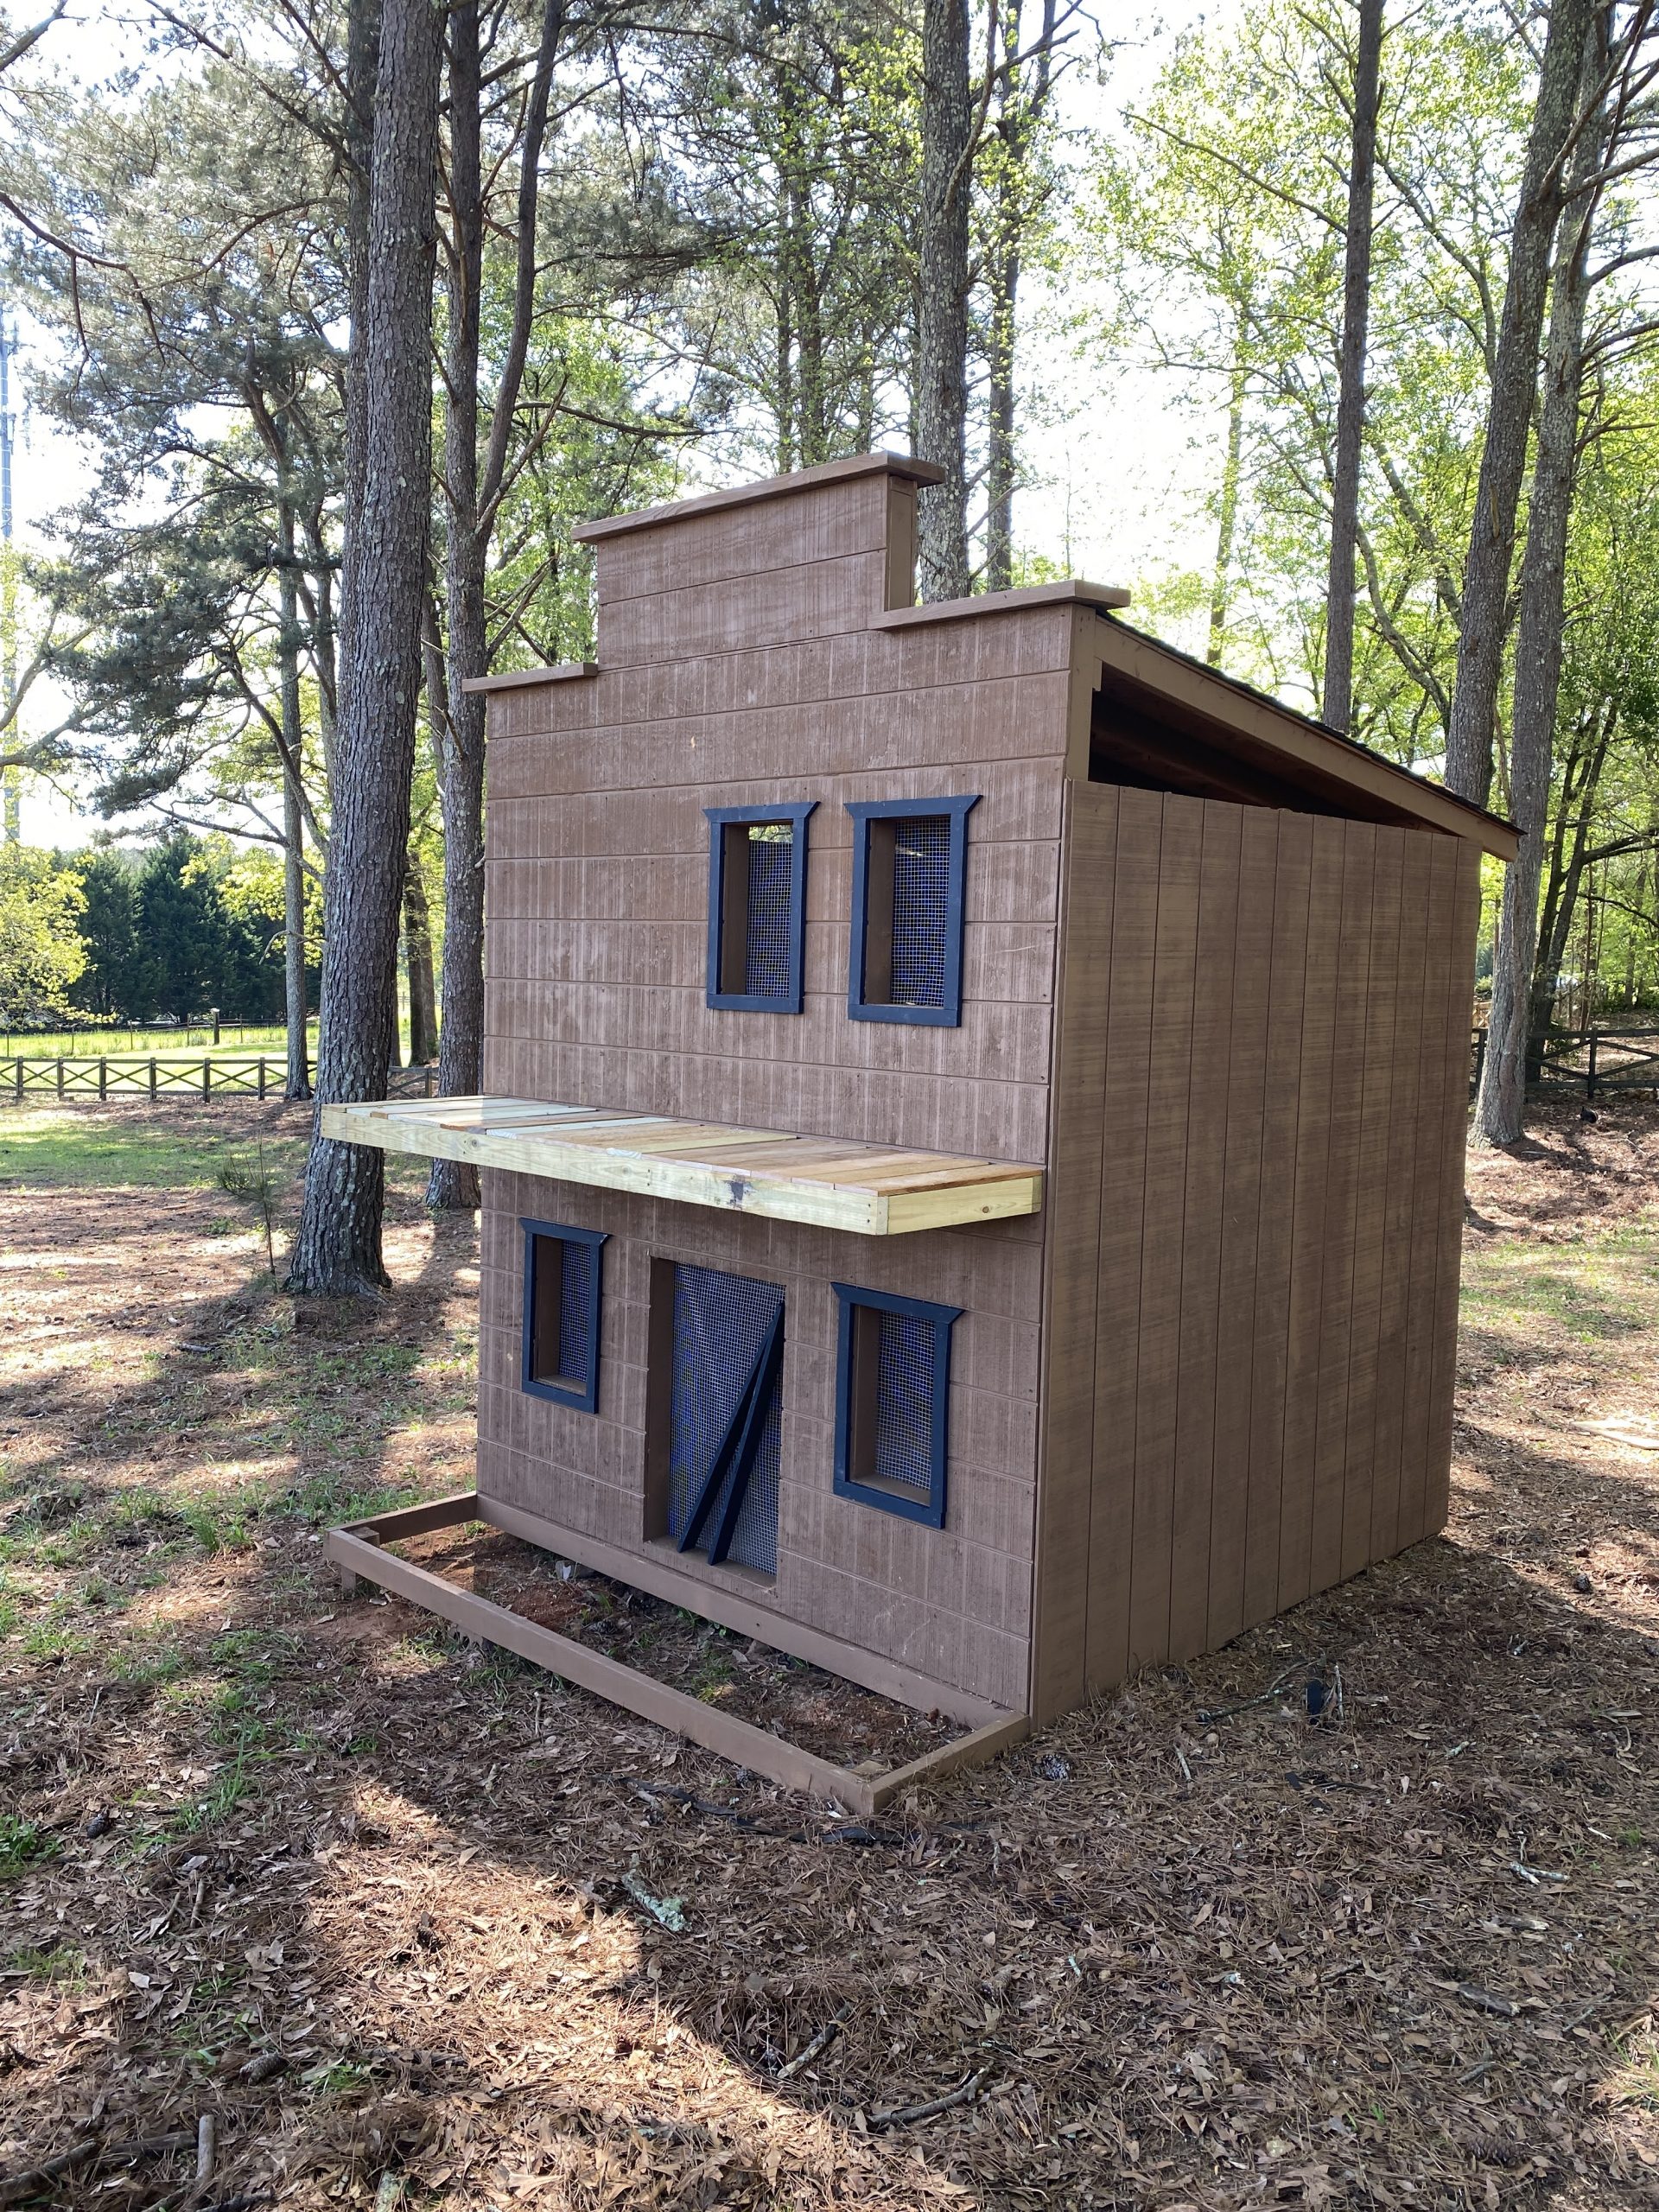
Next we attached the siding along the front wall. I used a drill from the inside to make holes where the windows and door were located. I used a circular saw to make the cutout using the holes as guides. Next came the roof rafters which were cut at an angle as well as notched to sit on the top of the structure. To add some more support to the roof rafters, I secured a 2×4 horizontally along the top for them to sit upon. Next came the plywood on the roof before placing the roofing paper and shingles, I painted the inside and outside of the structure.
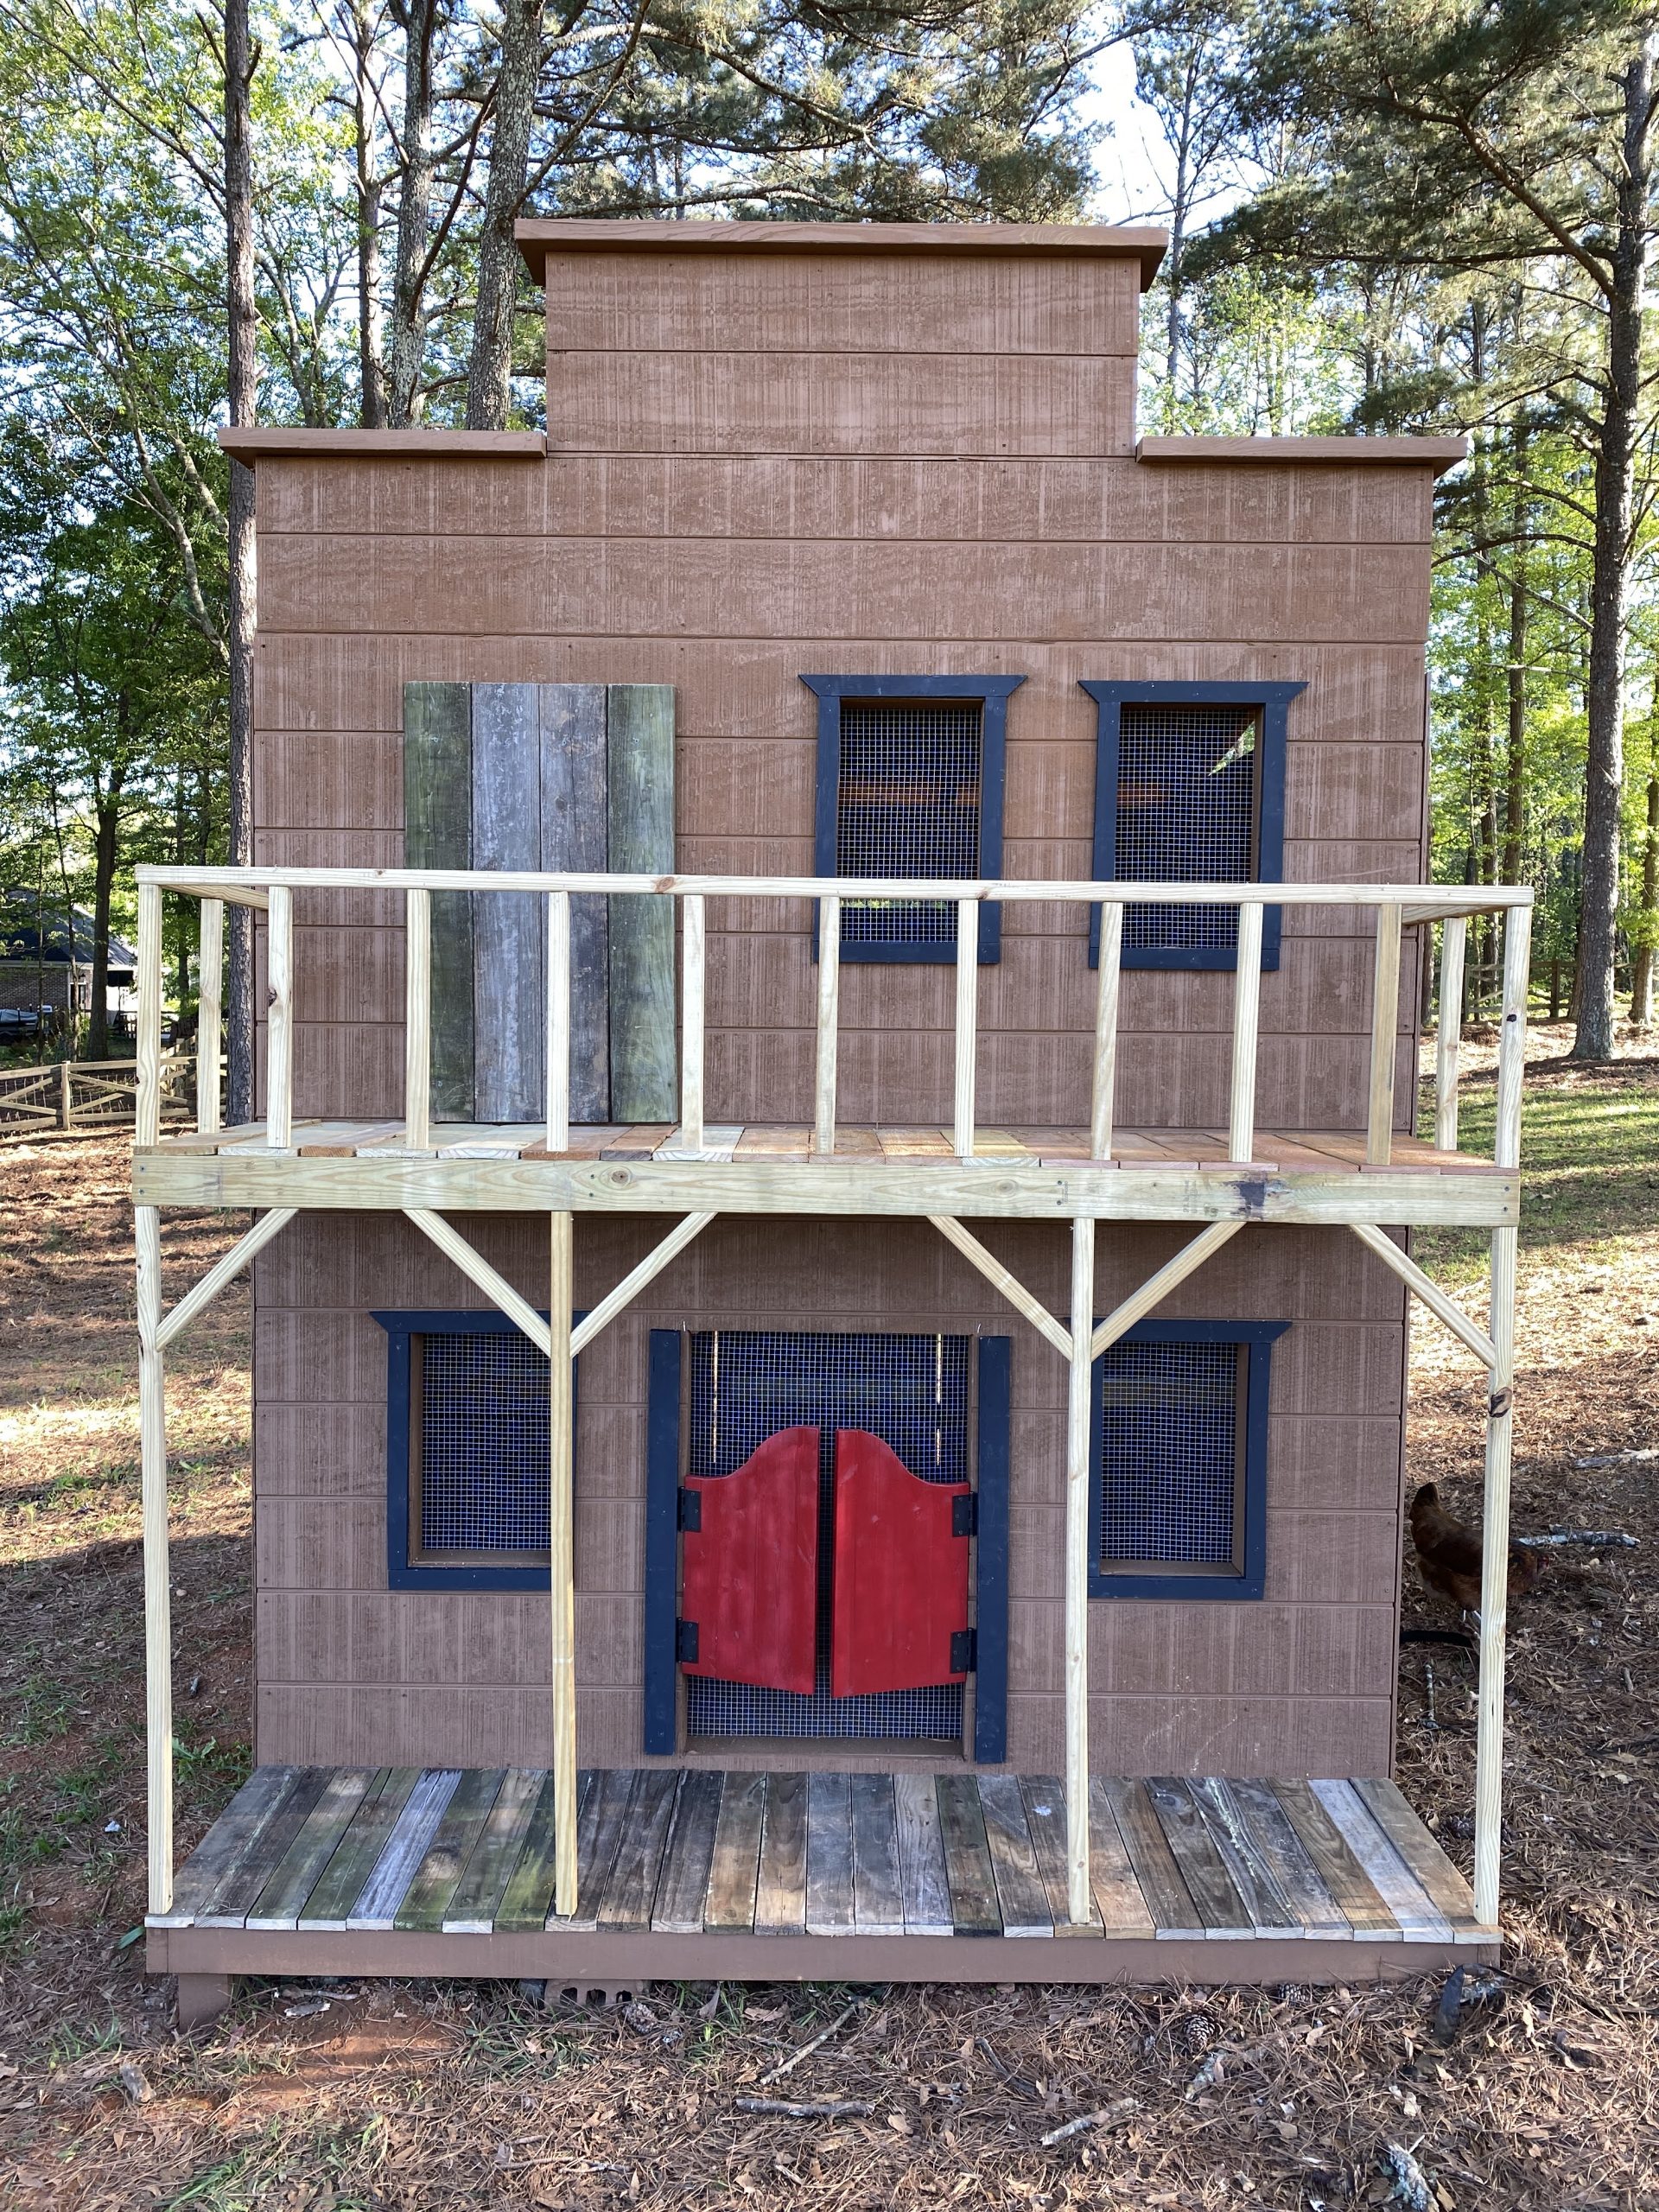
I placed 2×10 along the top front of the structure. The upper deck was framed and hung in place with some additional lag bolts. I then finished the trim and the back door which was built with 1x4s. All of this was done in three weekends.
I have gone through a put together detailed plans and materials list. If this seems like a project that you would like to build, I am offering the plans for $19.95 with payment through PayPal. I will use your PayPal email address to email you the plans. Thanks for you support.

Leave A Comment