
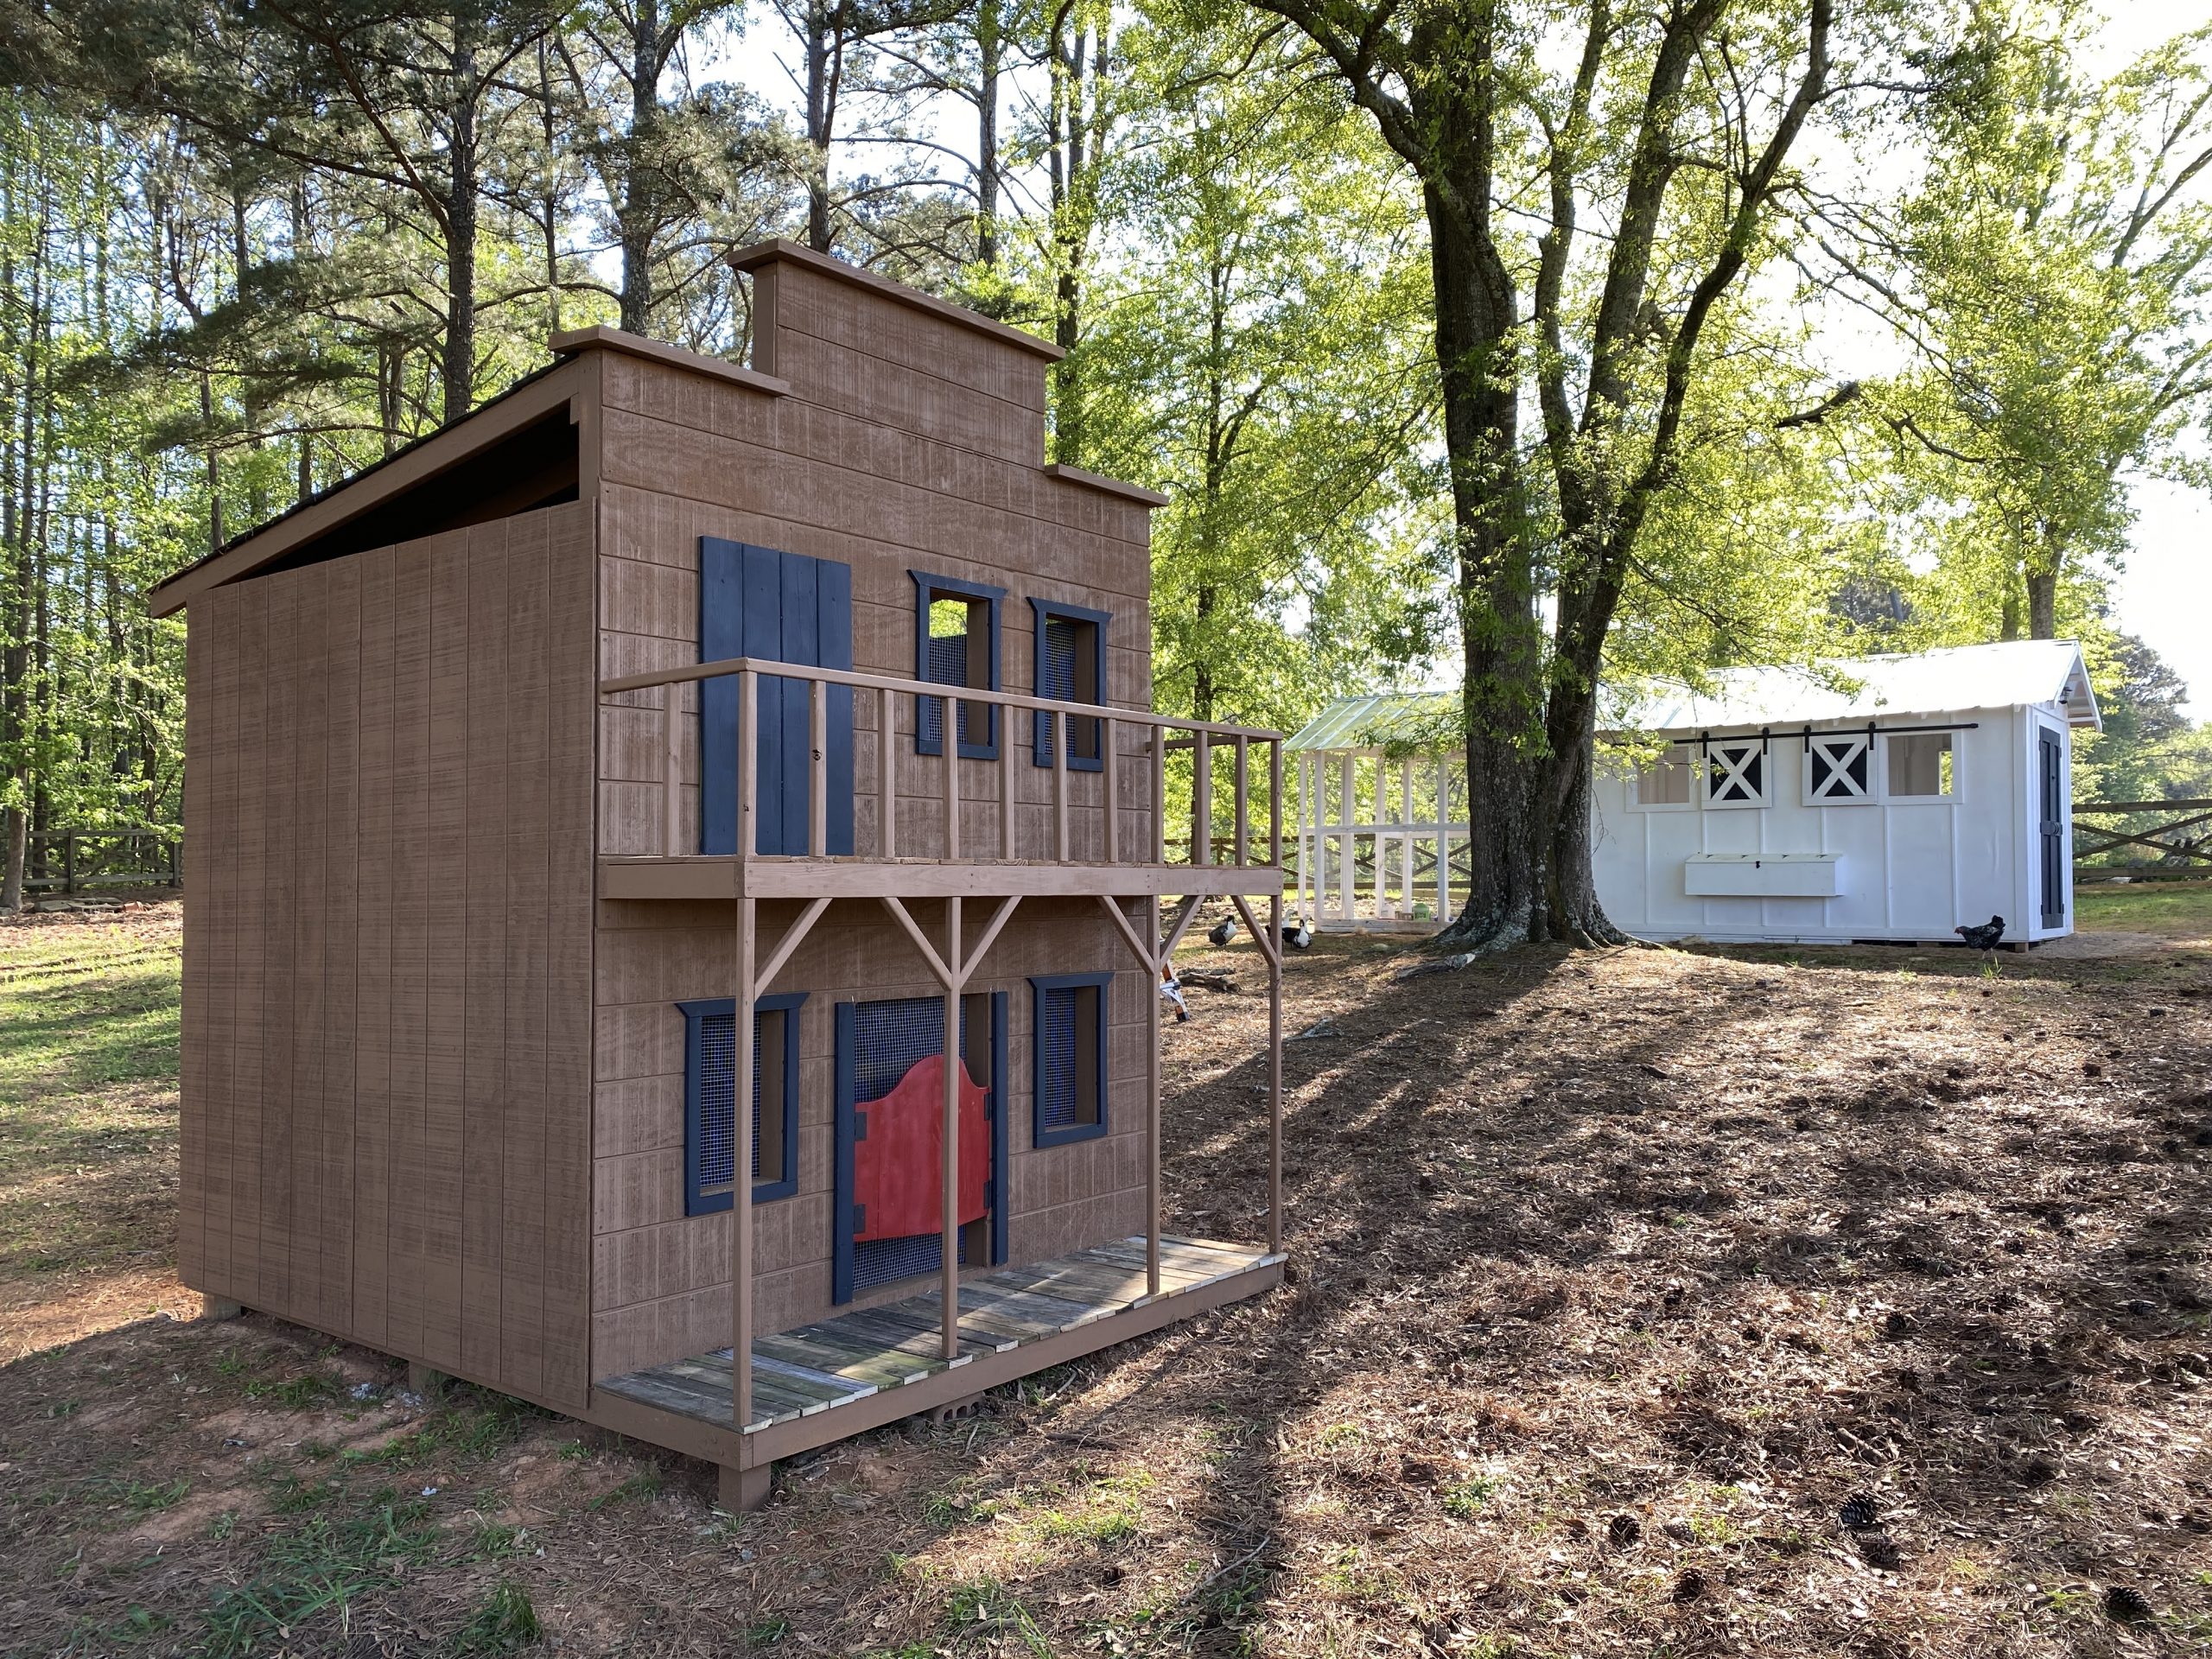
My first major project of 2021 was to build a bigger chicken coop for our growing flock. We had 9 hens in a custom built coop by our barn. They were free to roam during the day and locked up at night. They loved having free range of the yard and they can really do damage to pine-straw bedding. We had an area in our pasture that was wooded and rarely used and so we thought it would be a great home for a big coop.
There isn’t a lot on the internet for good looking coops with plans. I settled on one from Southern Revivals. At 26-ft x 8-ft this was going to be big enough for our 9 hens and 12 chicks that were getting bigger every day in the barn. I certainly don’t consider myself to be an expert builder and there was a lot of new challenges with this build. I knew that I could handle the framing but I had never done a roof before. The project took a total of 7 weeks, of which one was a complete rainout.
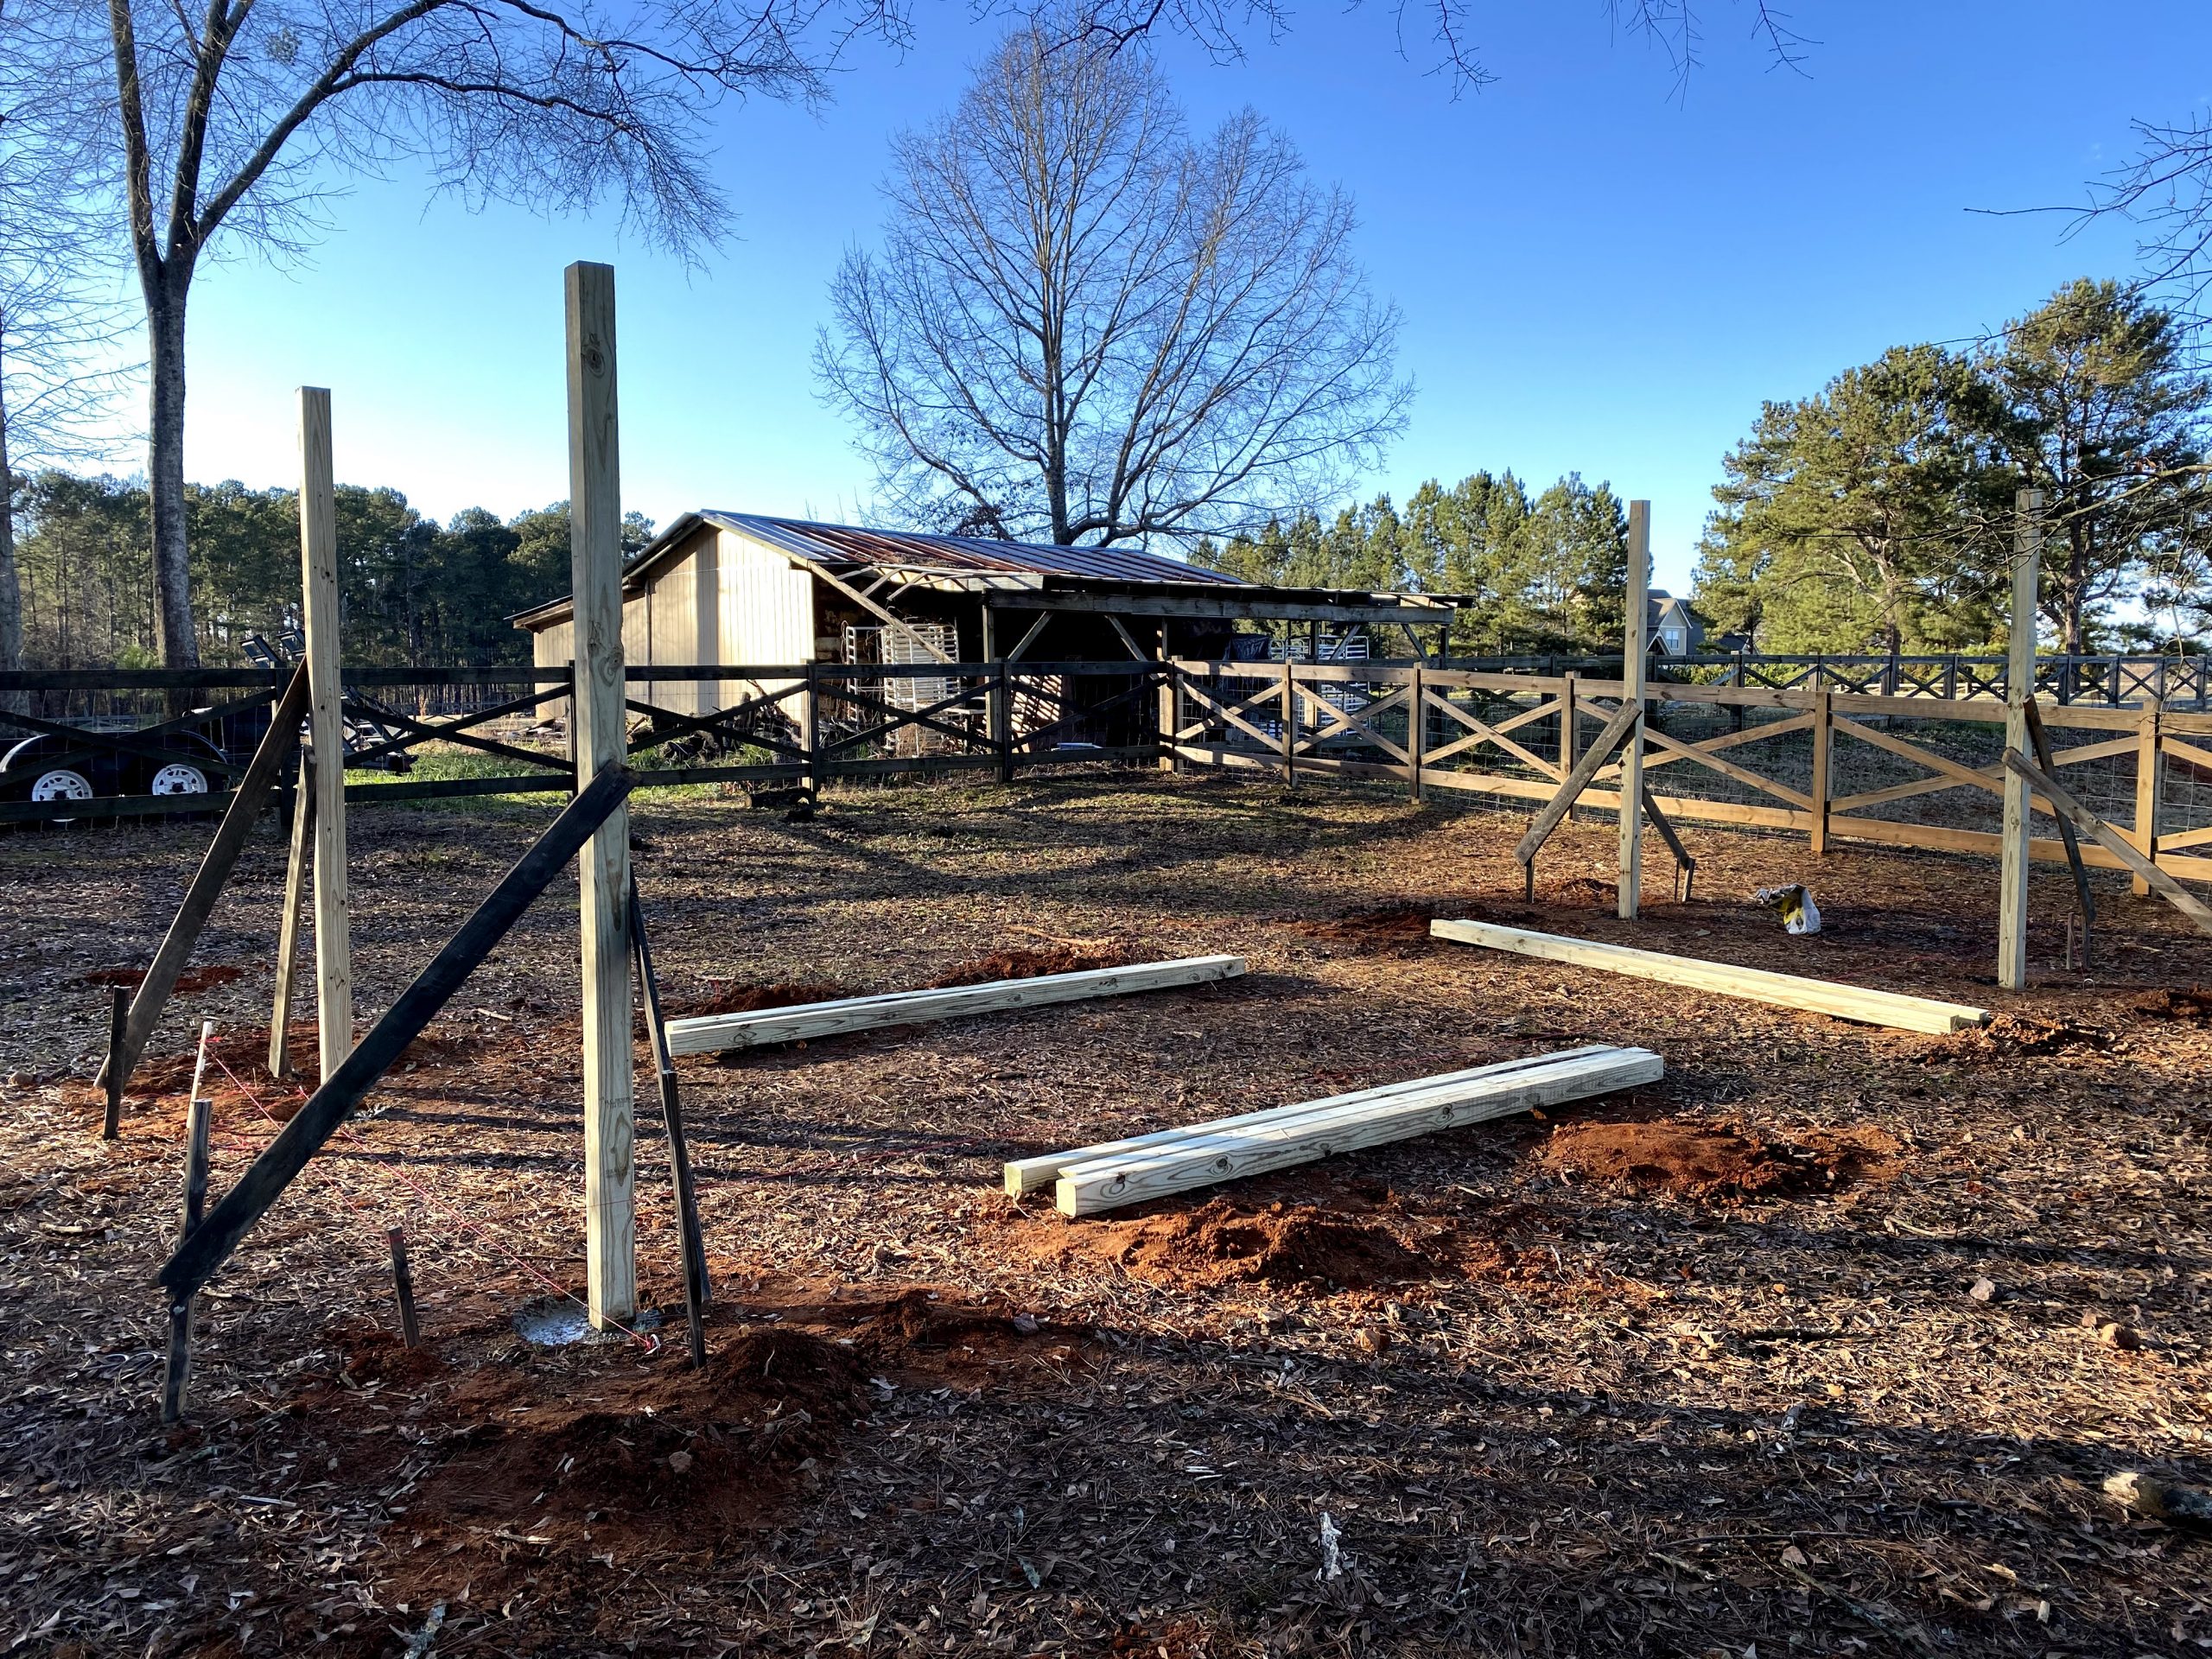
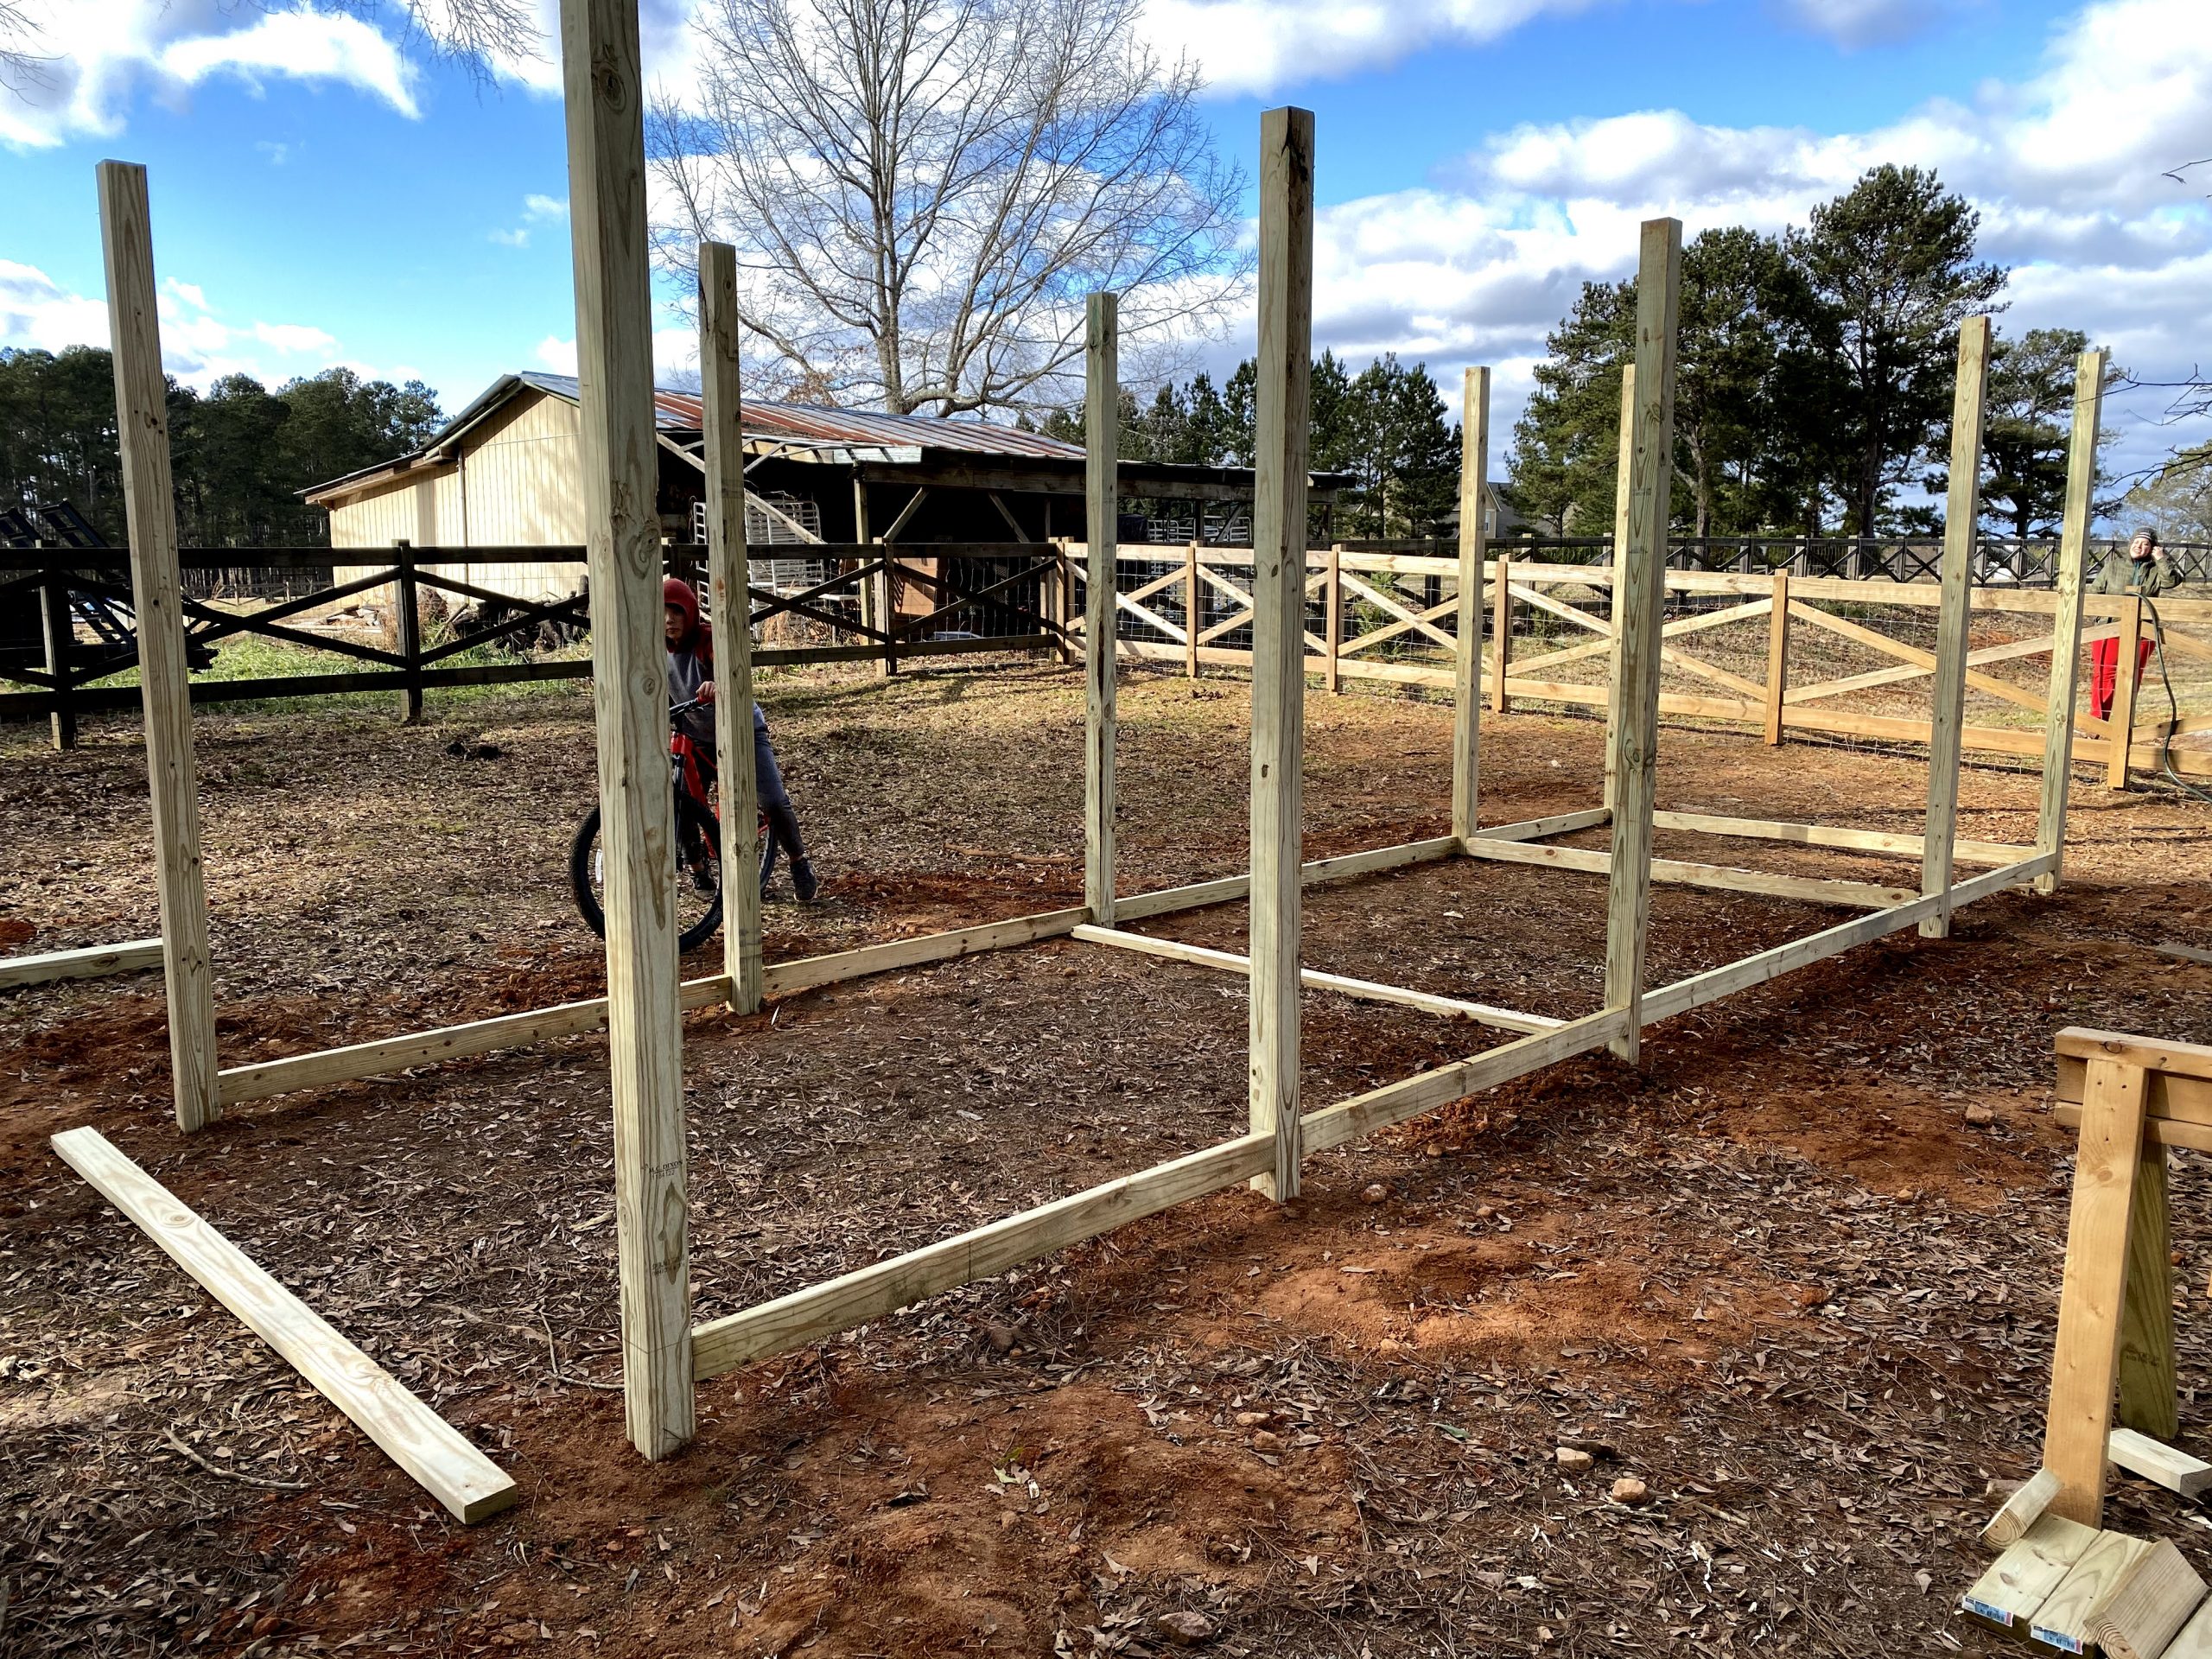
We first selected a relatively flat area of ground and used stakes and string to layout the base. We used the post hole digger on the back of the tractor to dig the holes and set the posts. We then leveled the base around the posts and began framing. Building on-site made it difficult to keep everything at perfect right angles and so there was a lot of field measurements needed before cutting the framing wood.
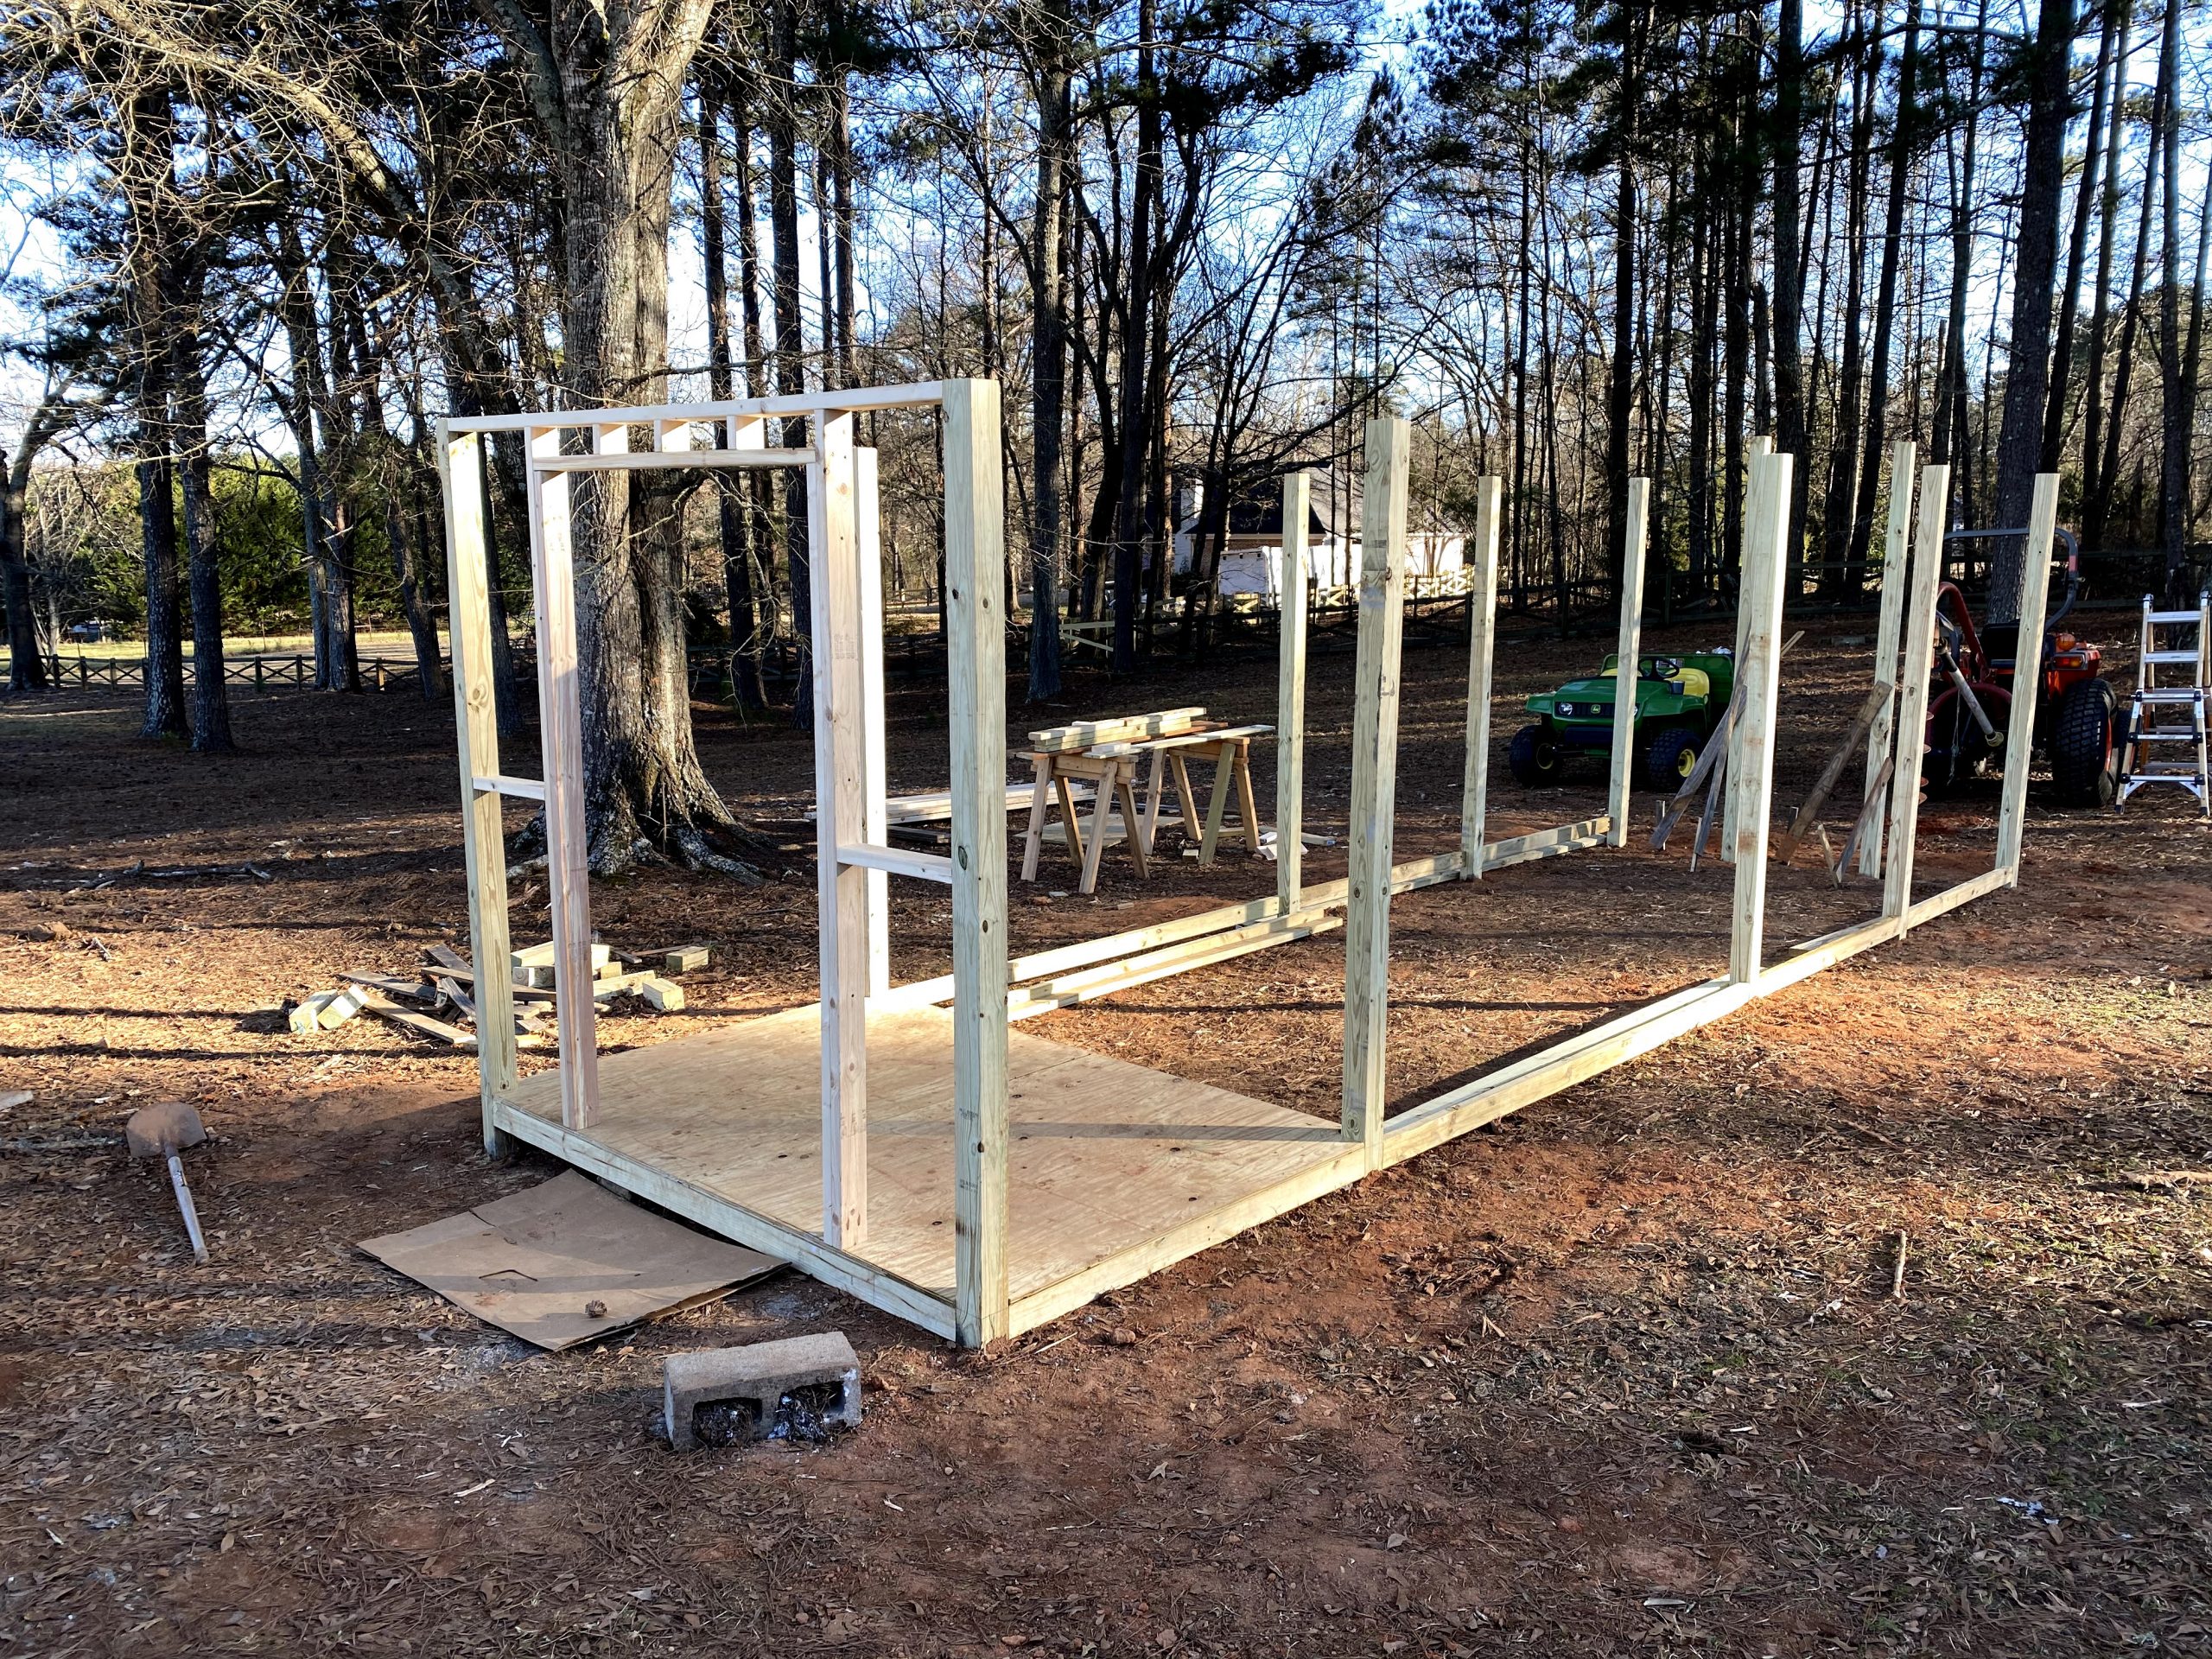
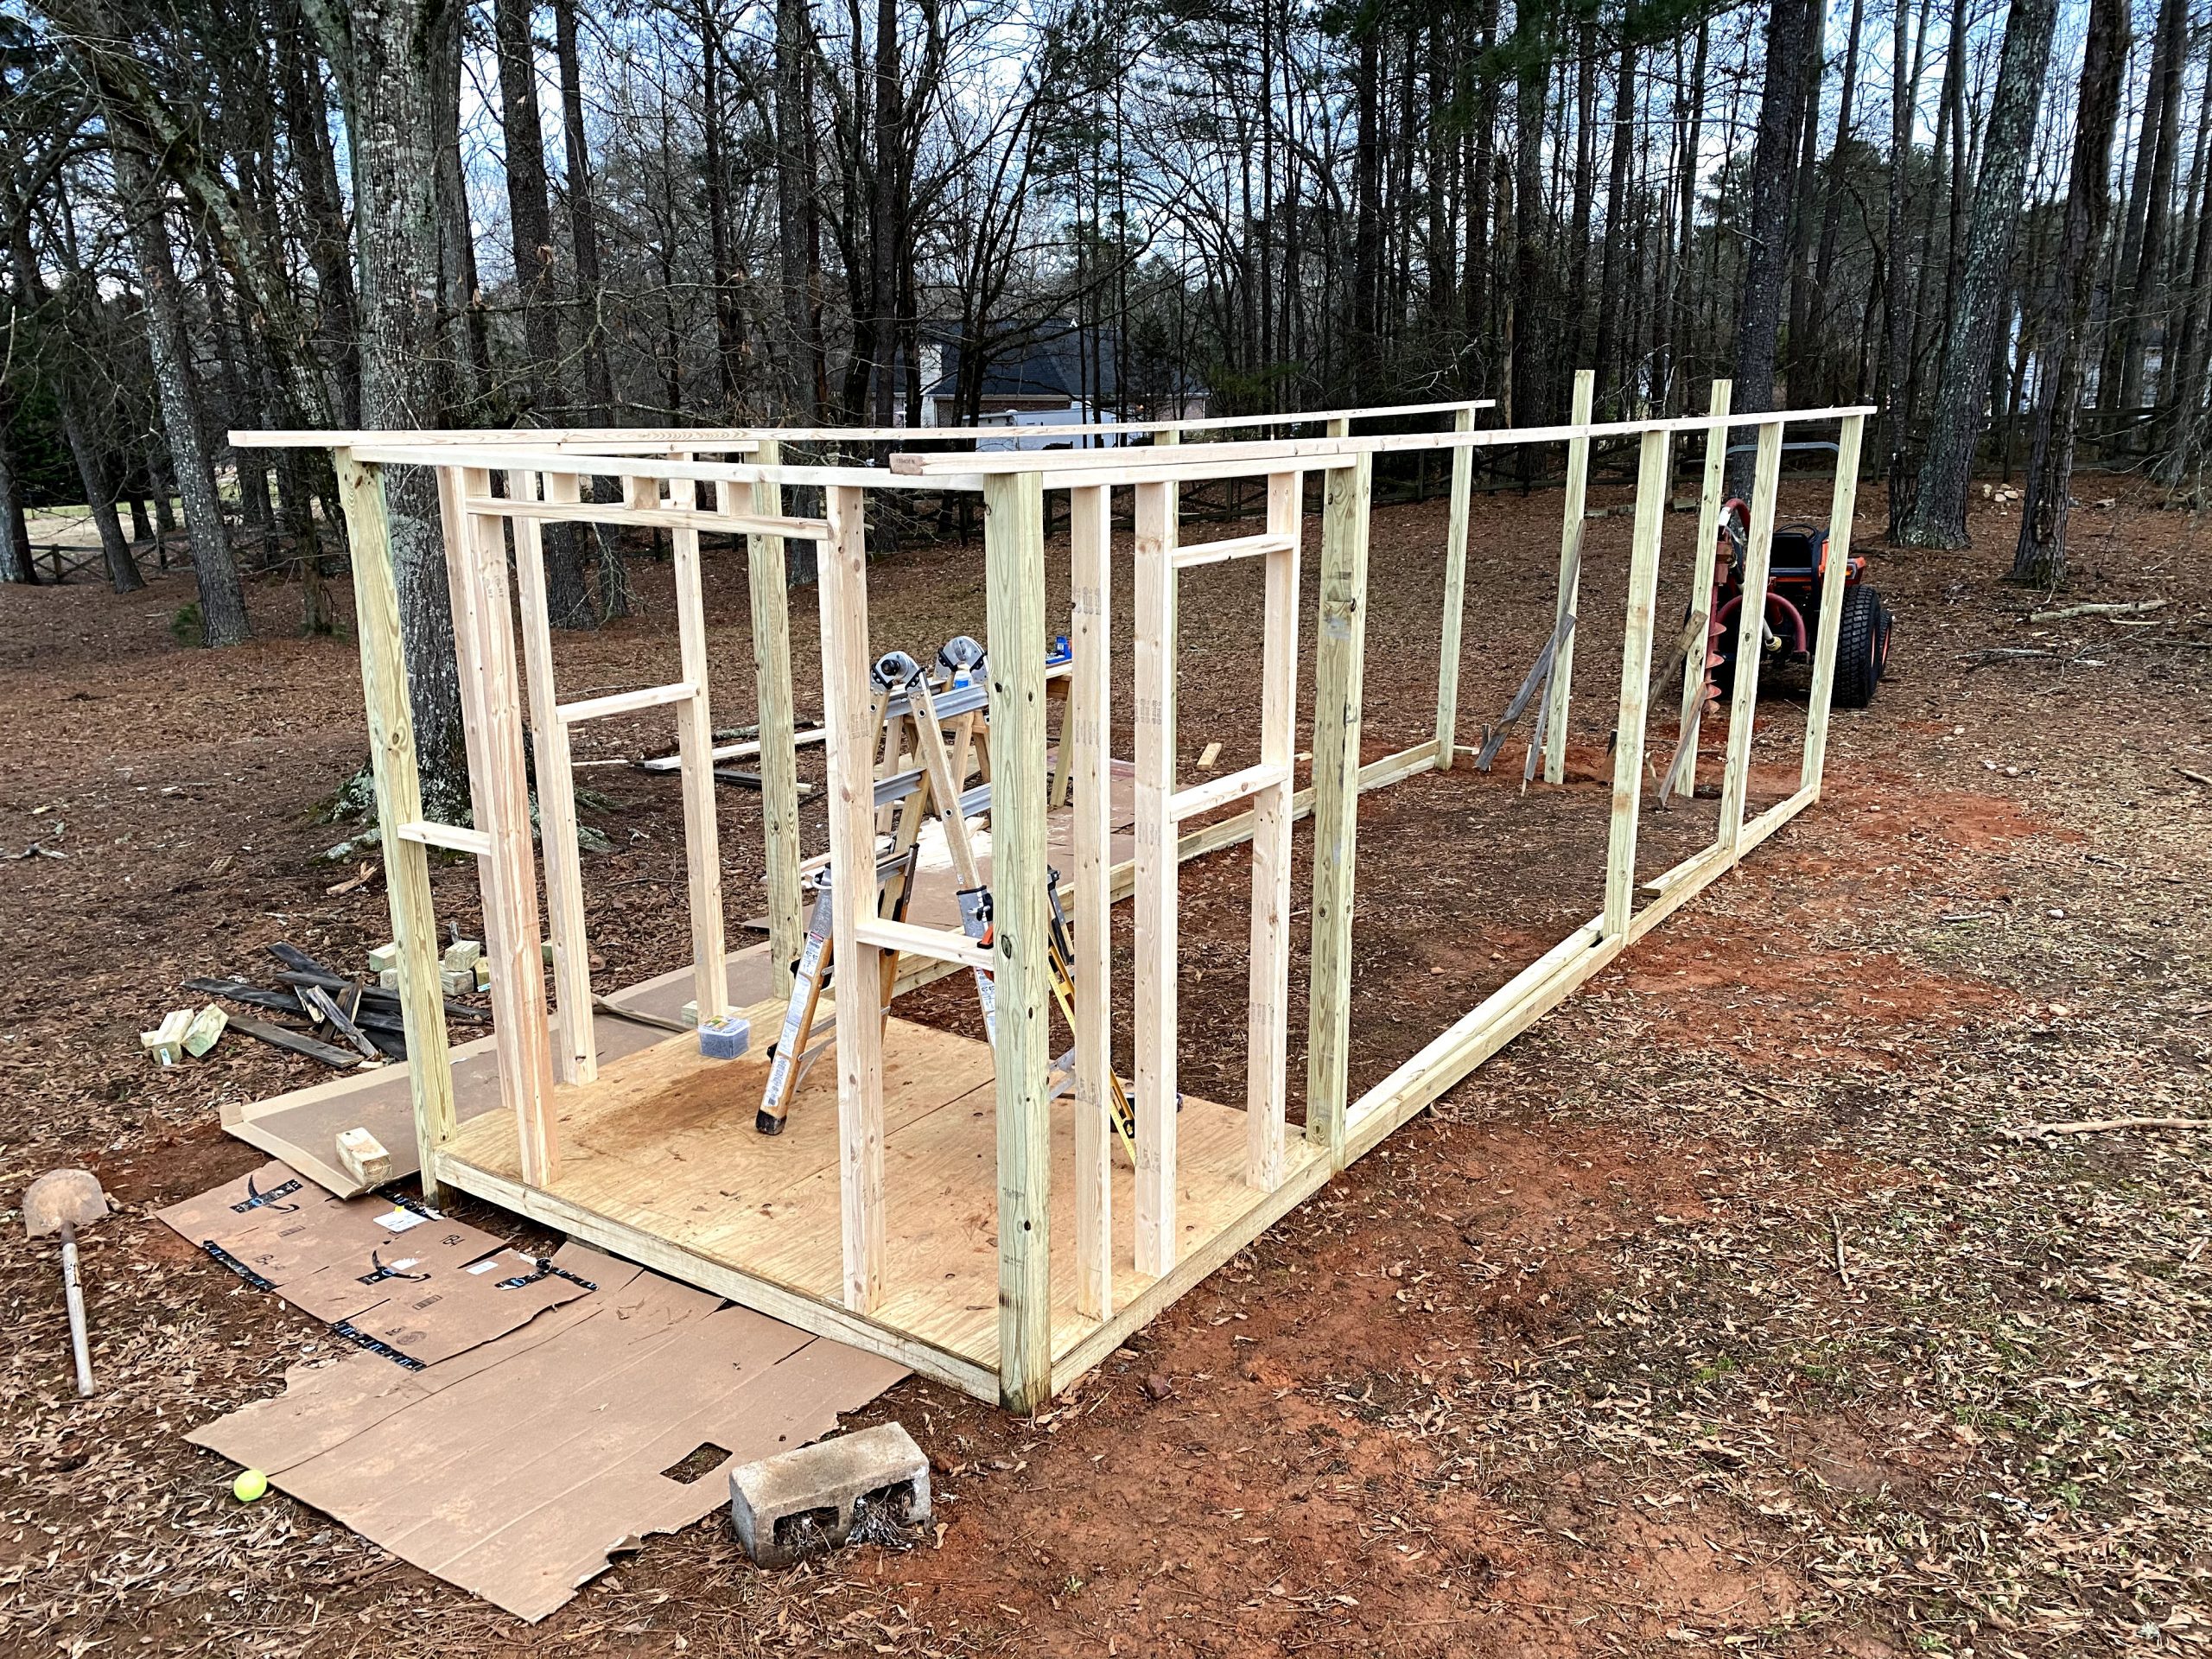
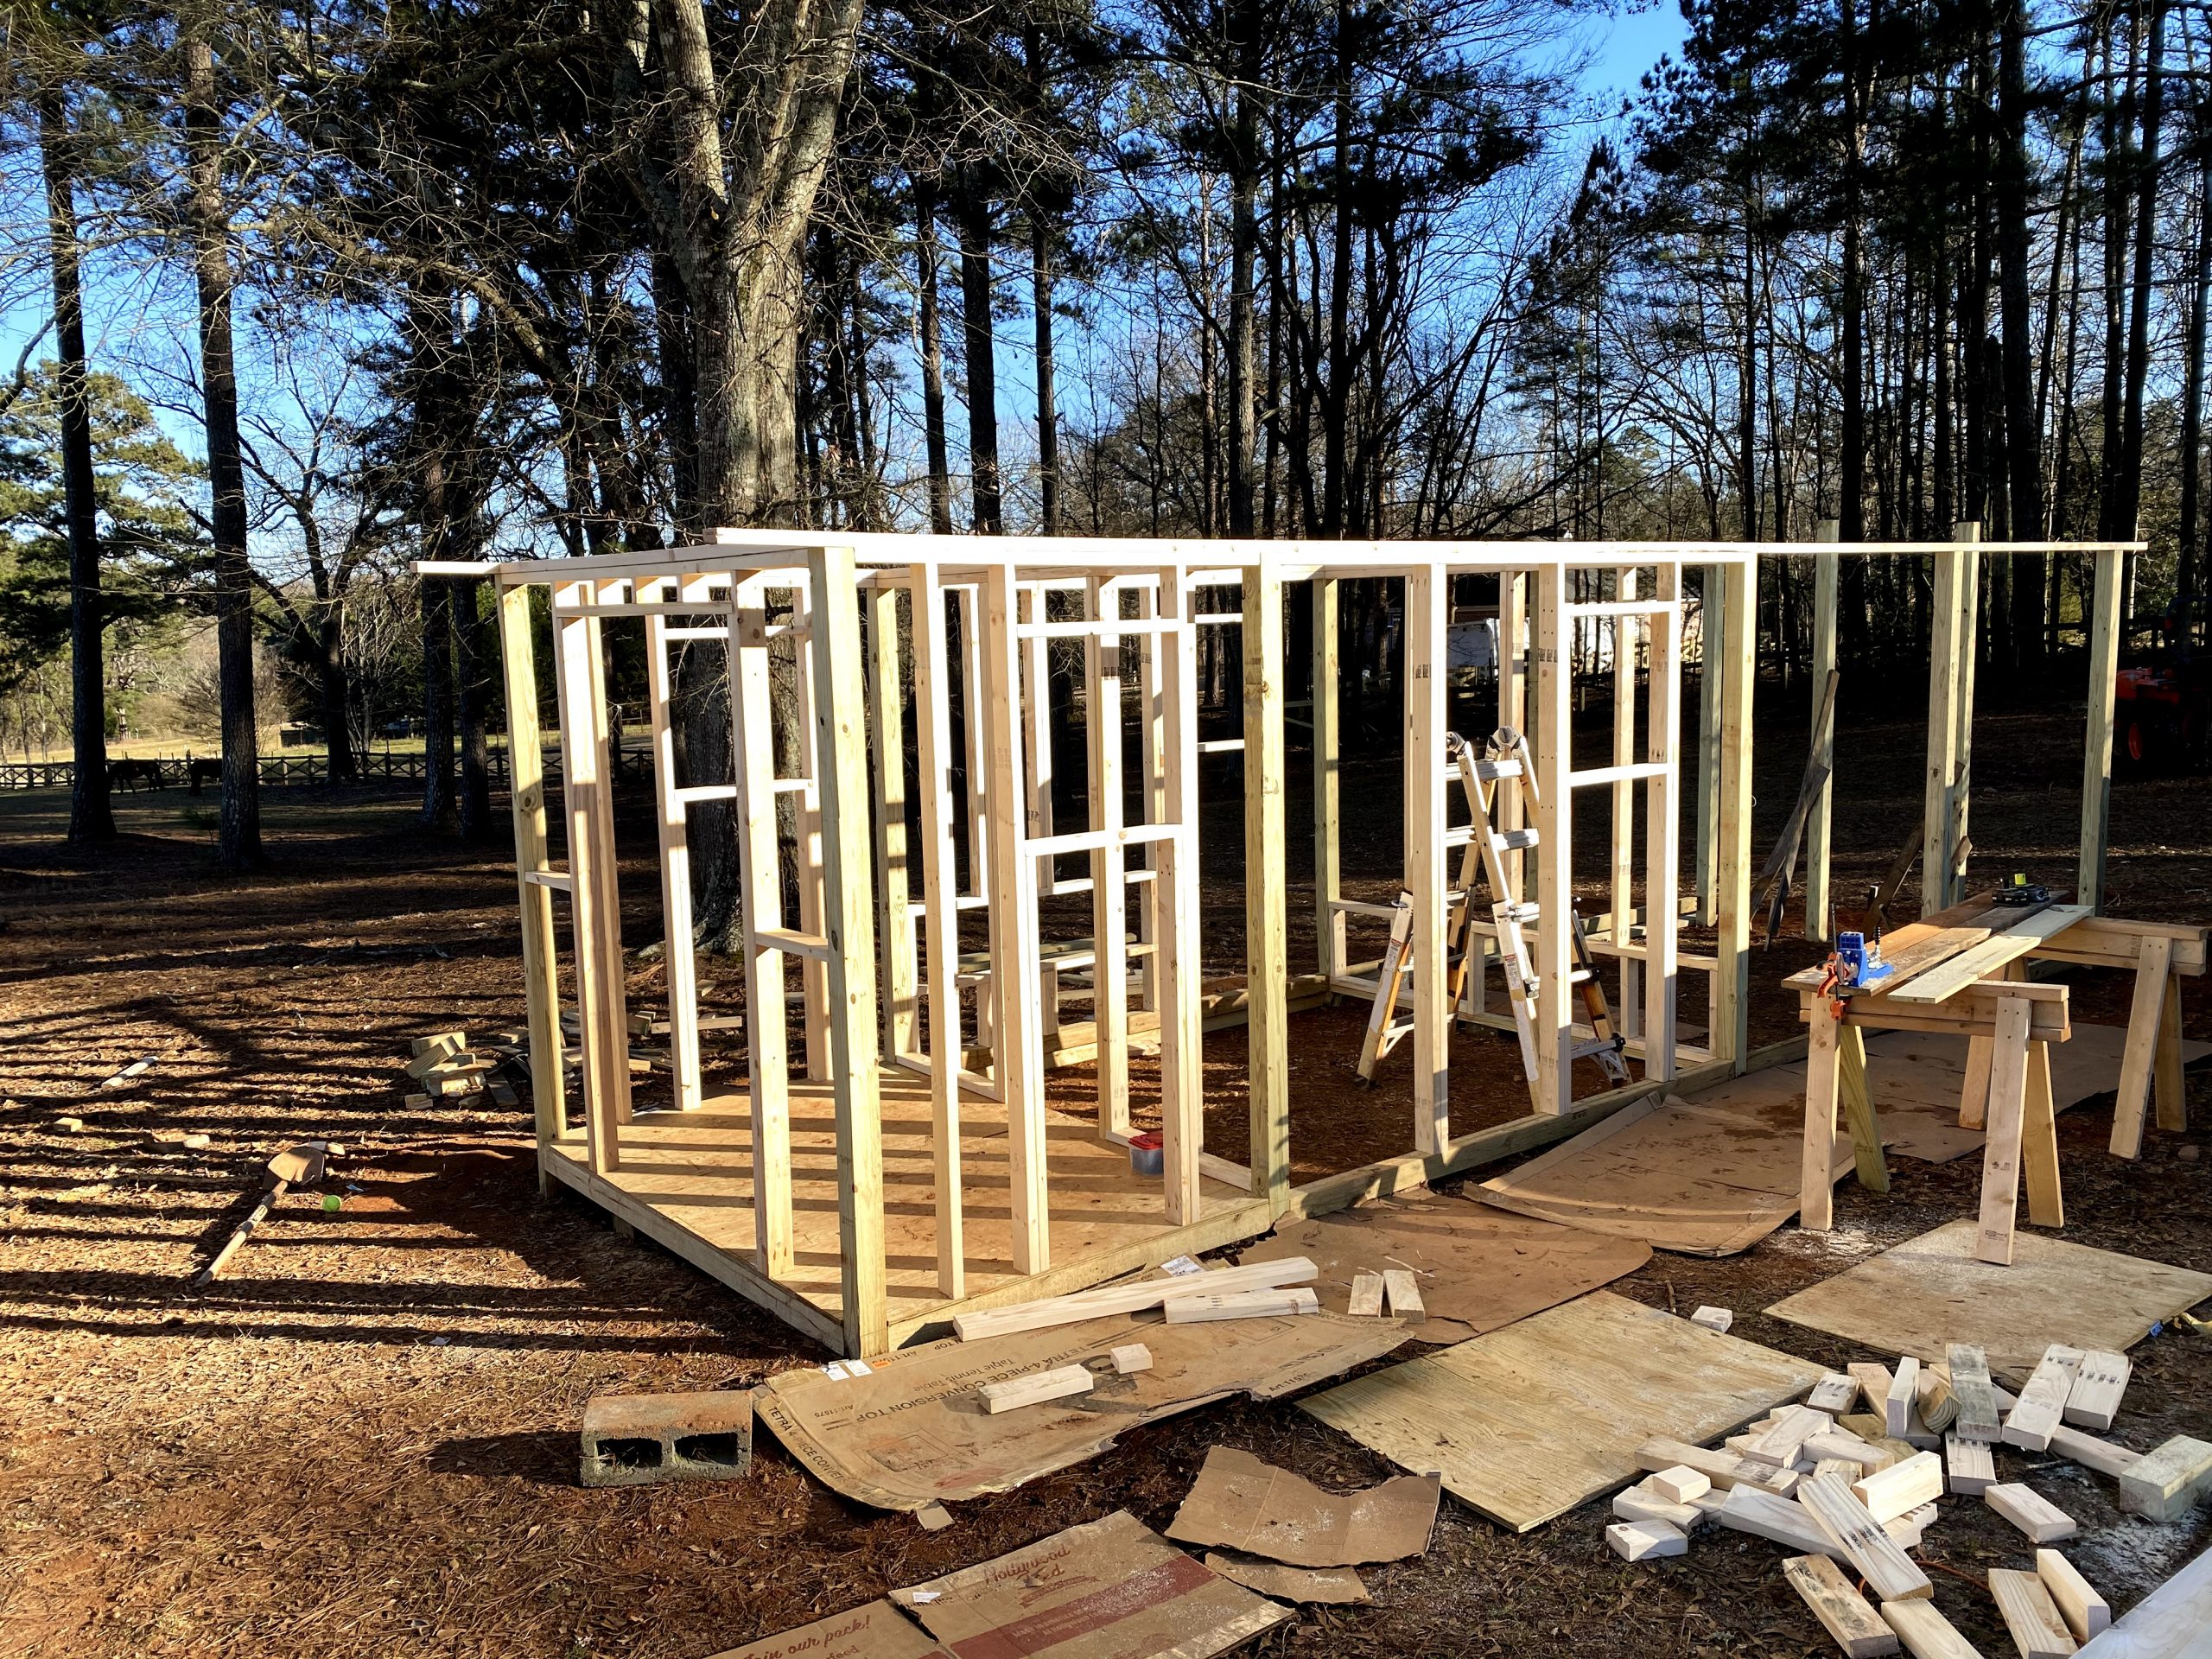
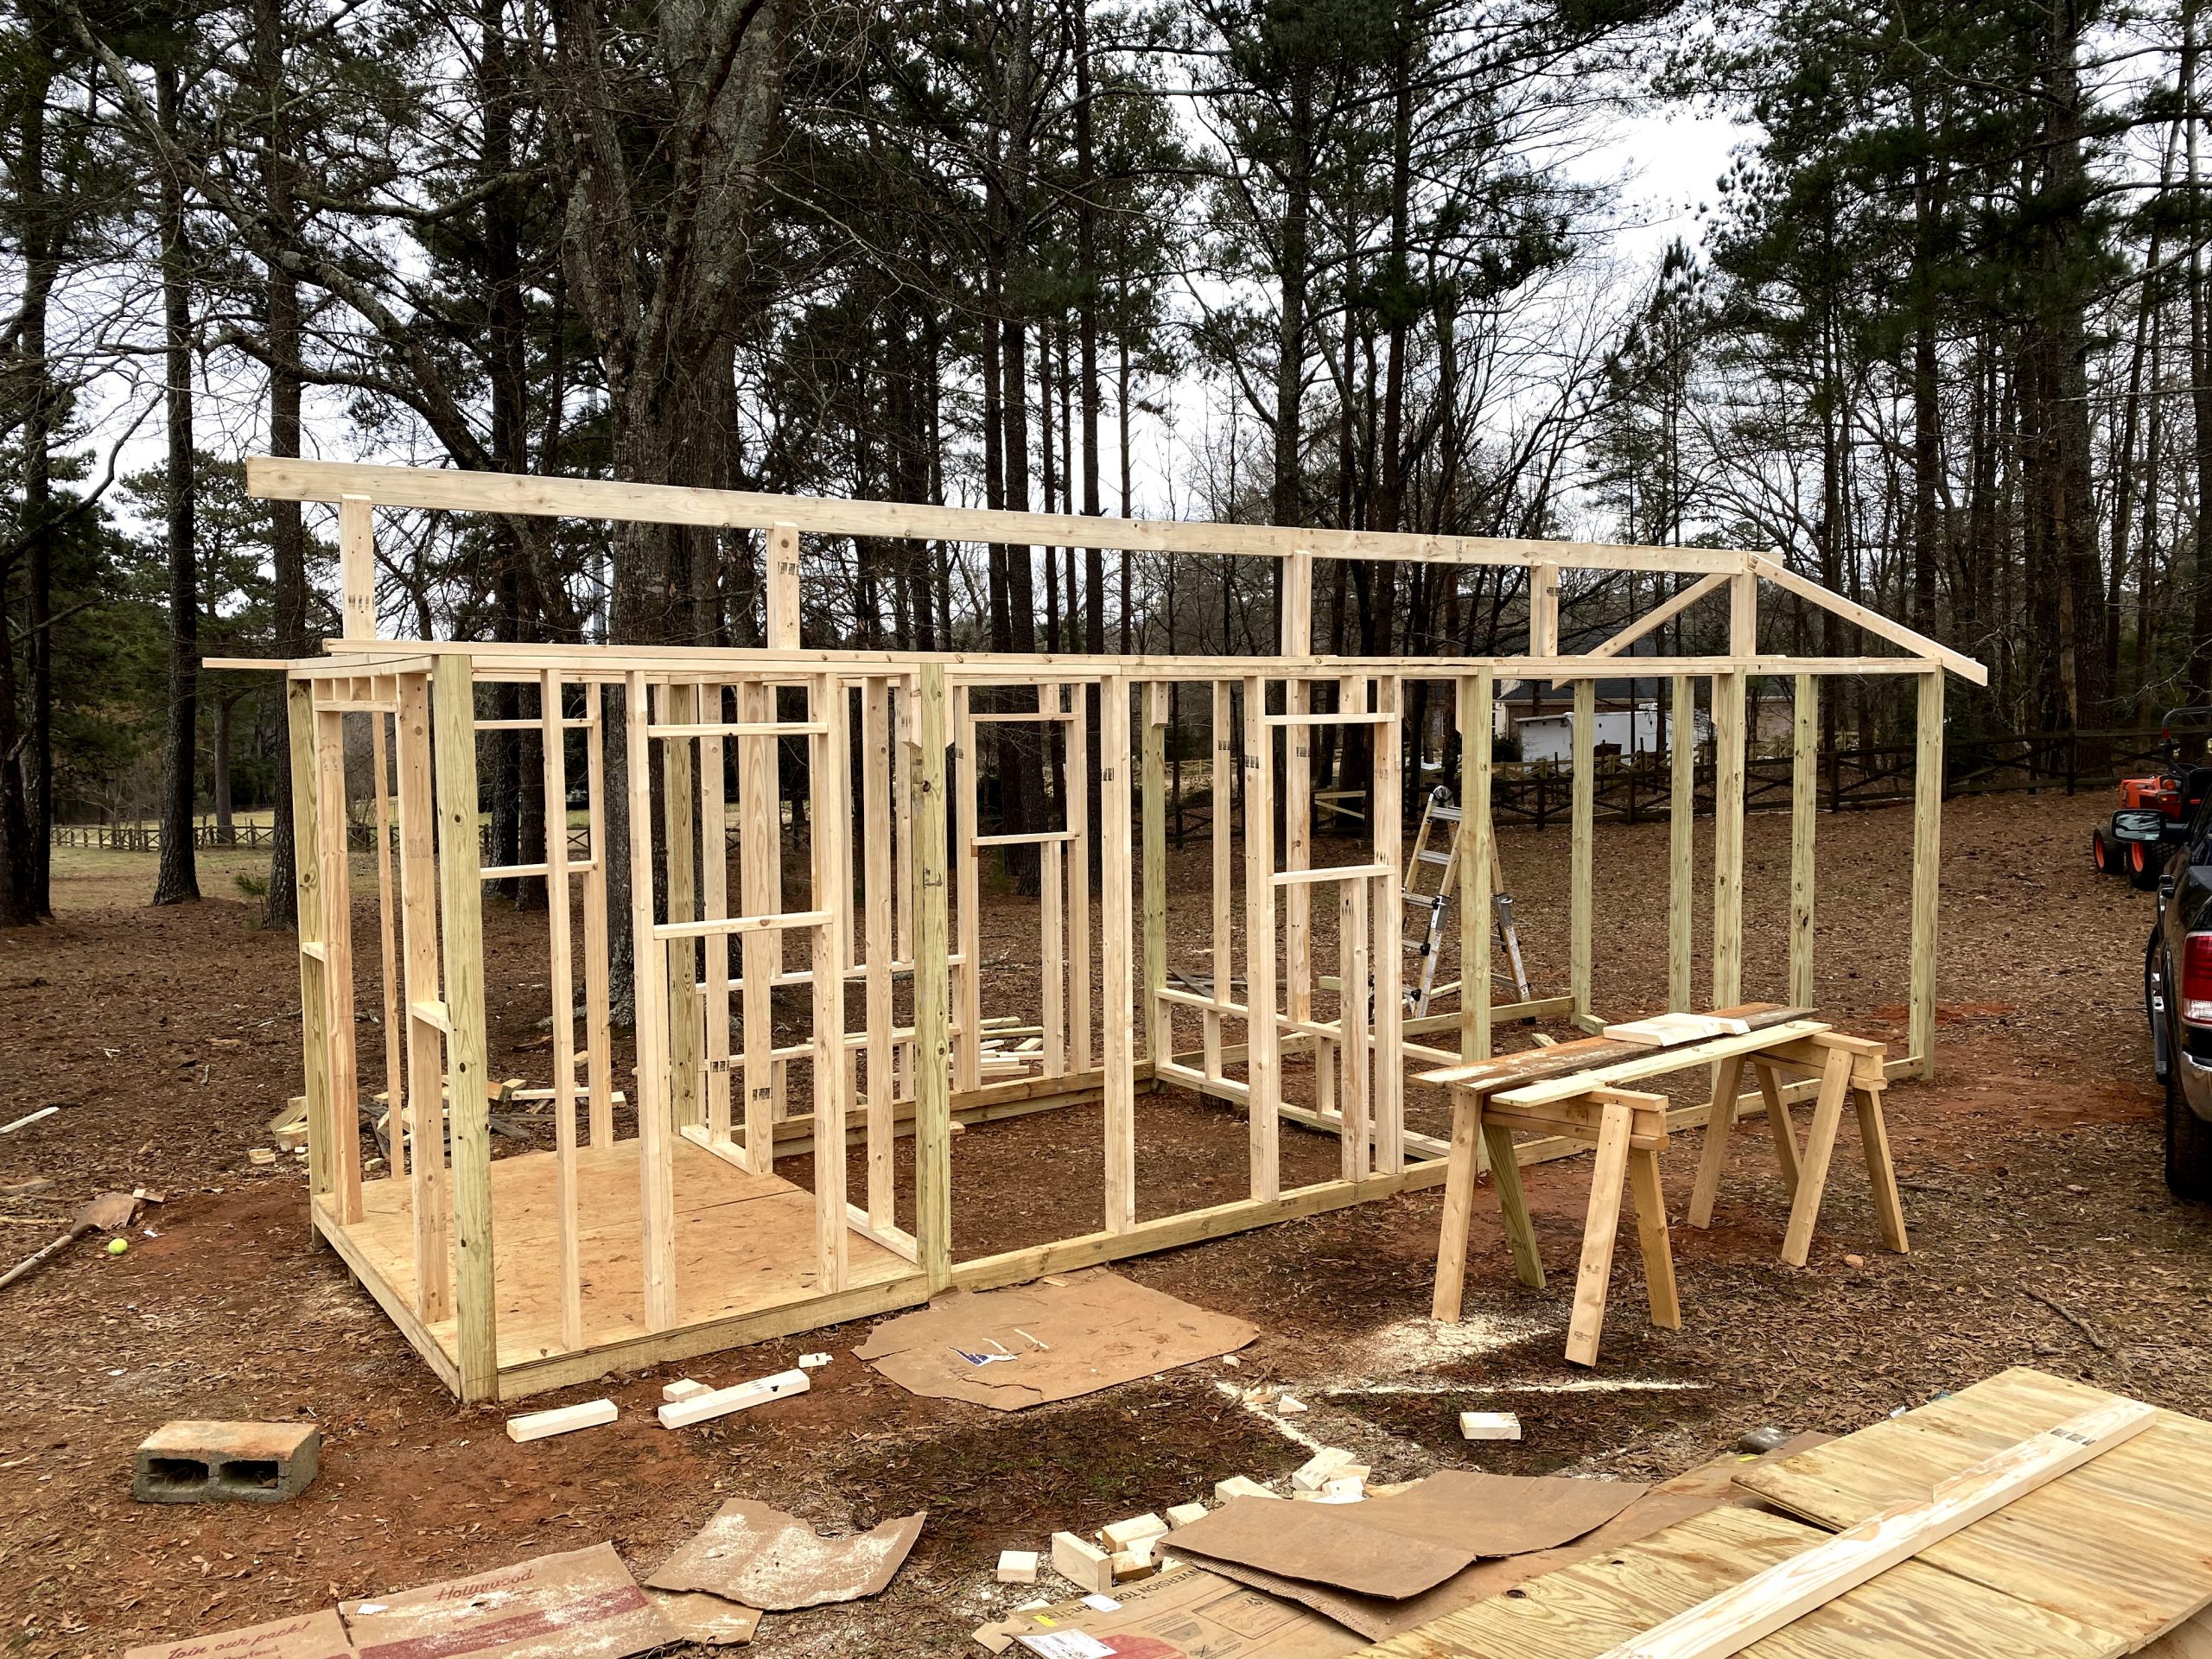
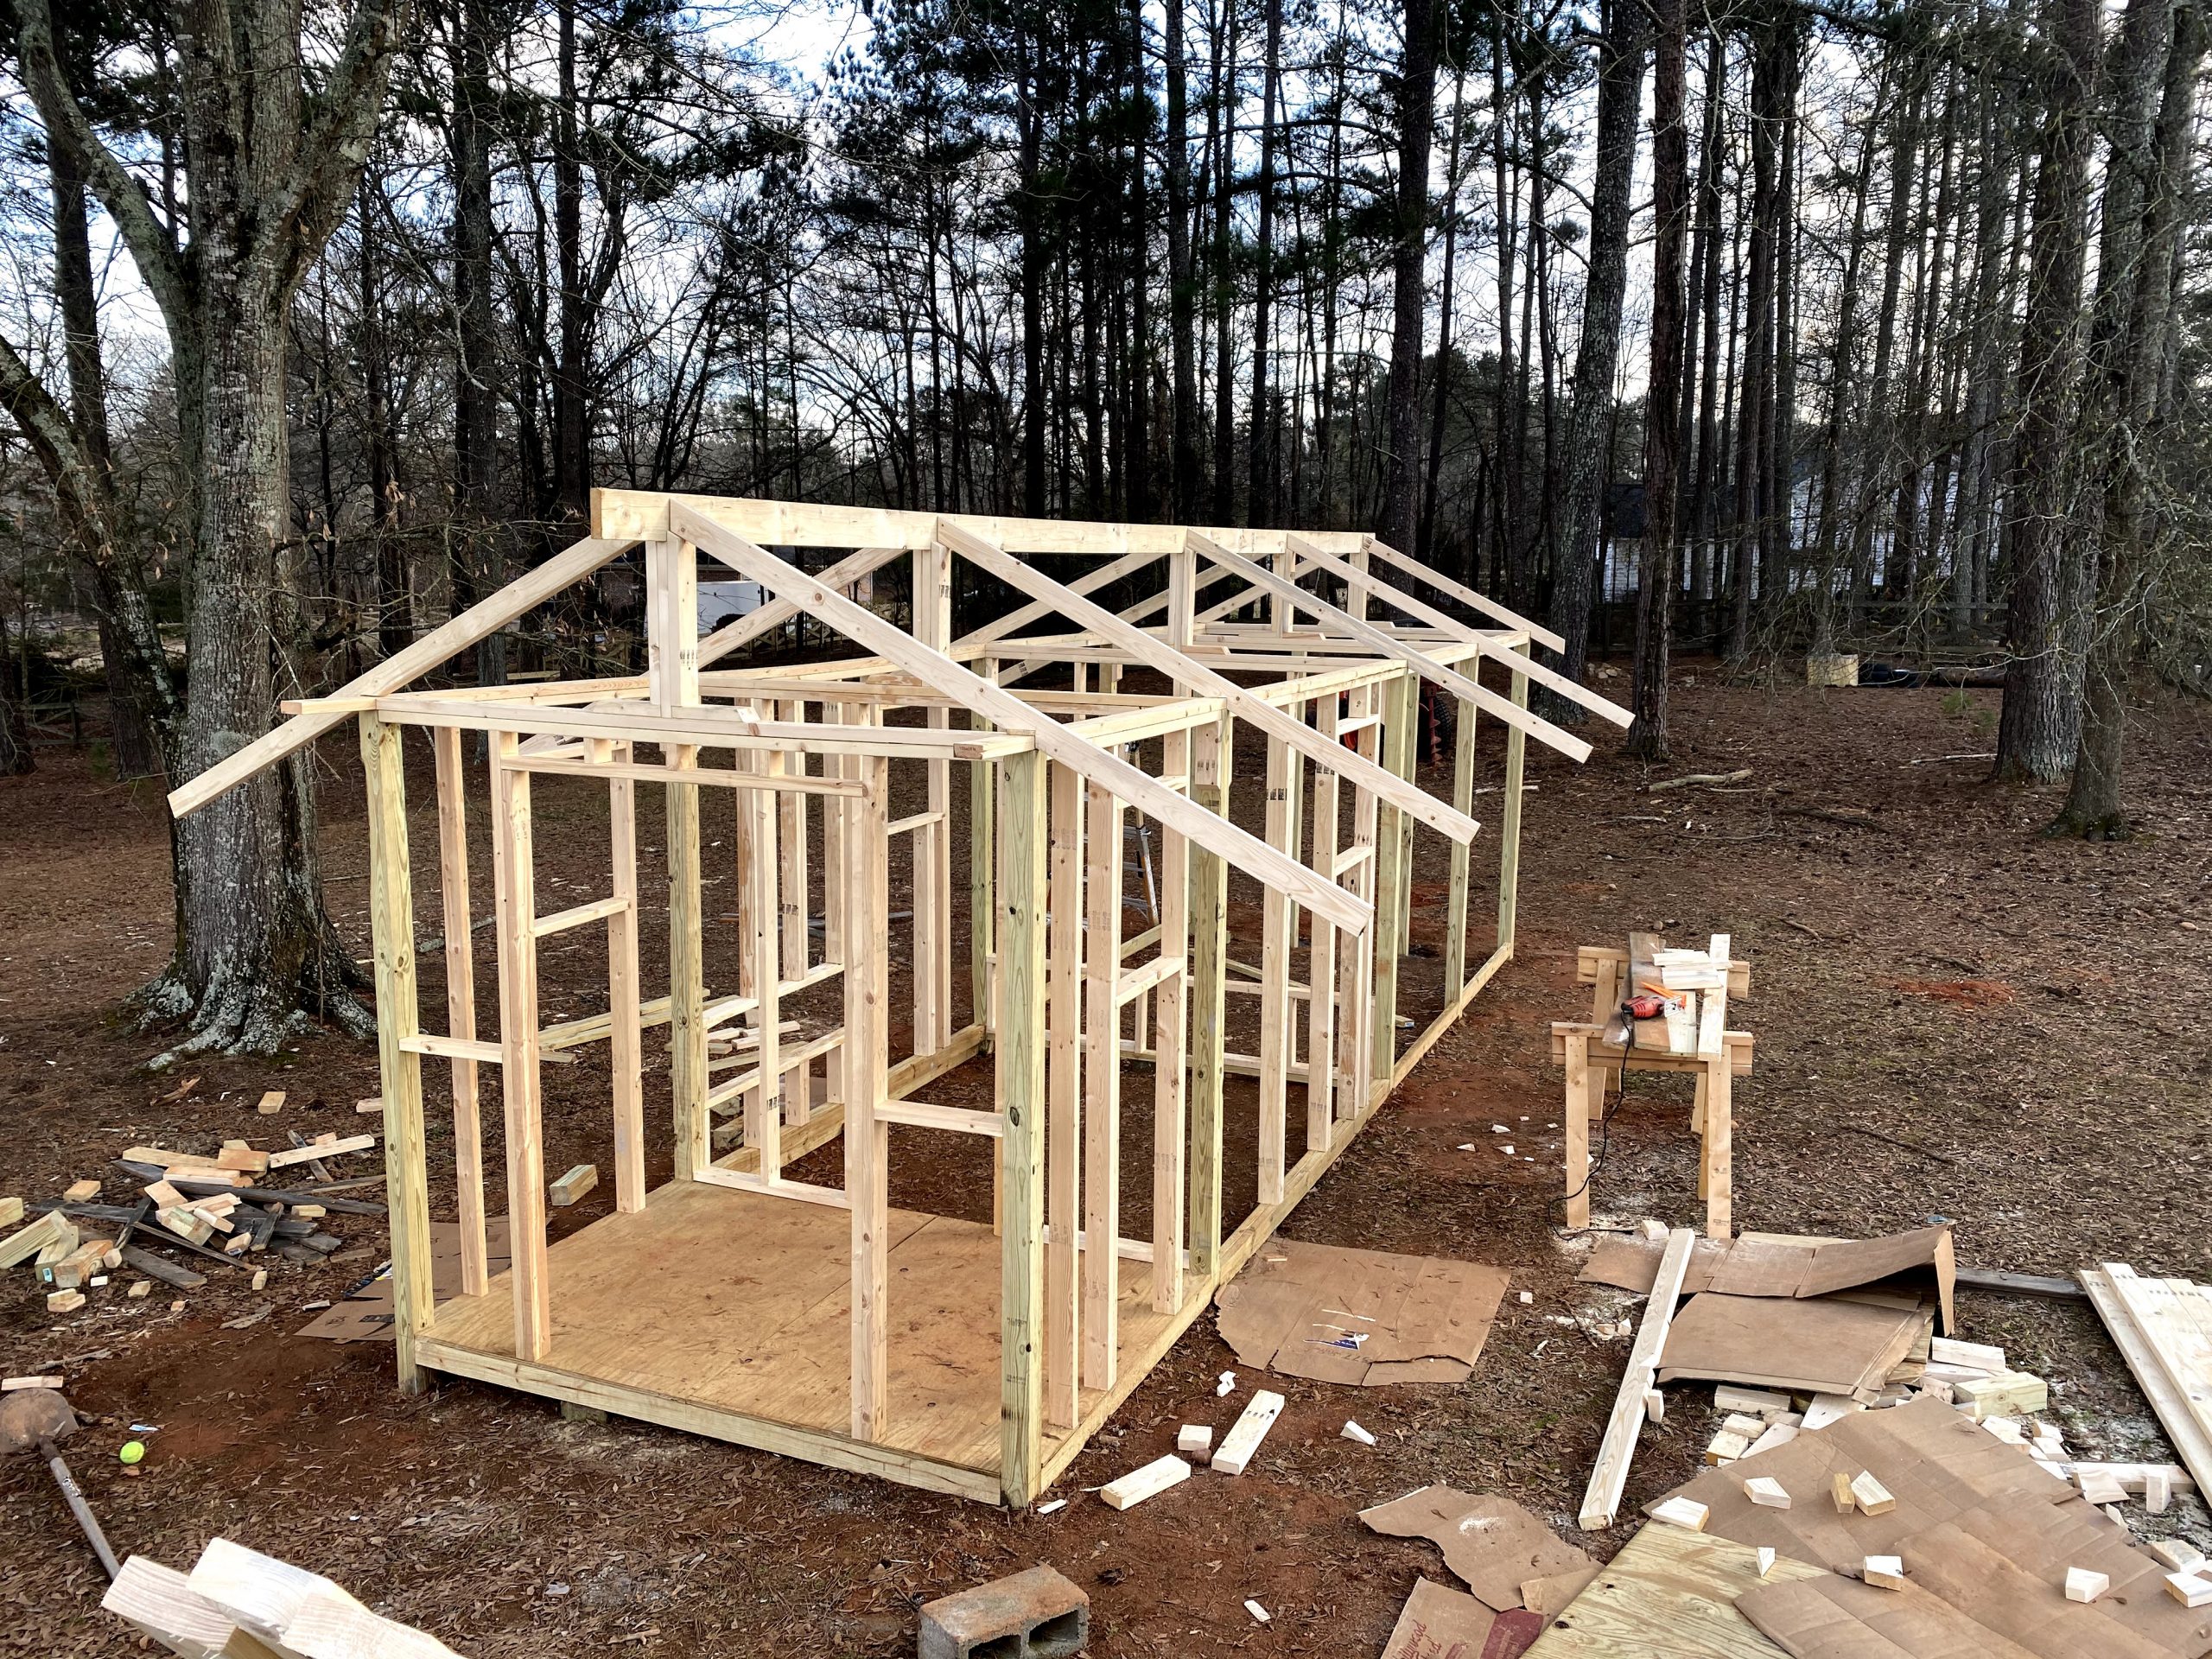
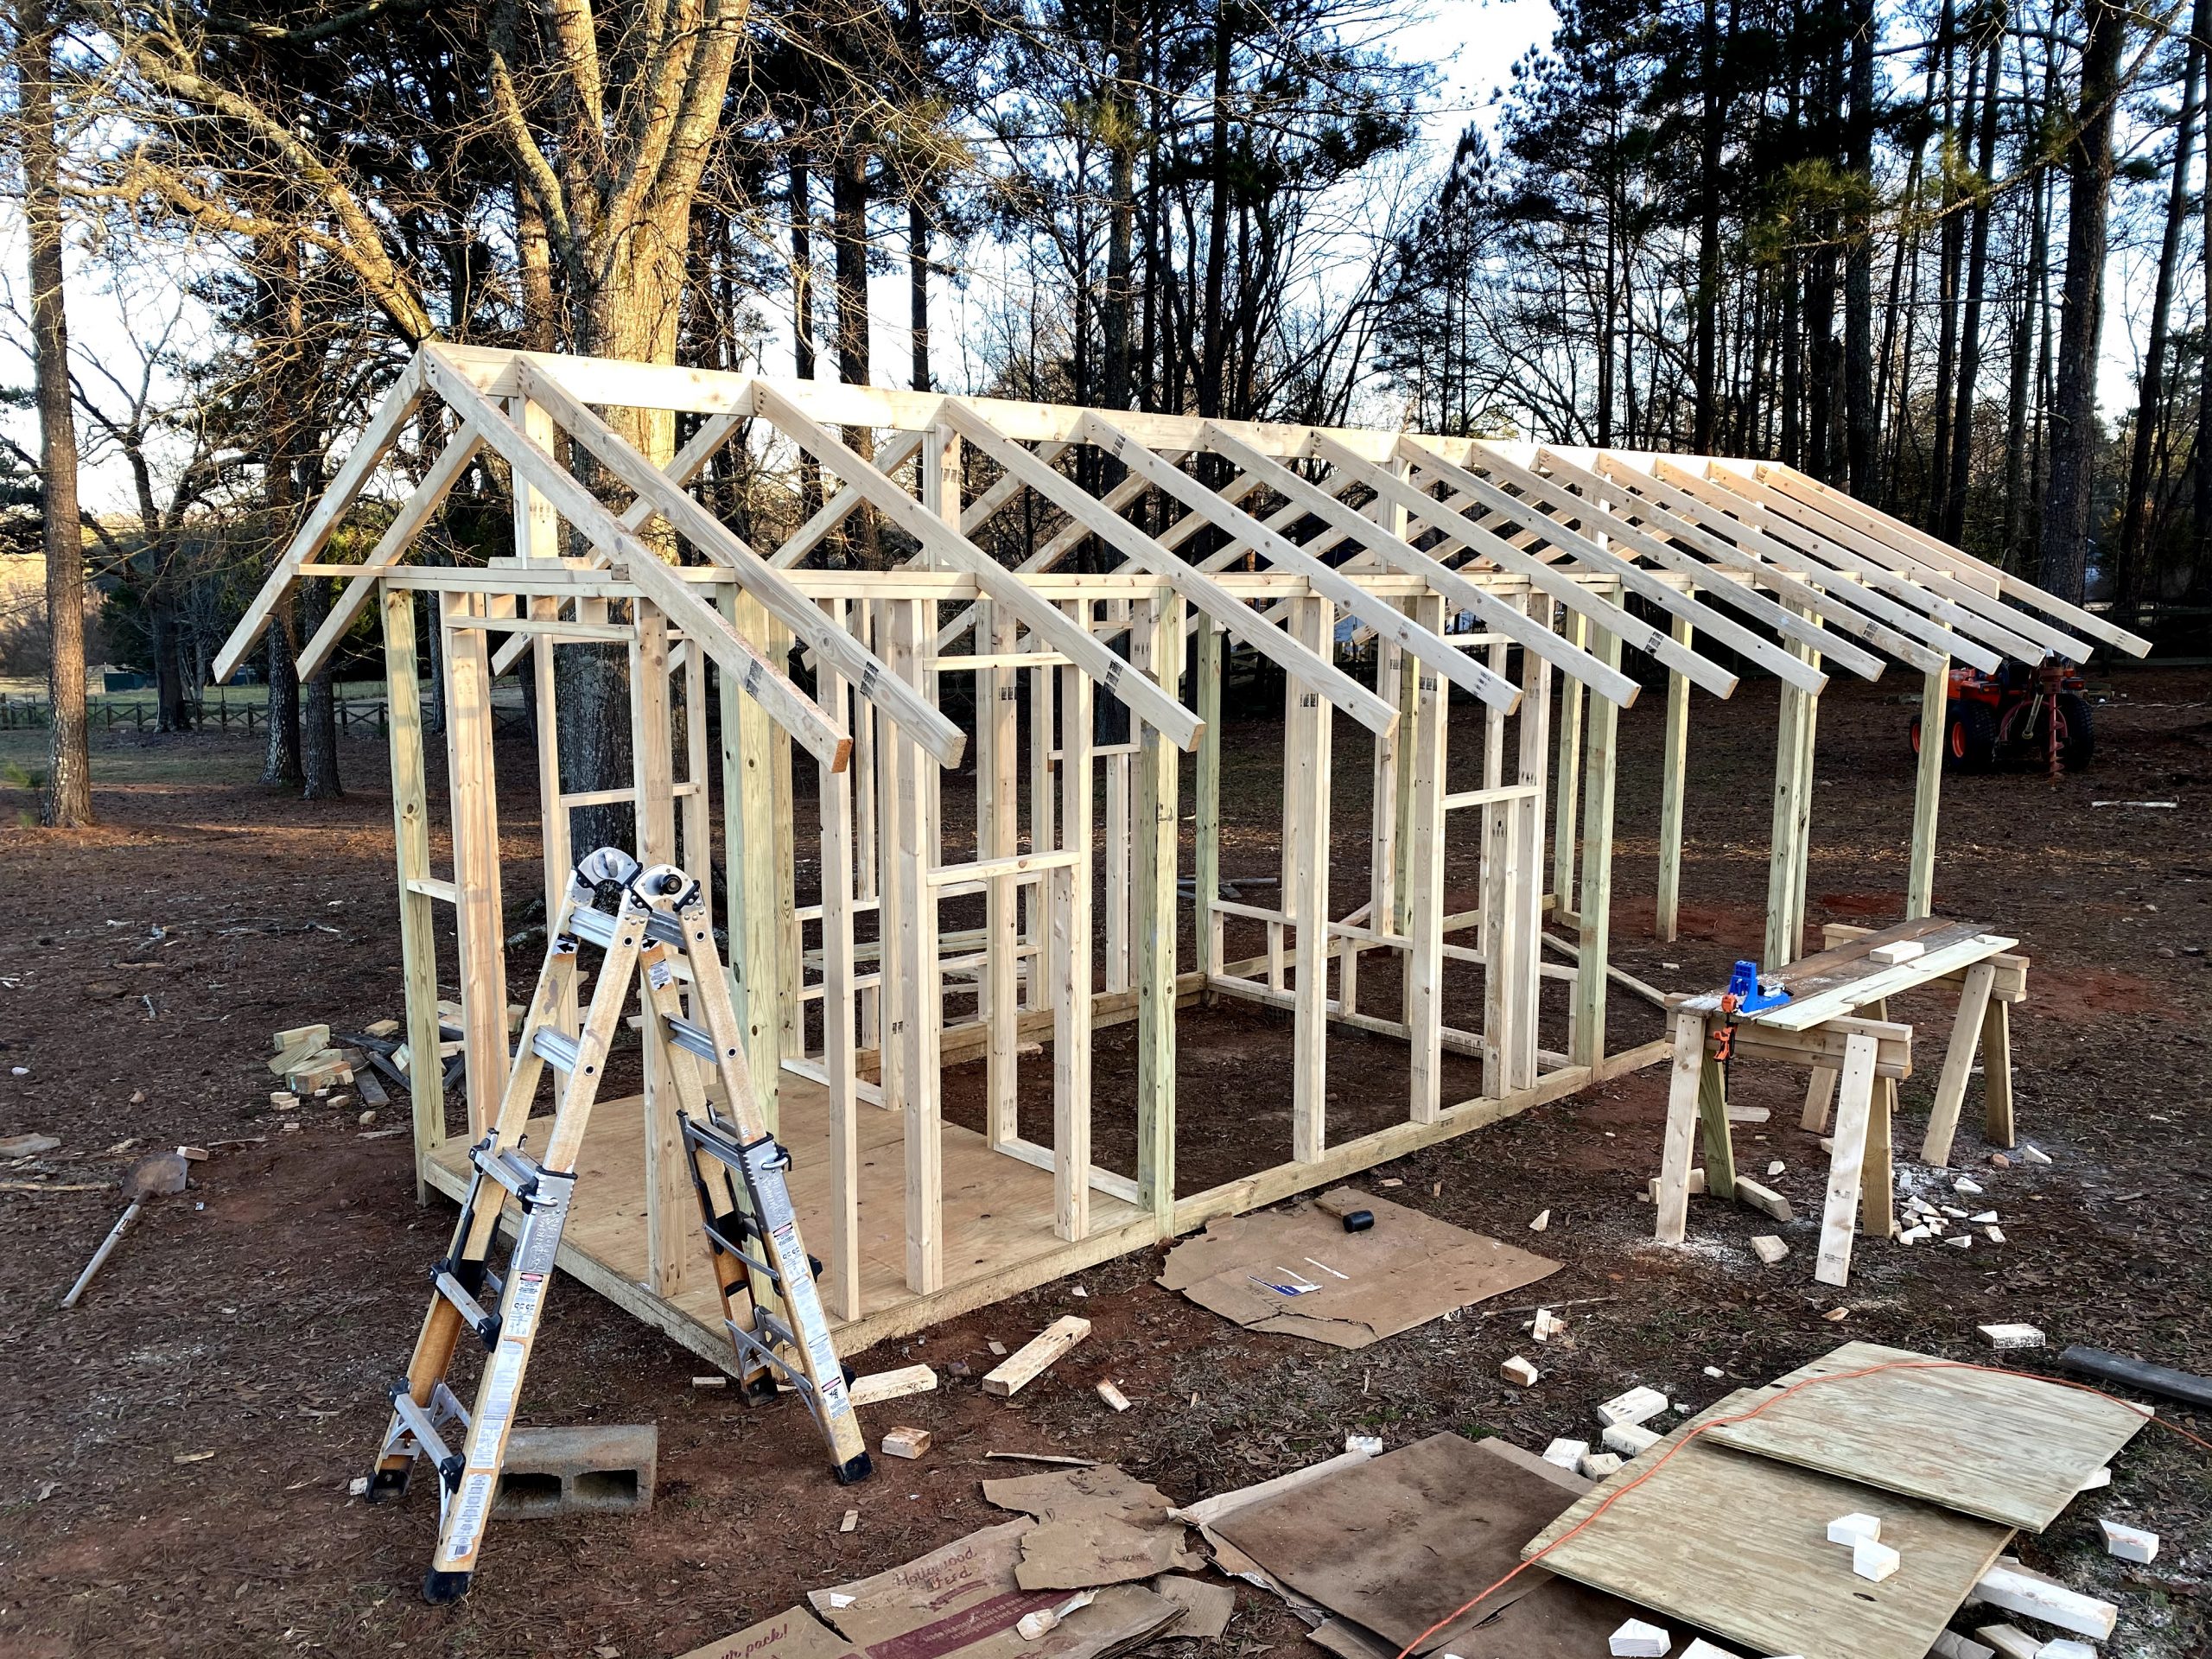
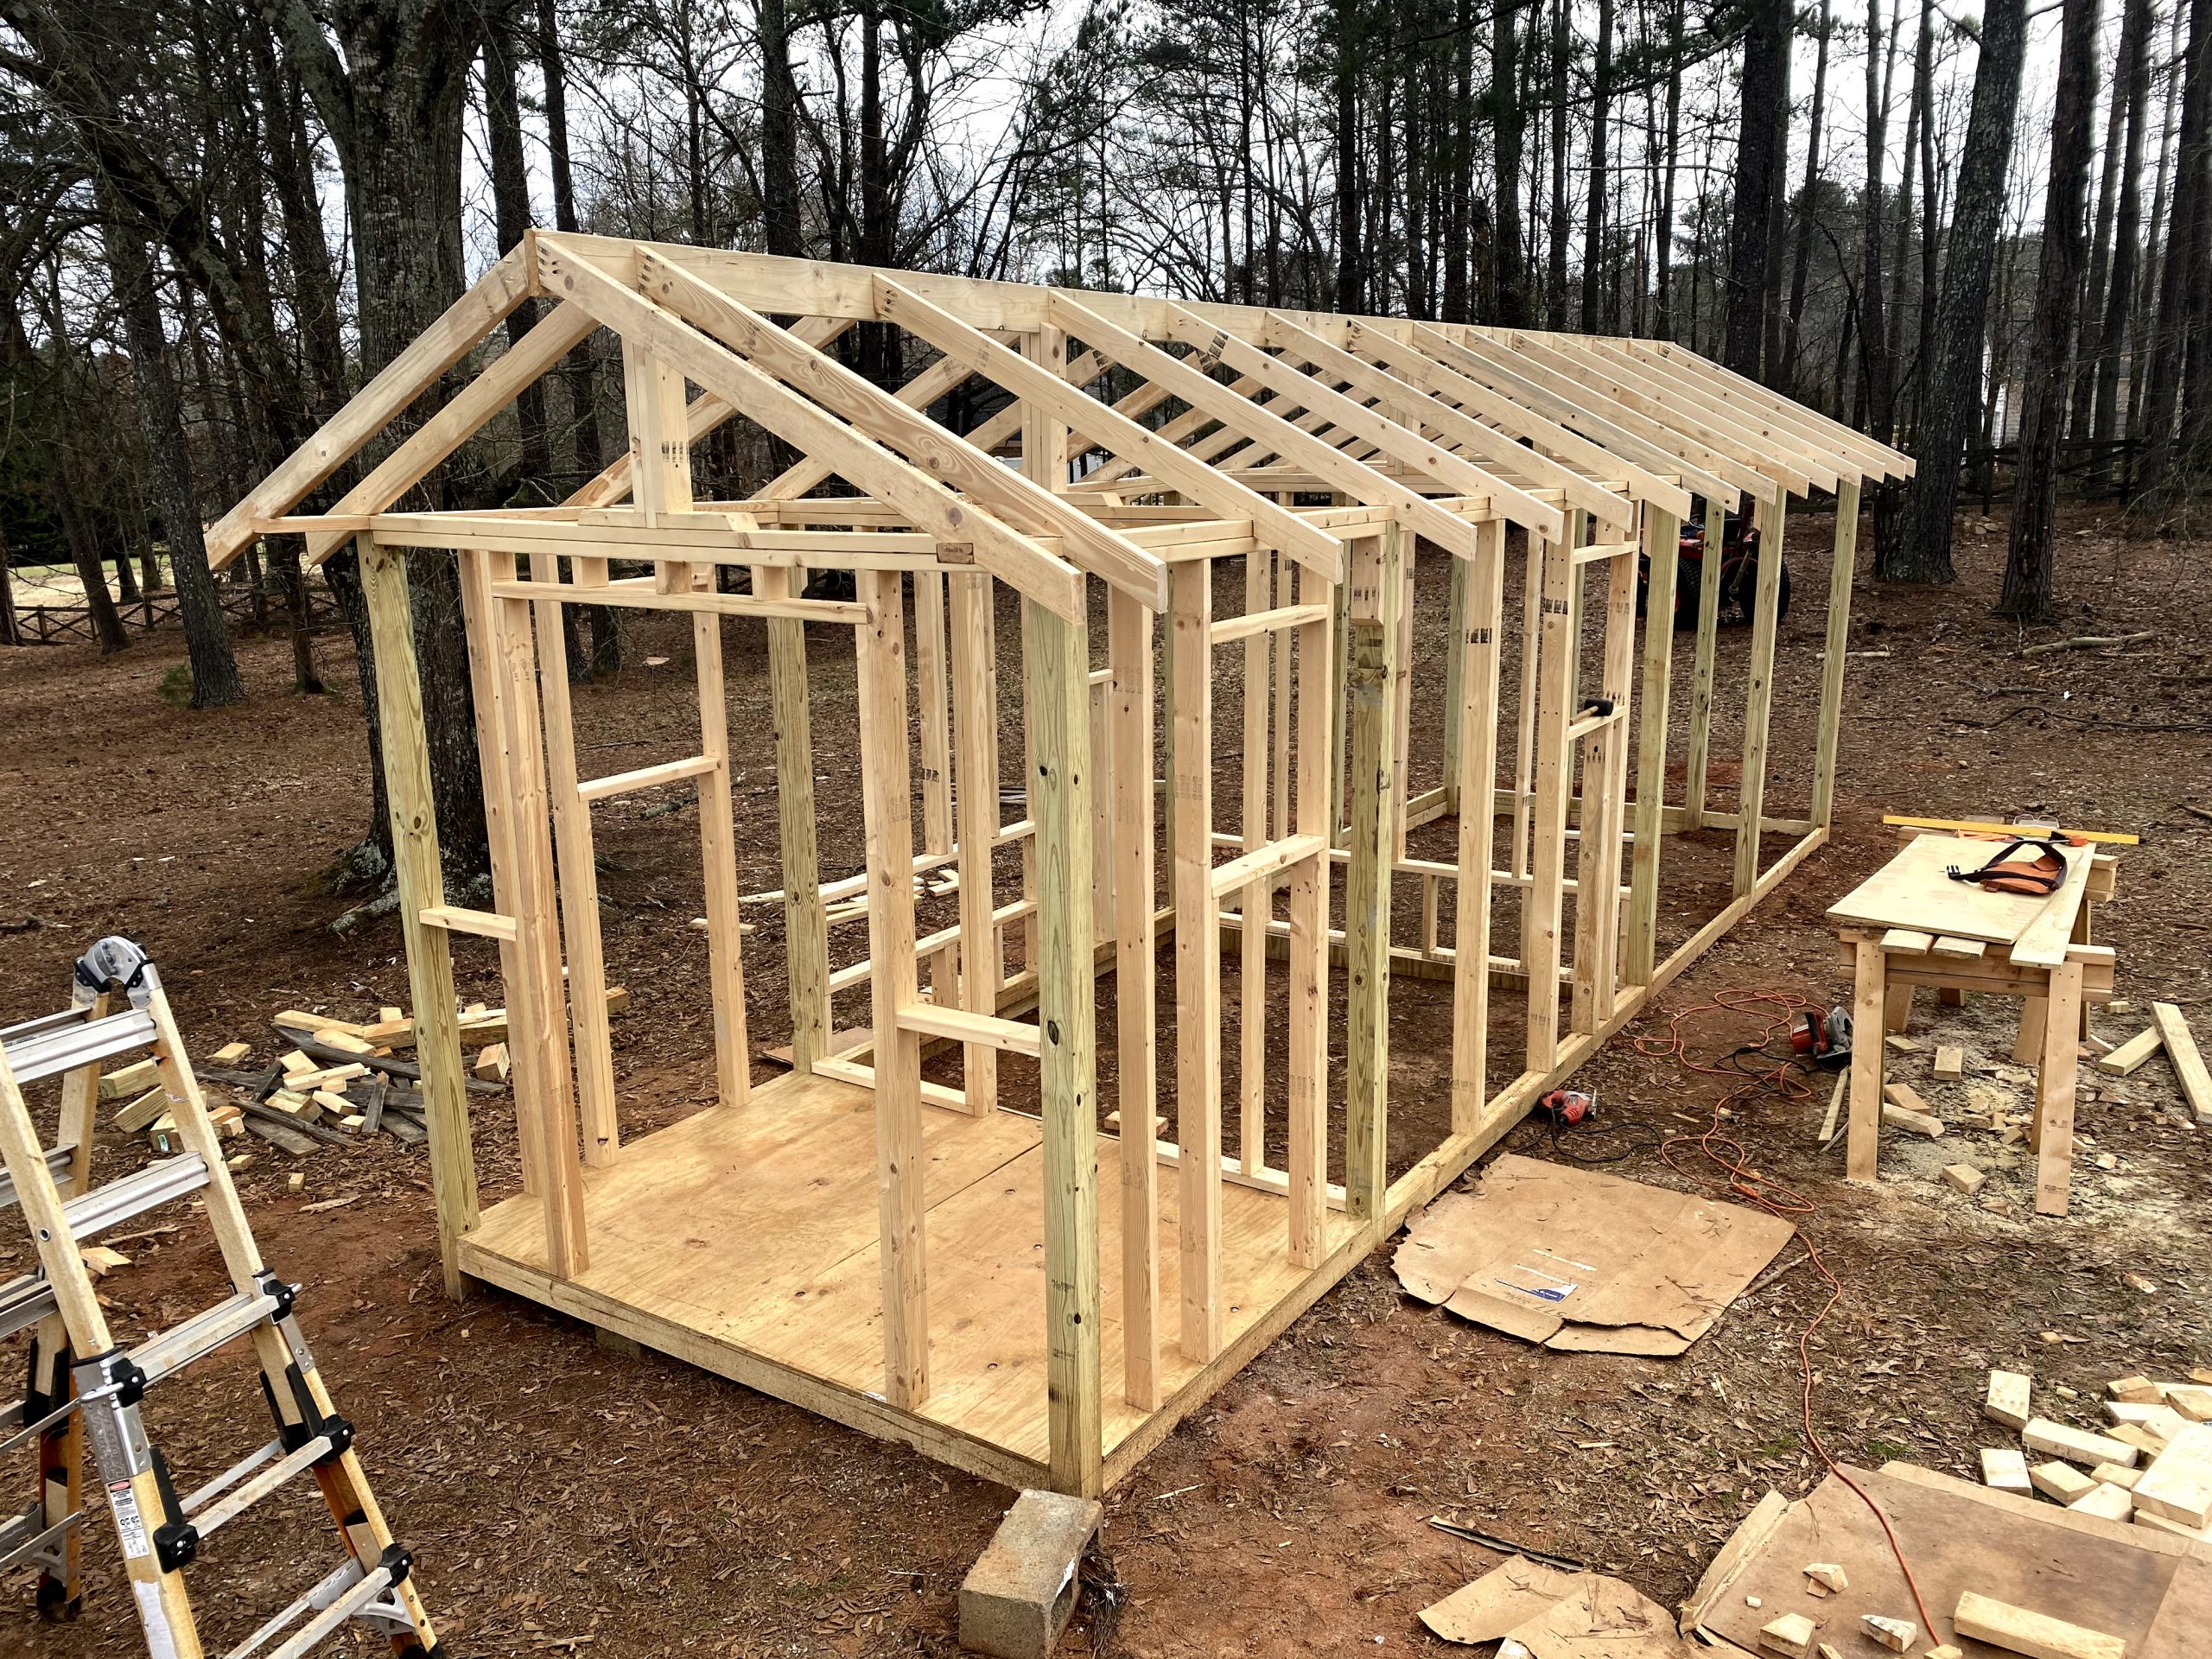
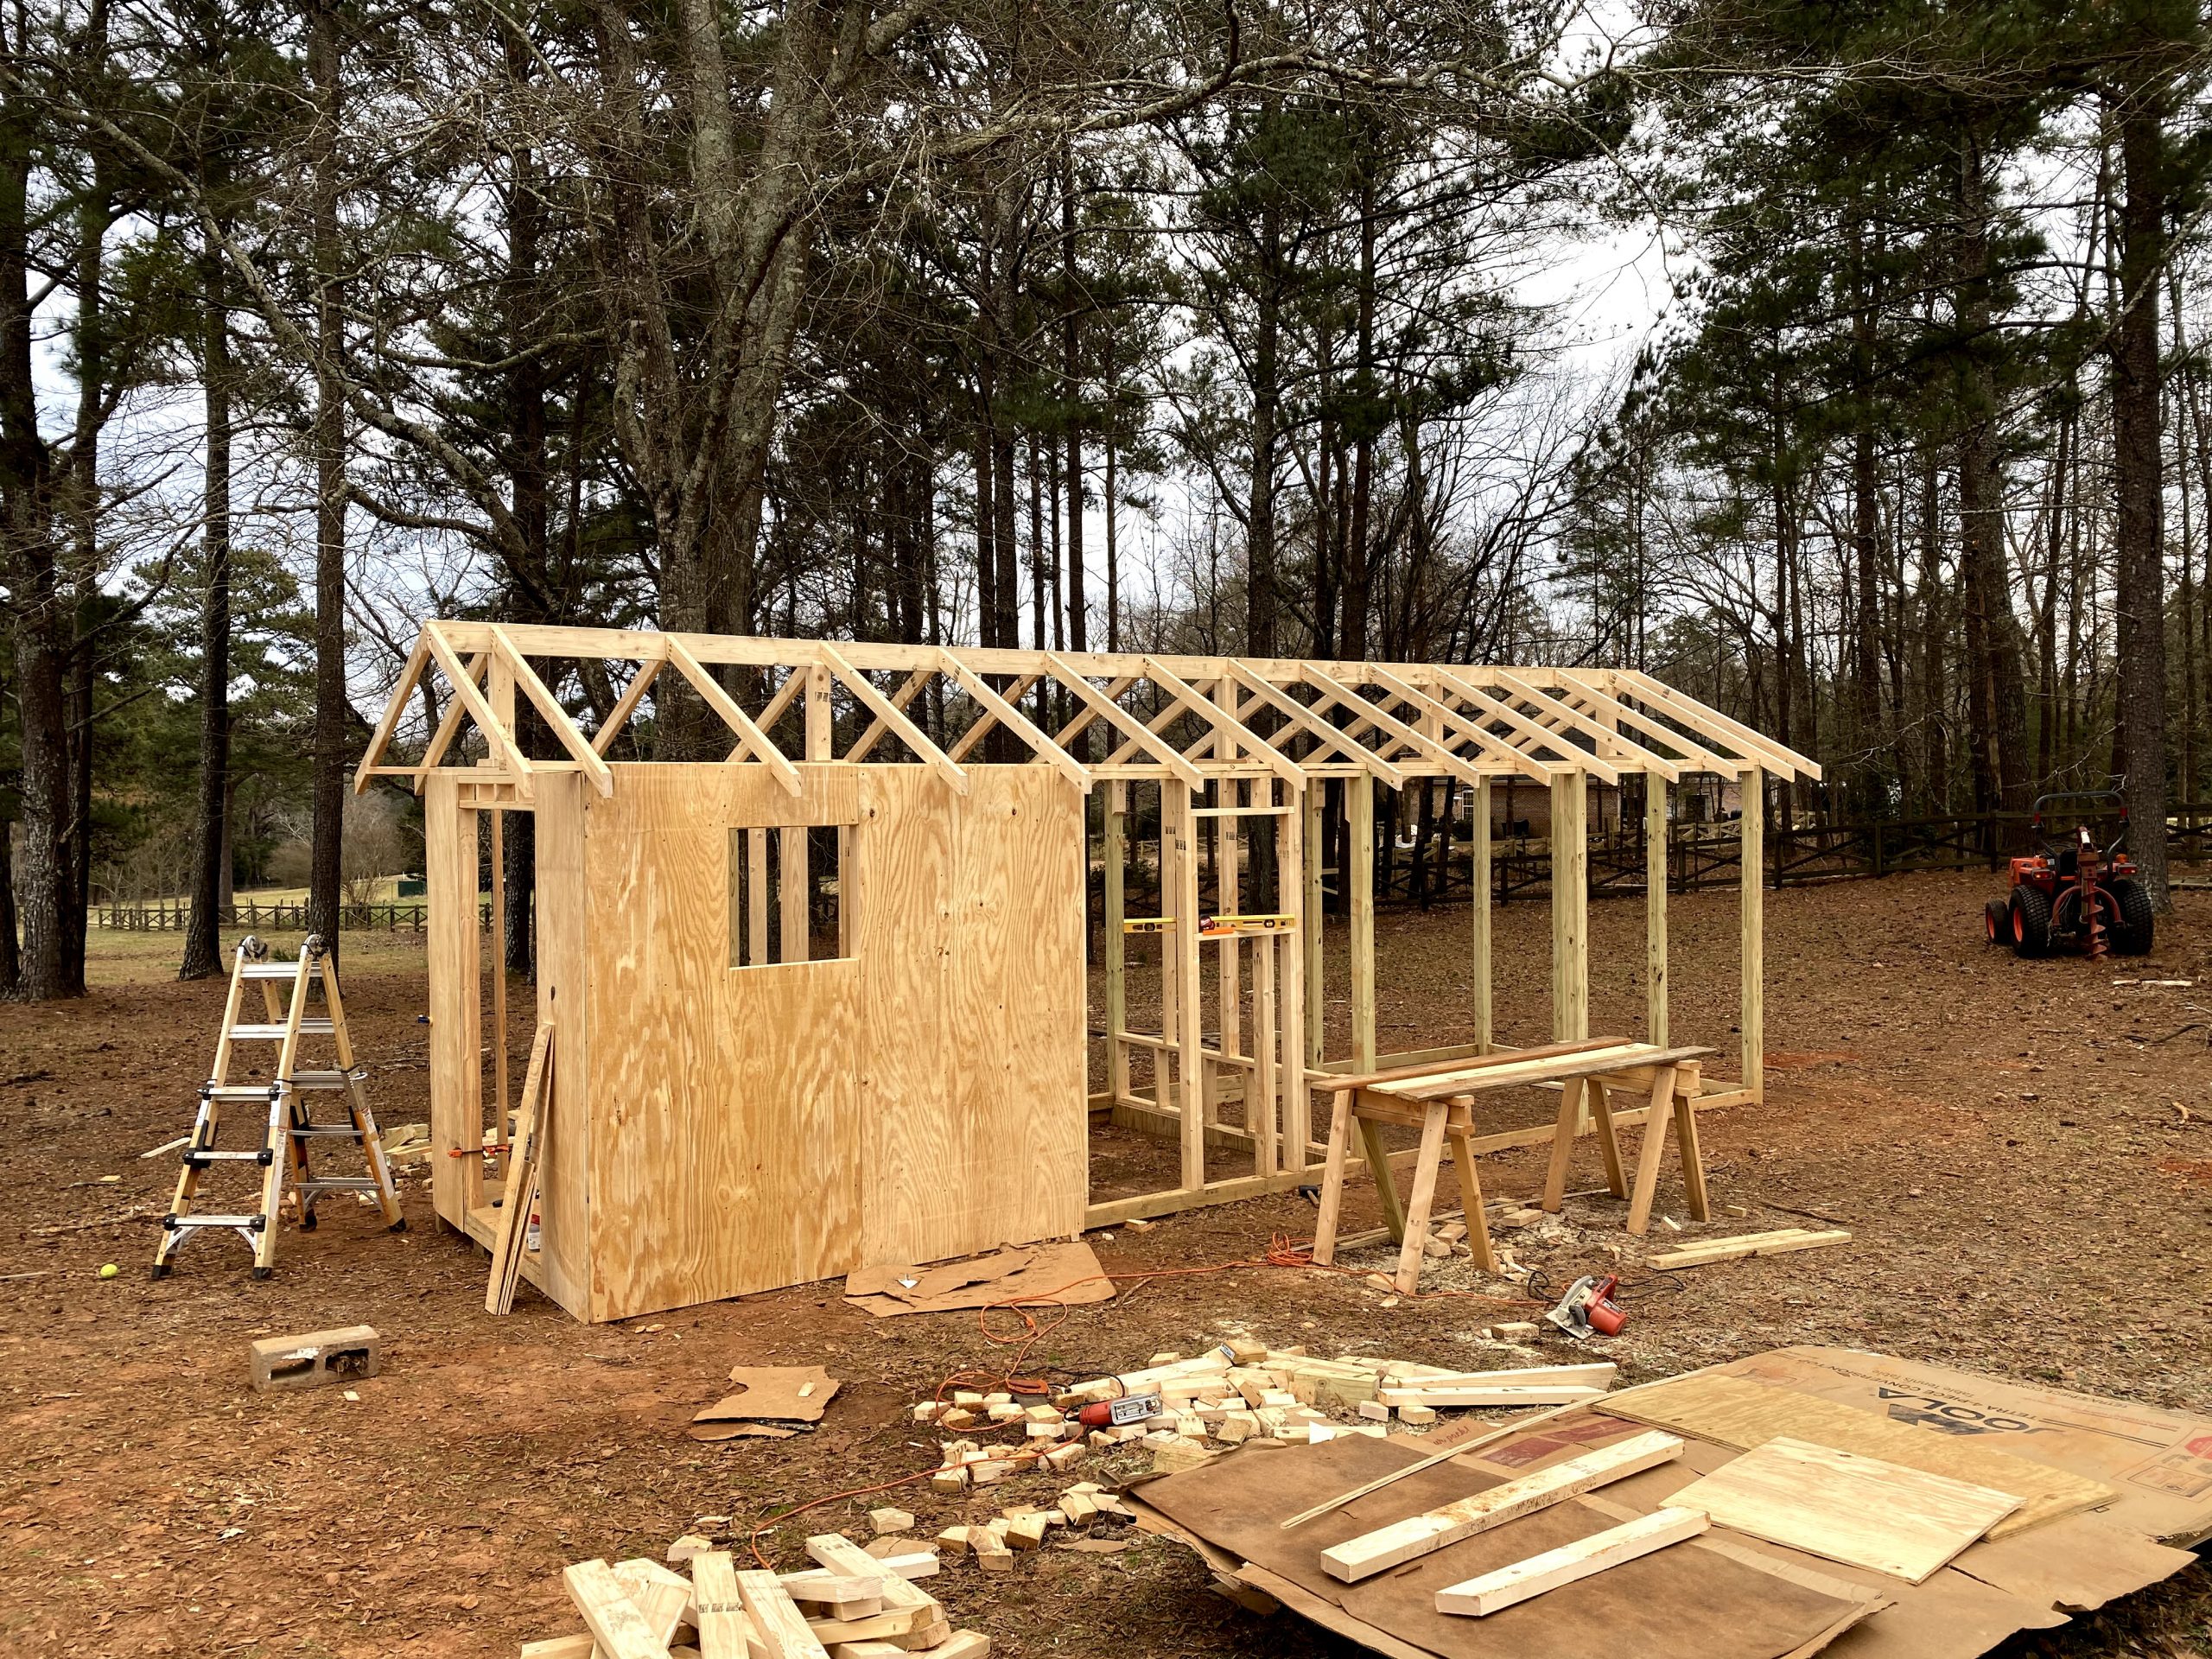
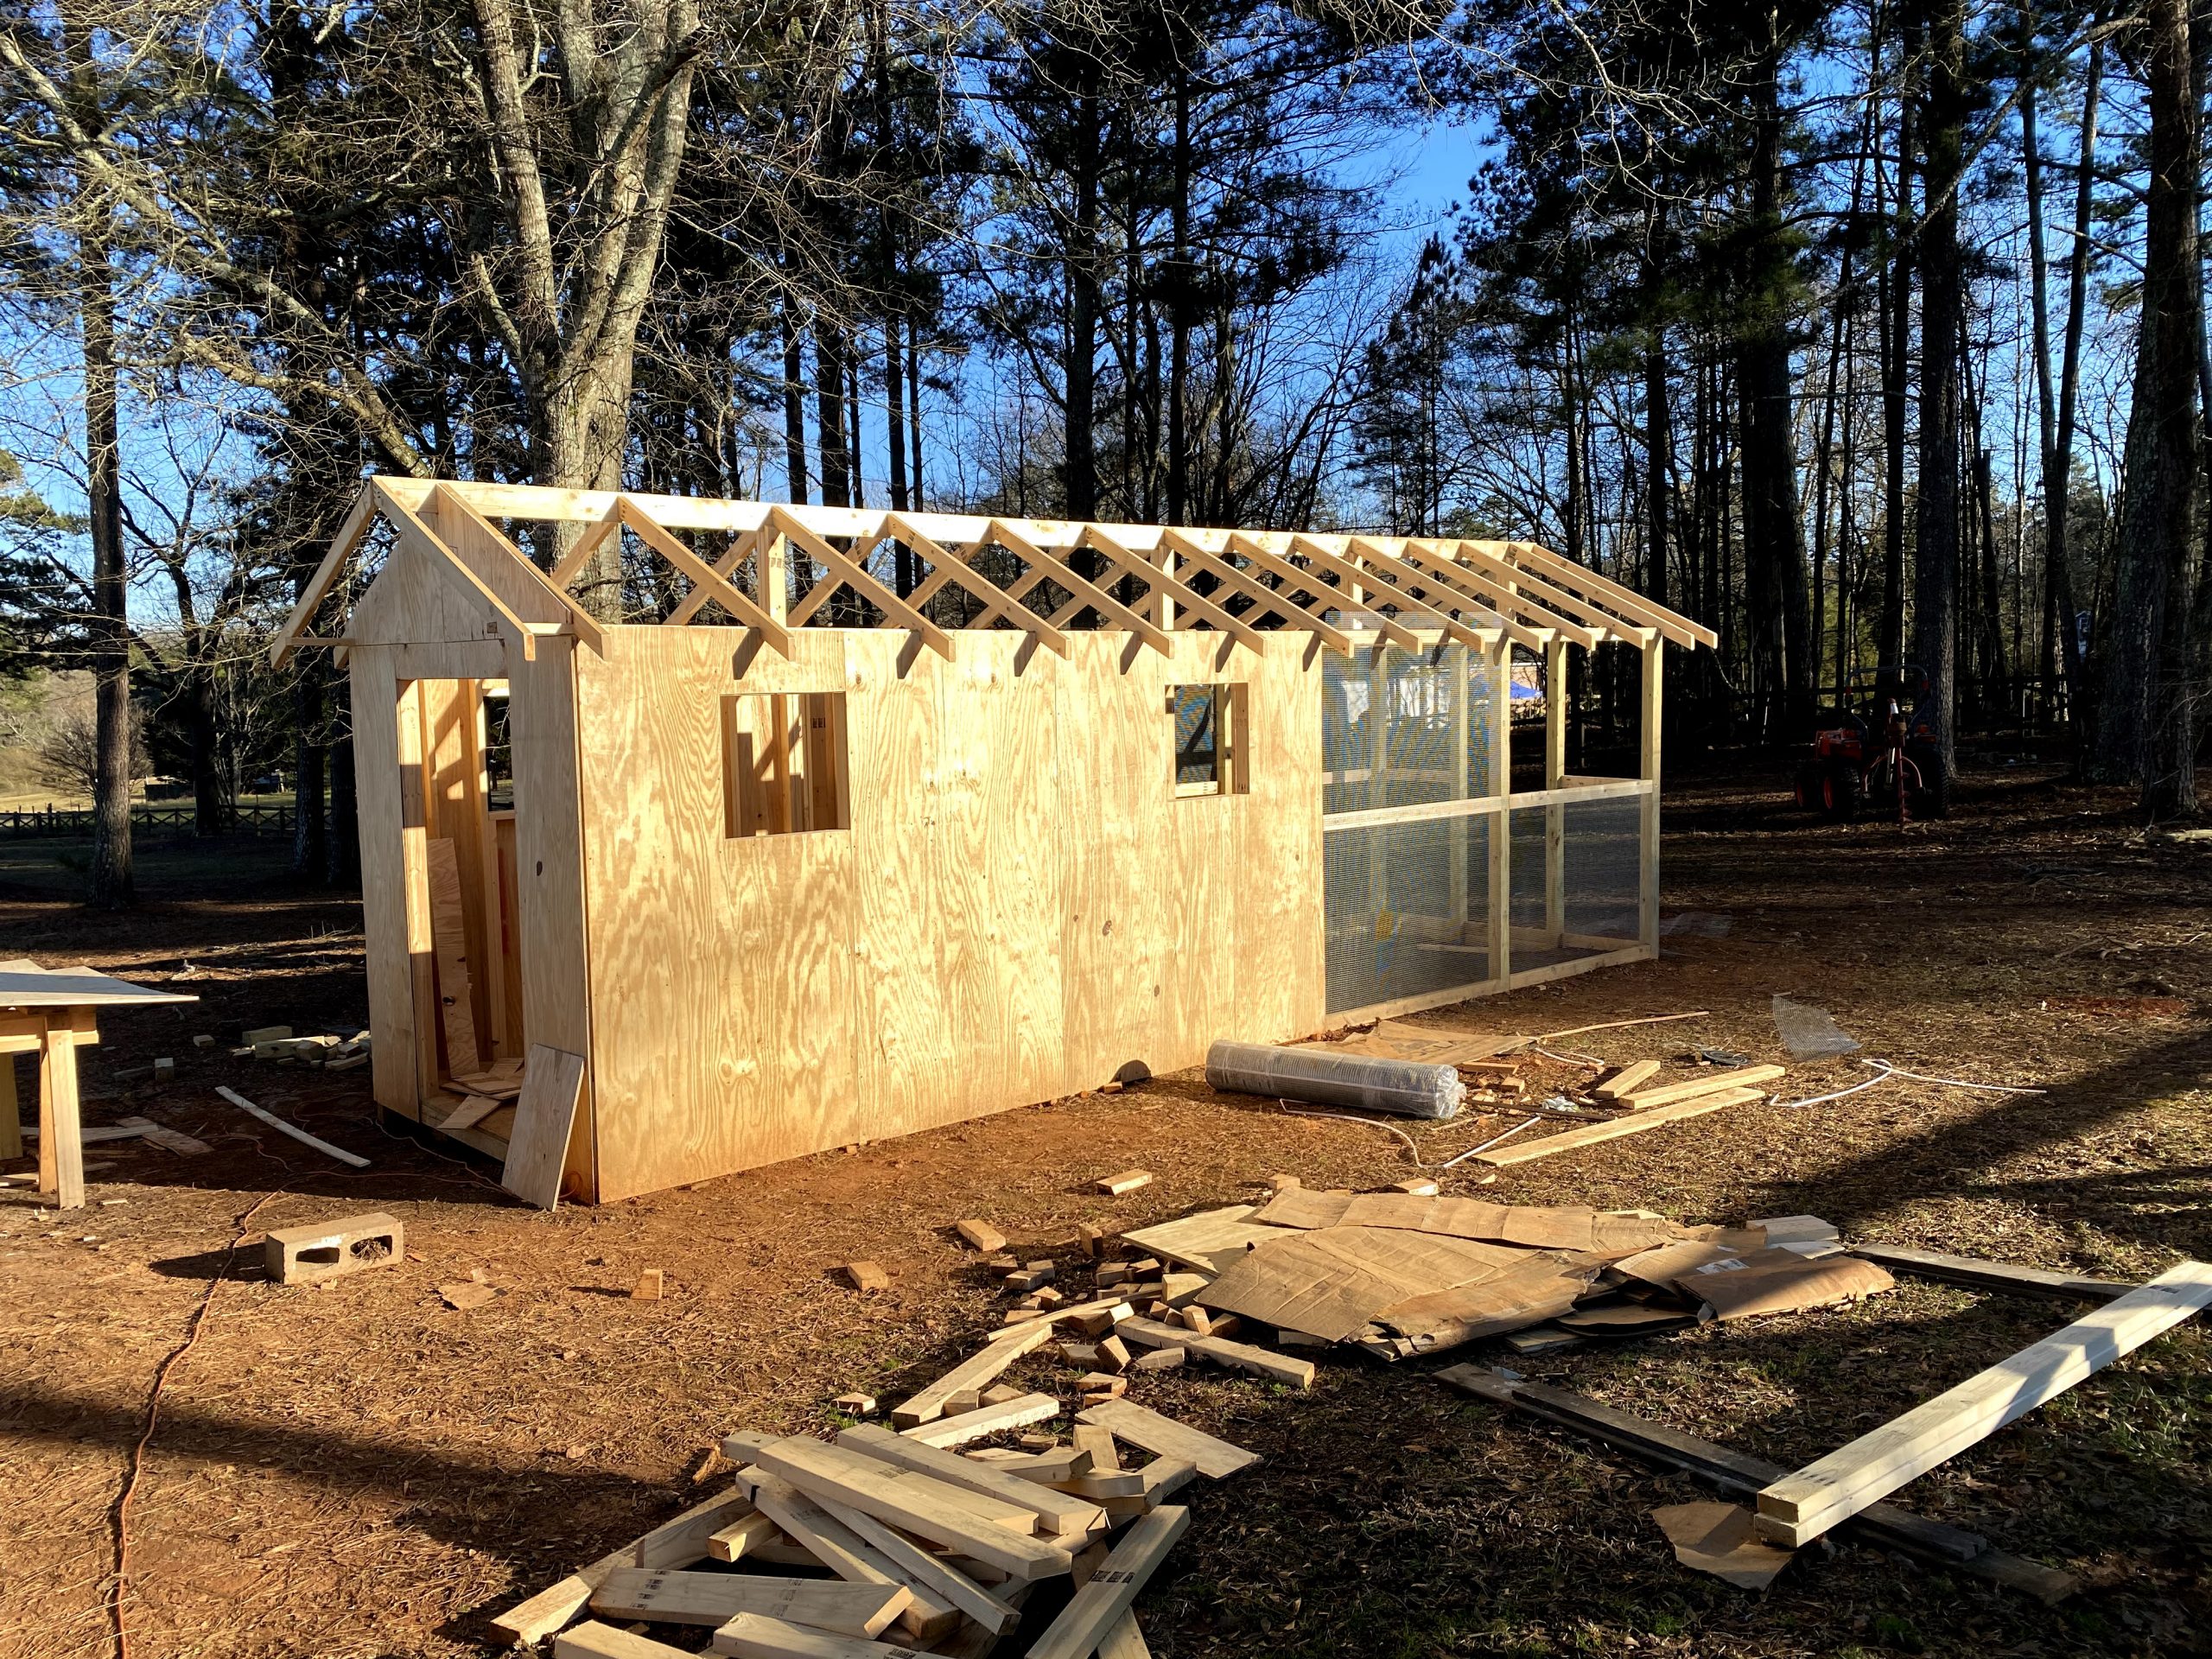
Once the framing was completed, it was time to start of the roof beam and joists. It took some practice but after a while cutting the angles and notches for them to sit properly on the top frame became fairly easy. Next came the painting. After a weekend of trying to paint the structure by hand, I broke down and purchased a paint sprayer…I wish I had it from the start as I would have been able to finish the painting in one weekend and not two.
The roof was probably the hardest part for me as I didn’t have a helper that weekend and I only had a six foot ladder. But, I made it work, standing on the top step of the ladder and screwing each section of metal sheeting in as I went. Due to some bend in the material it didn’t exactly line up at each end, but I don’t think the chickens really care.
I finished off the coop by attaching the hardware to the doors and nesting box and putting down two boxes of flooring. The original plans had the dry storage area at 6.5-ft and the nesting area at 5-ft. I didn’t like this layout, so changed the design so that the dry storage area is only 4-ft deep giving more space to the chickens.
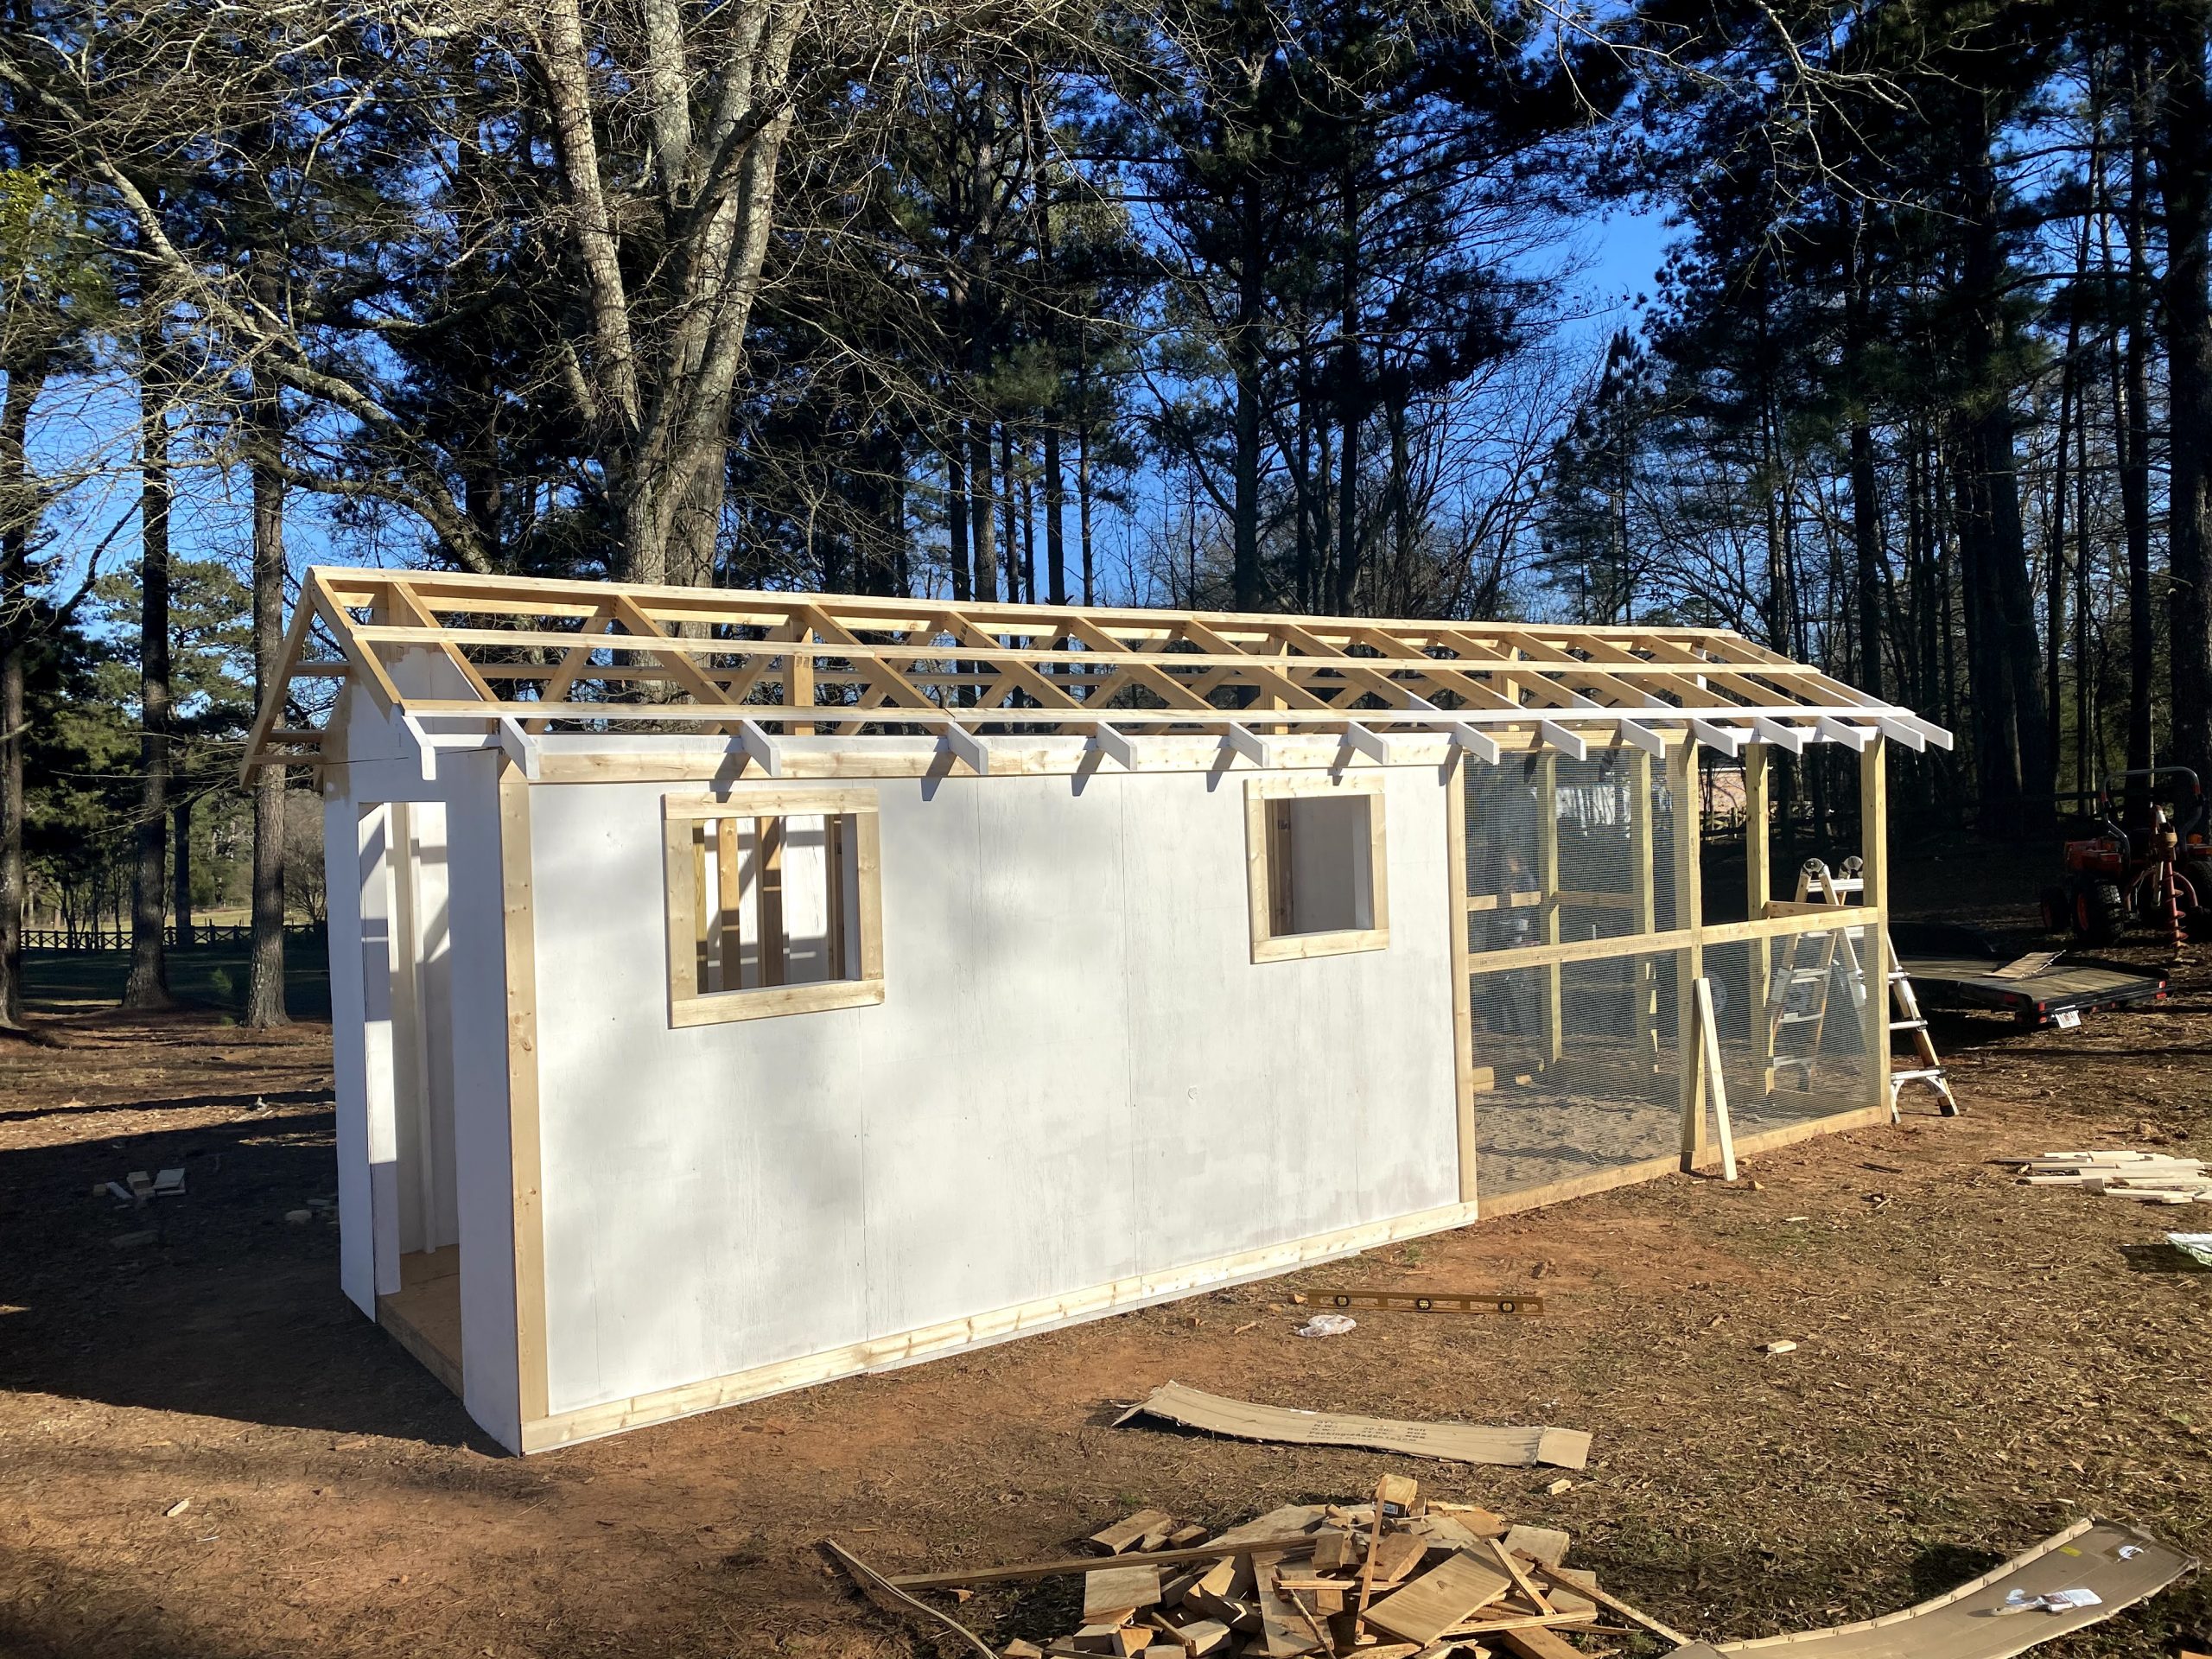
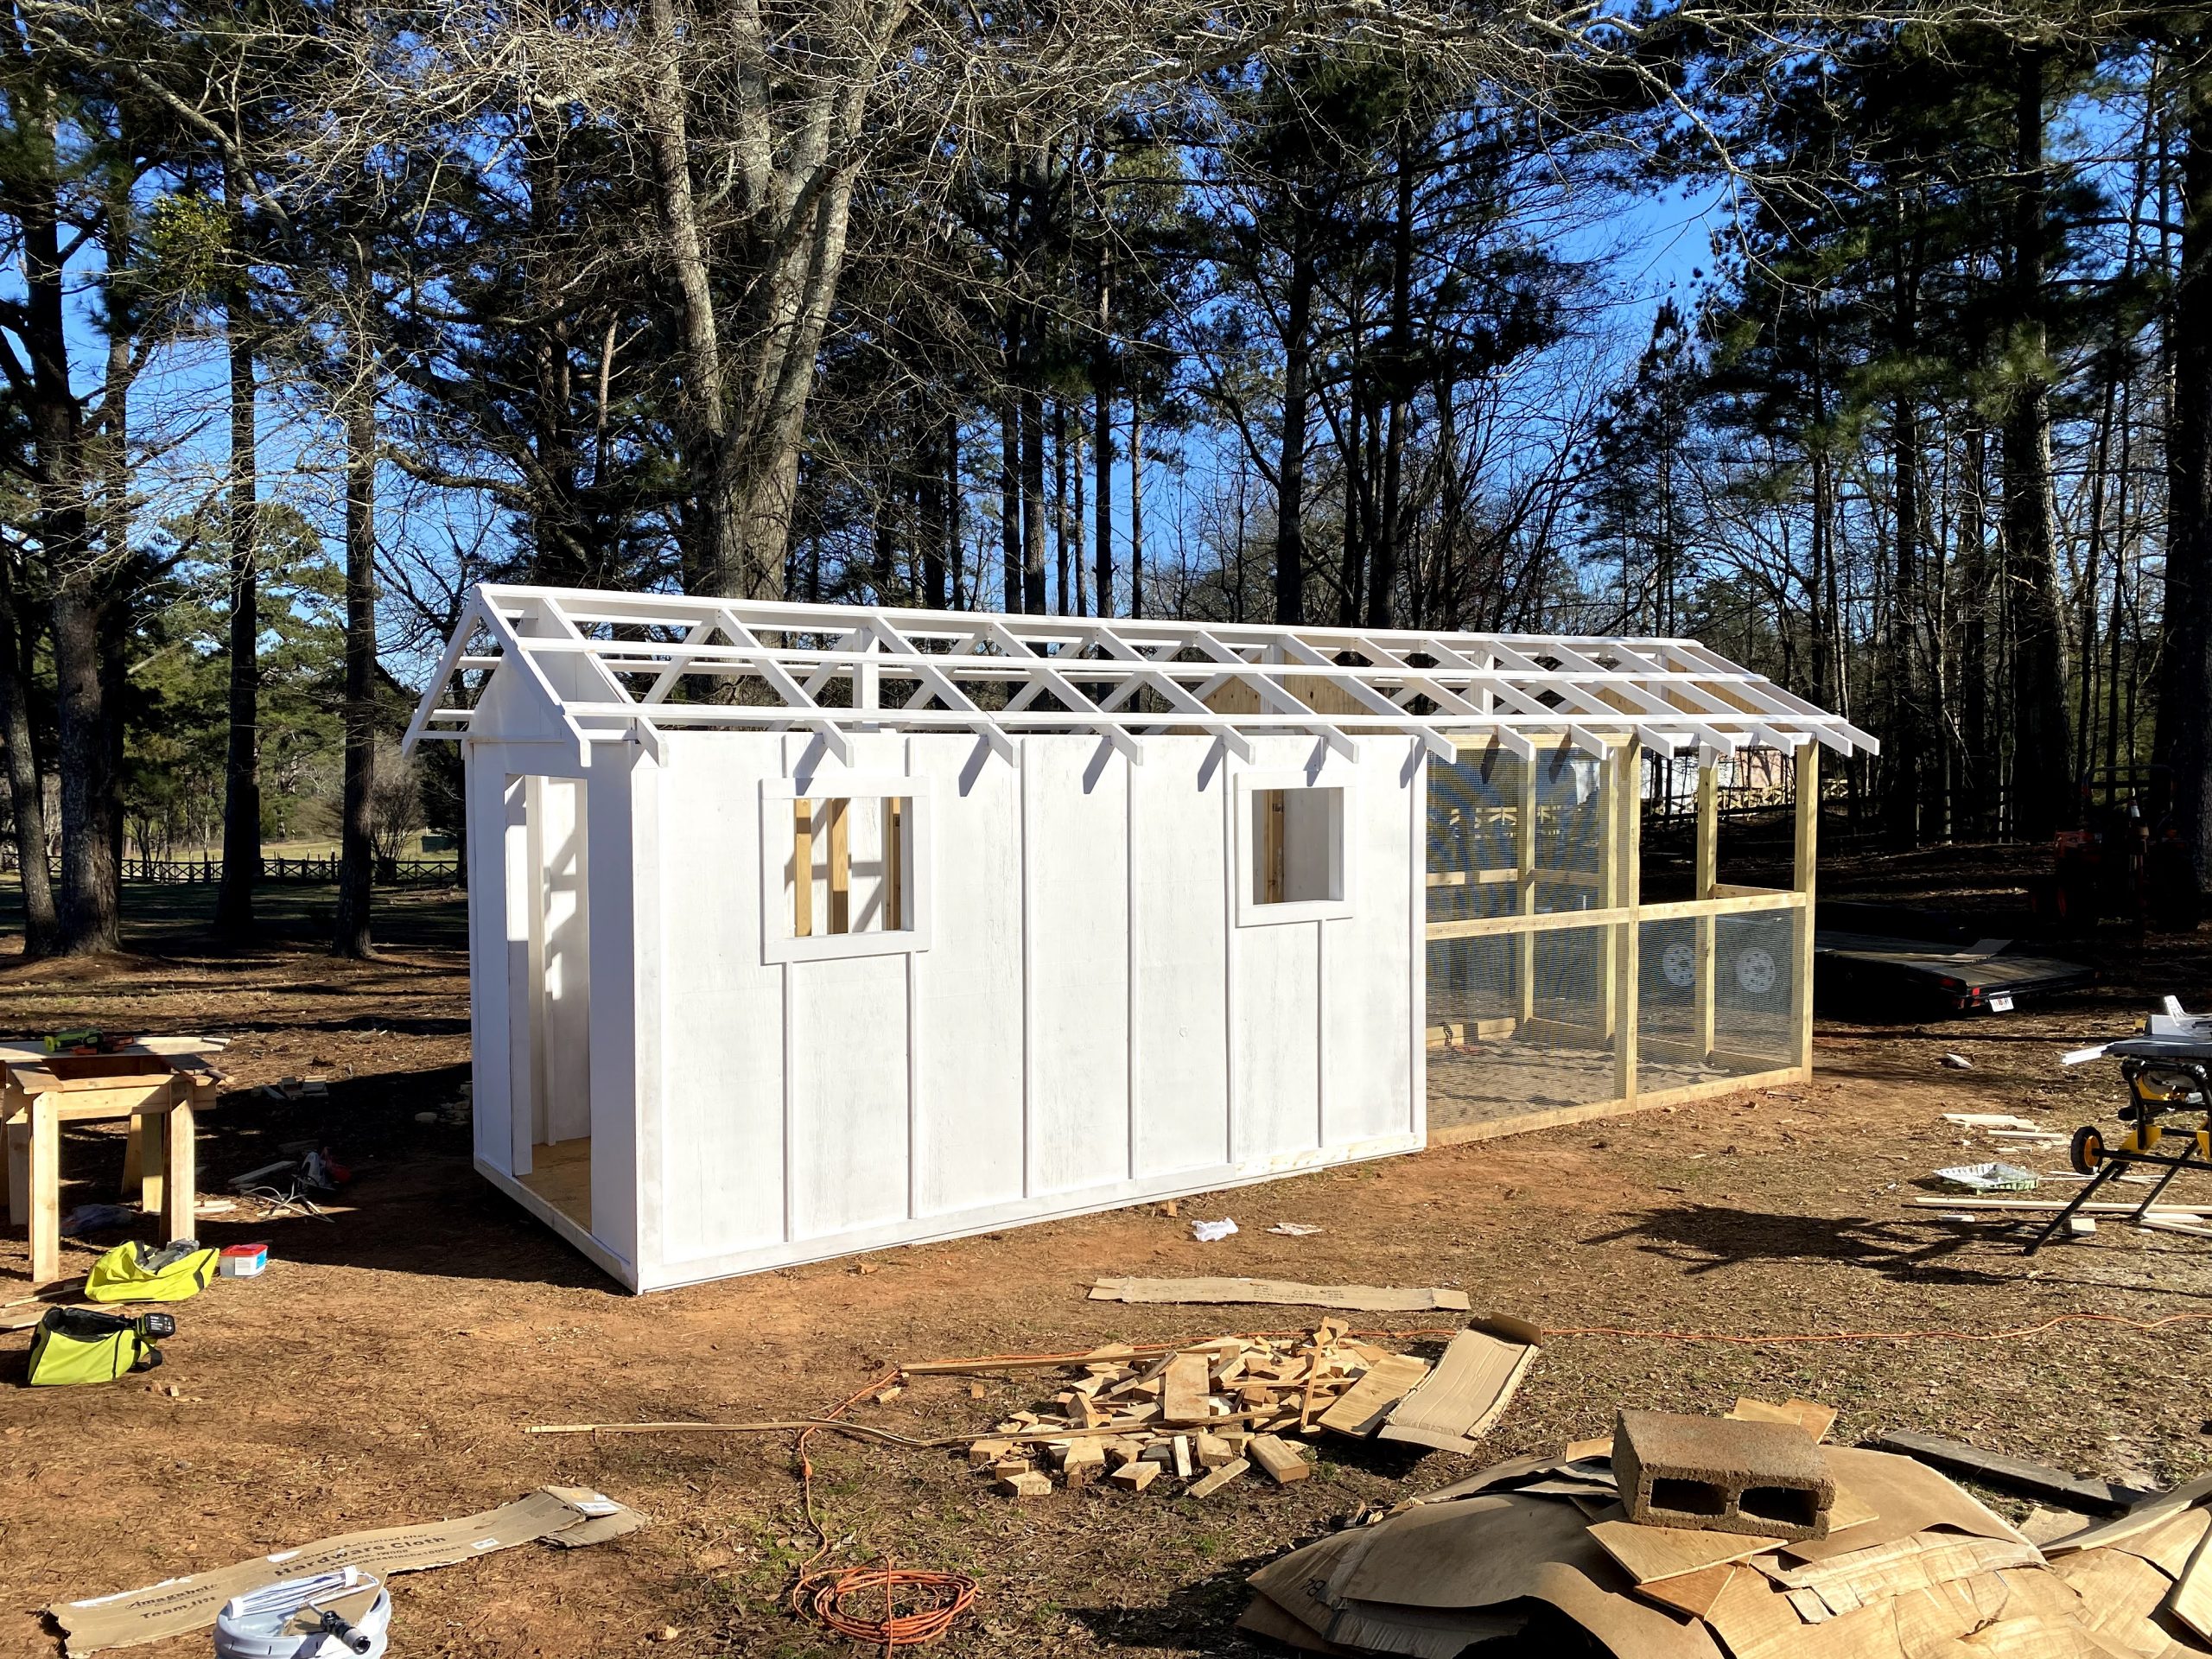
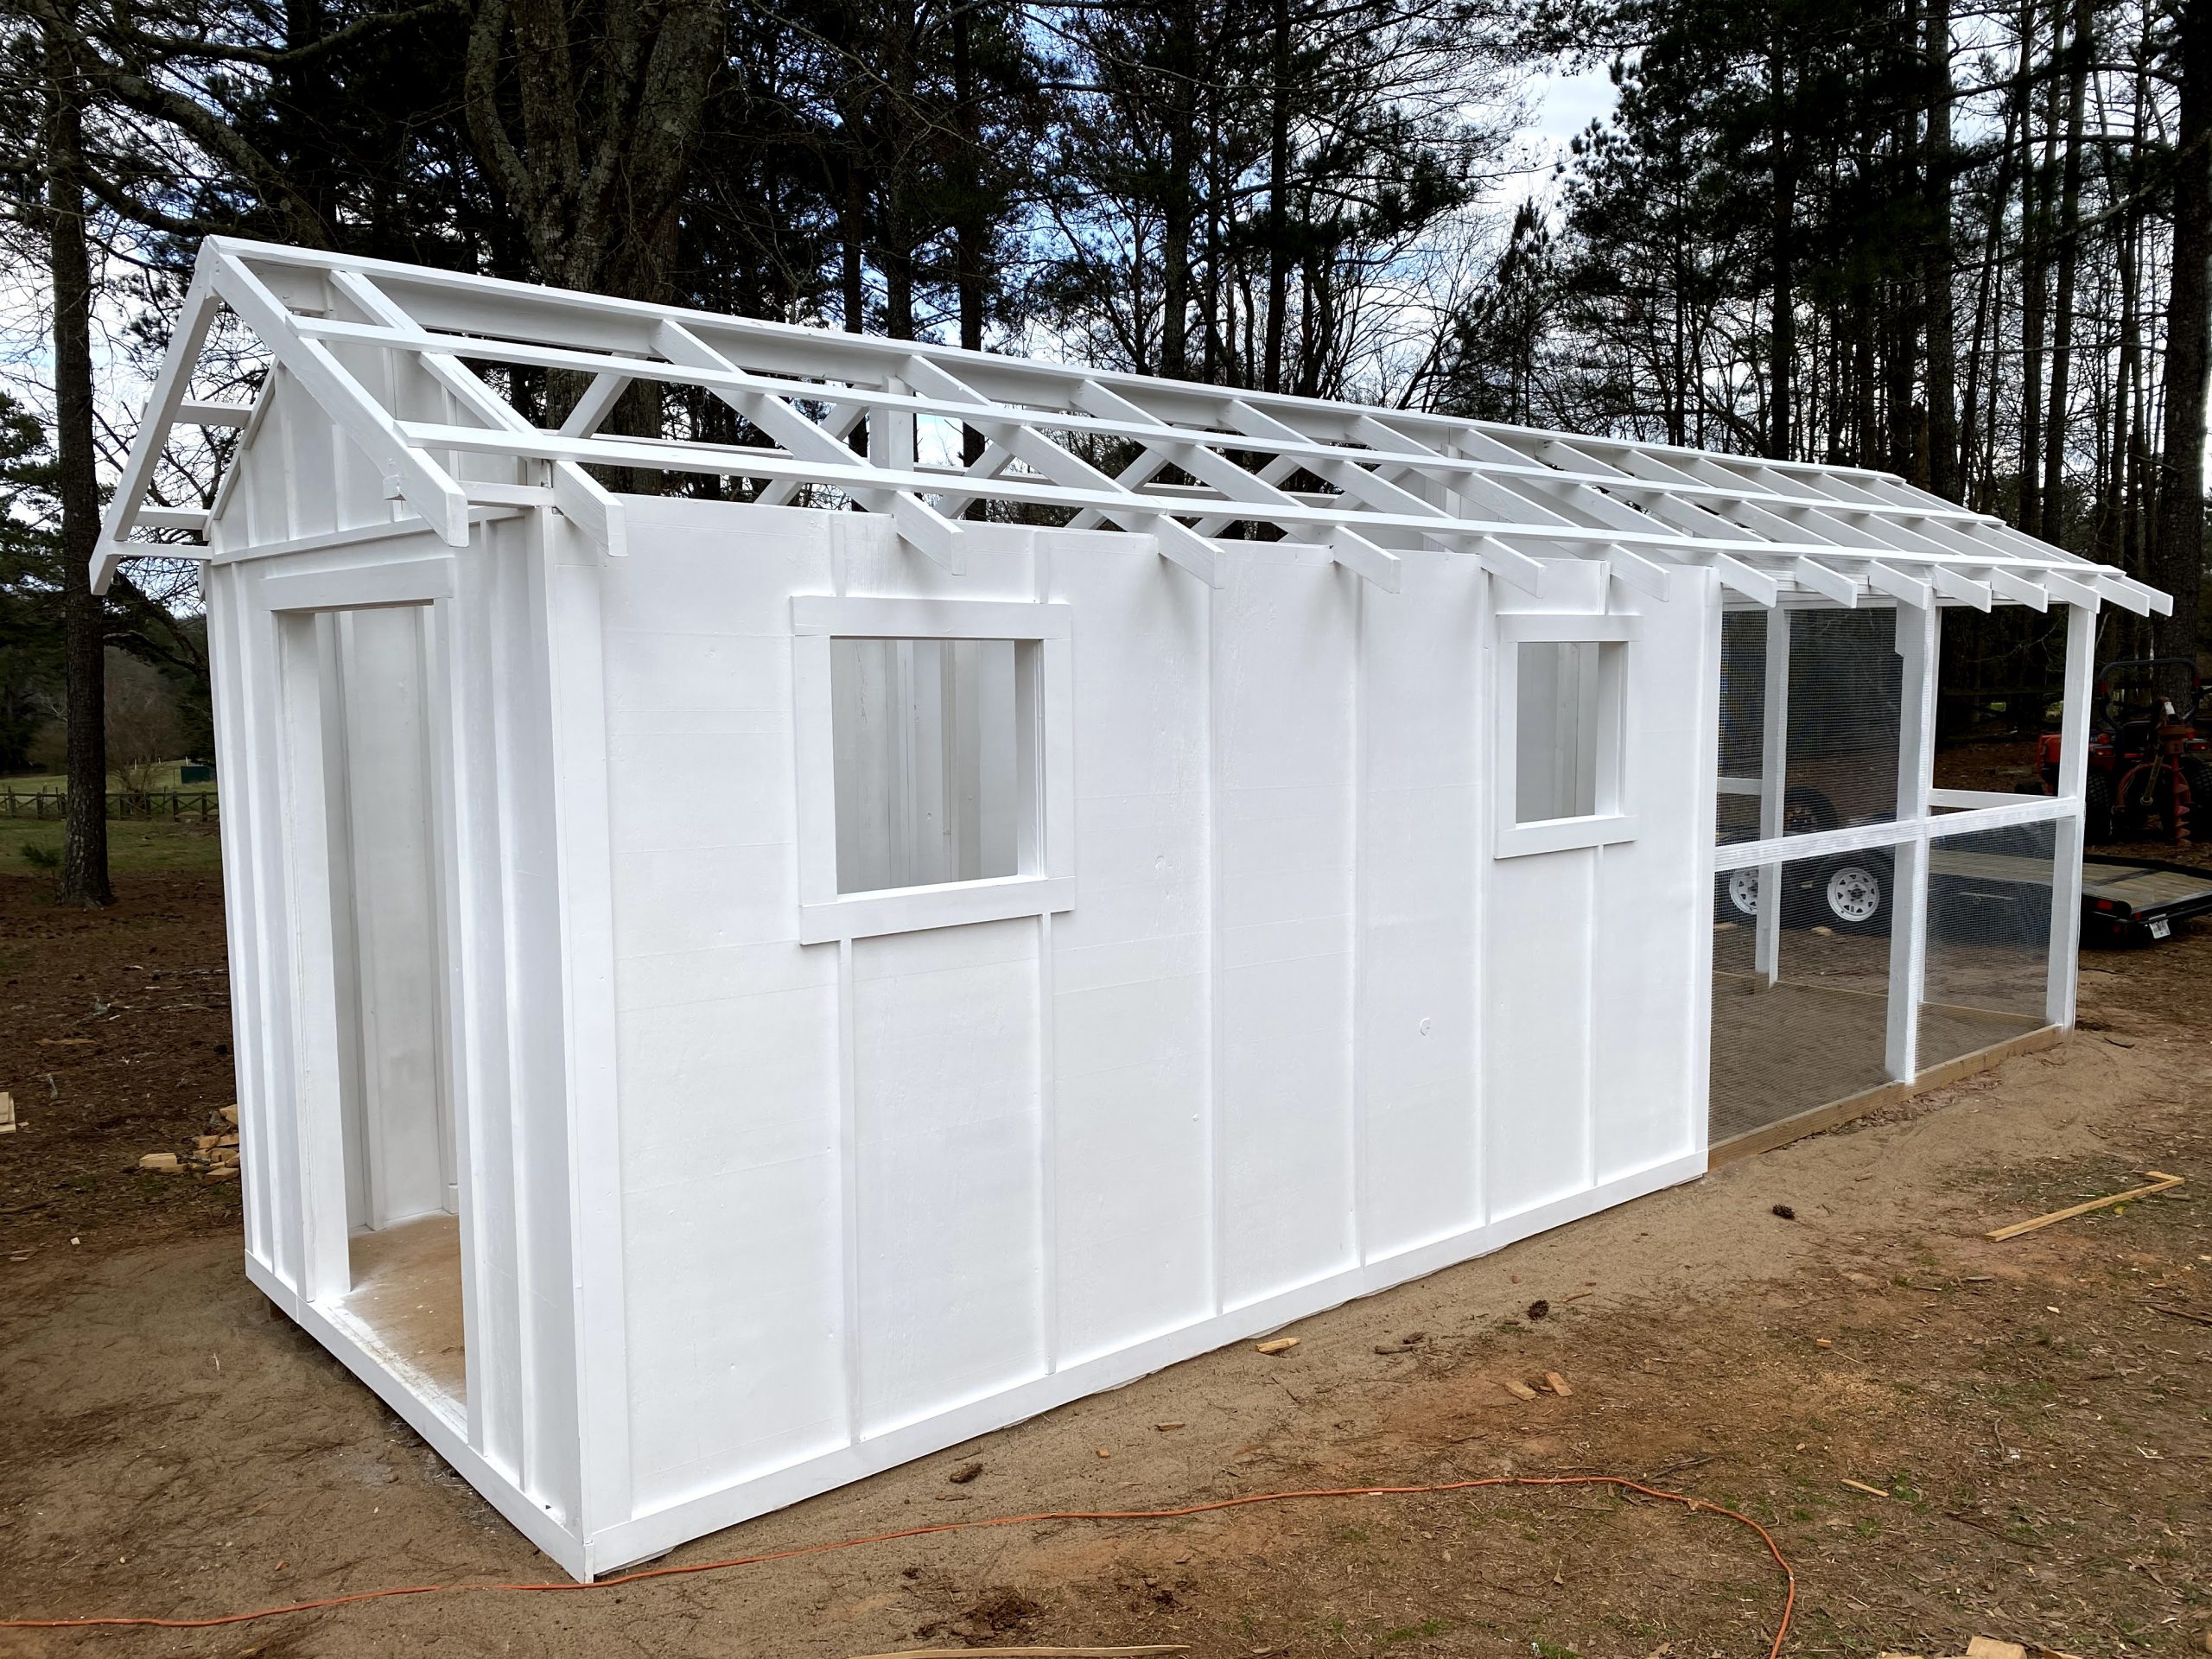

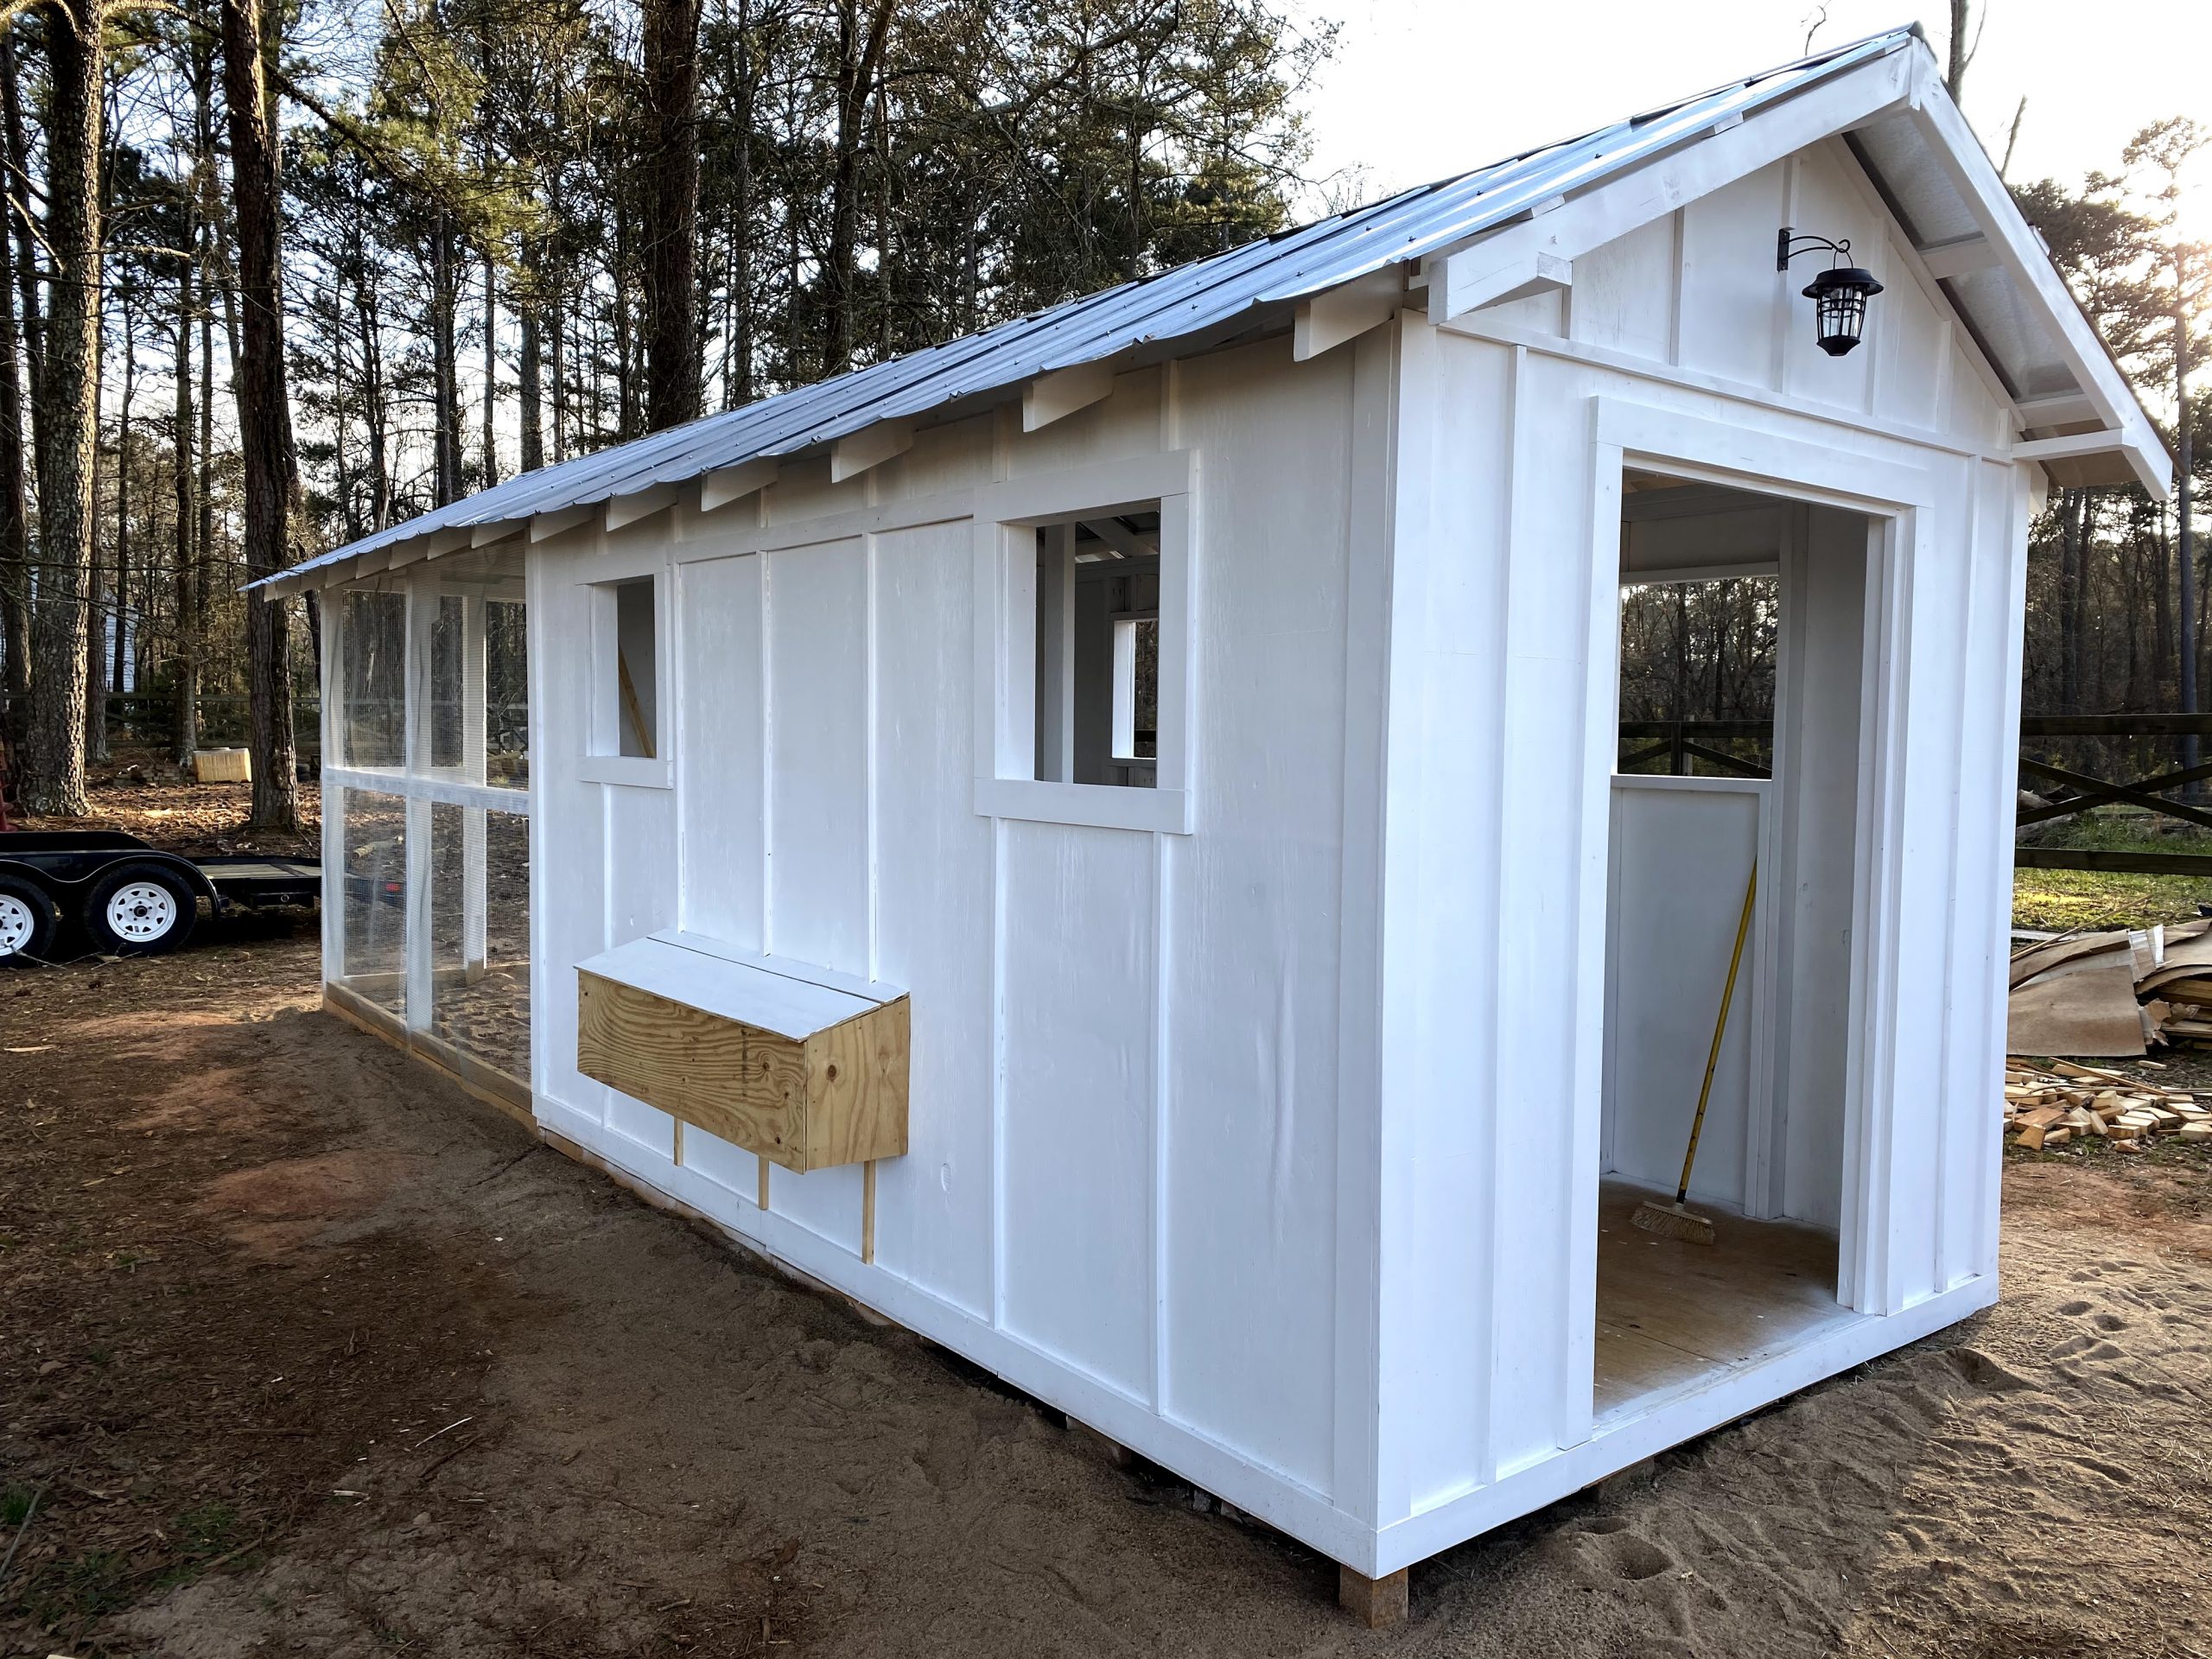
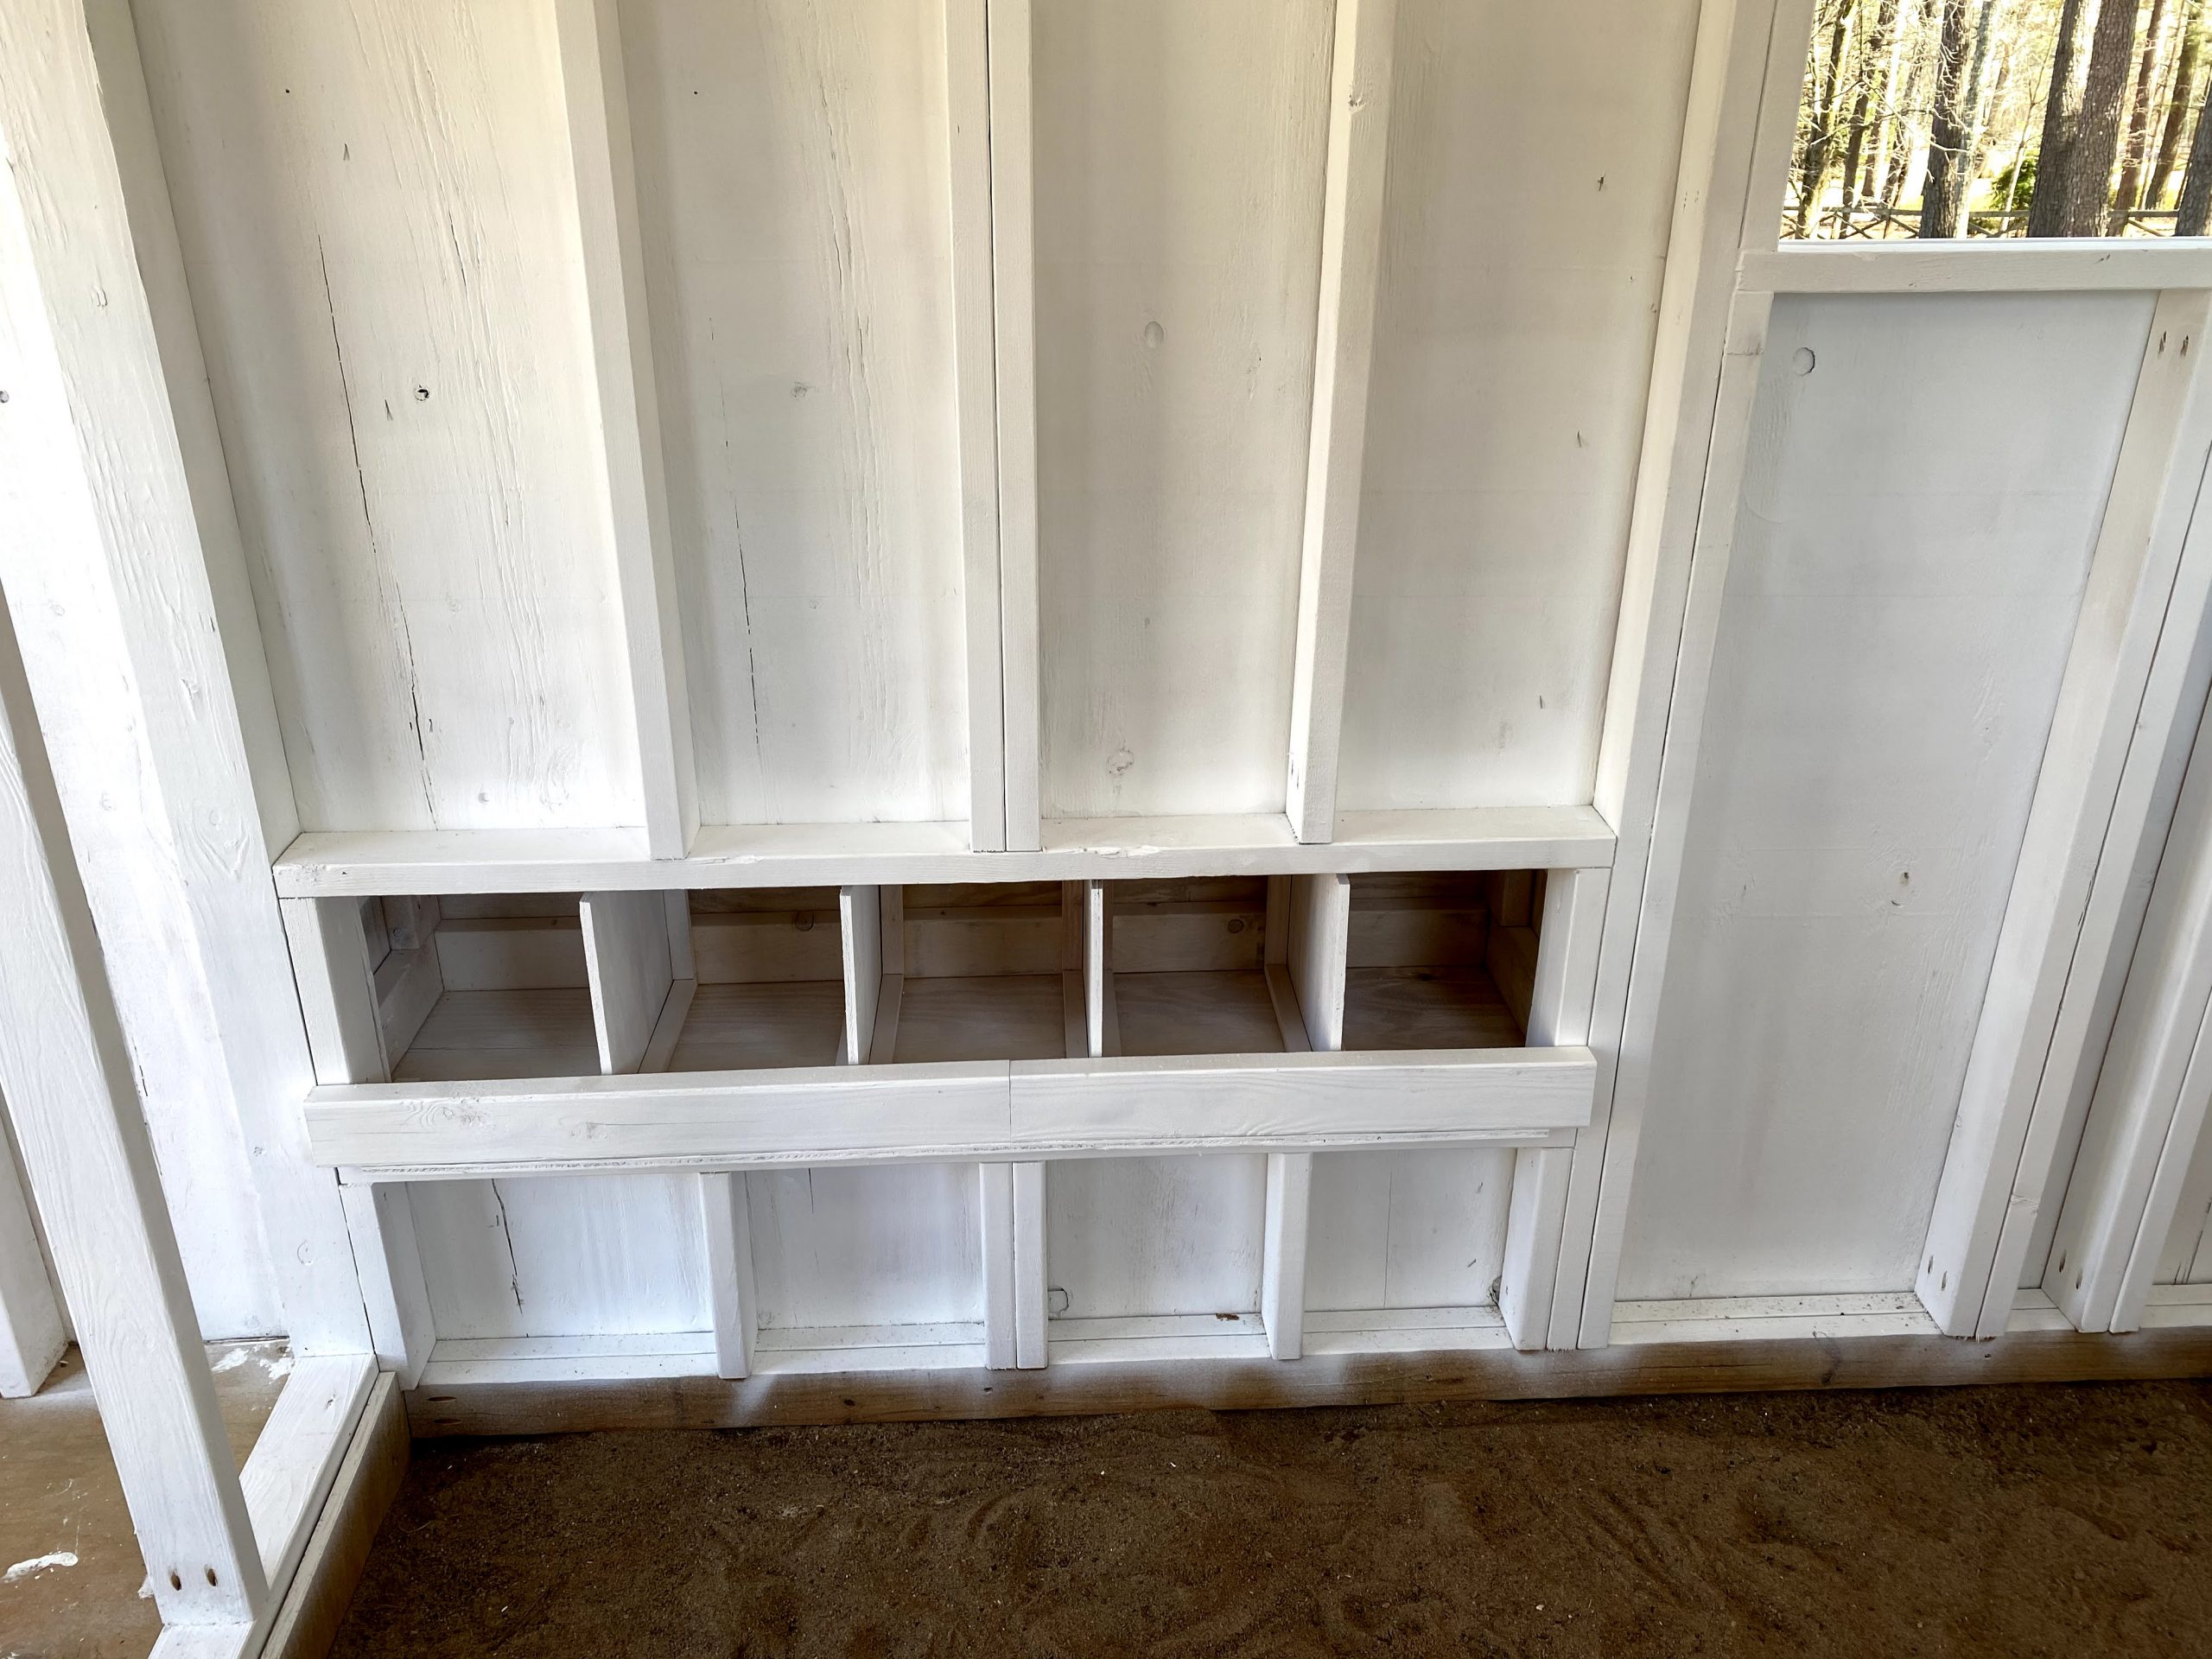
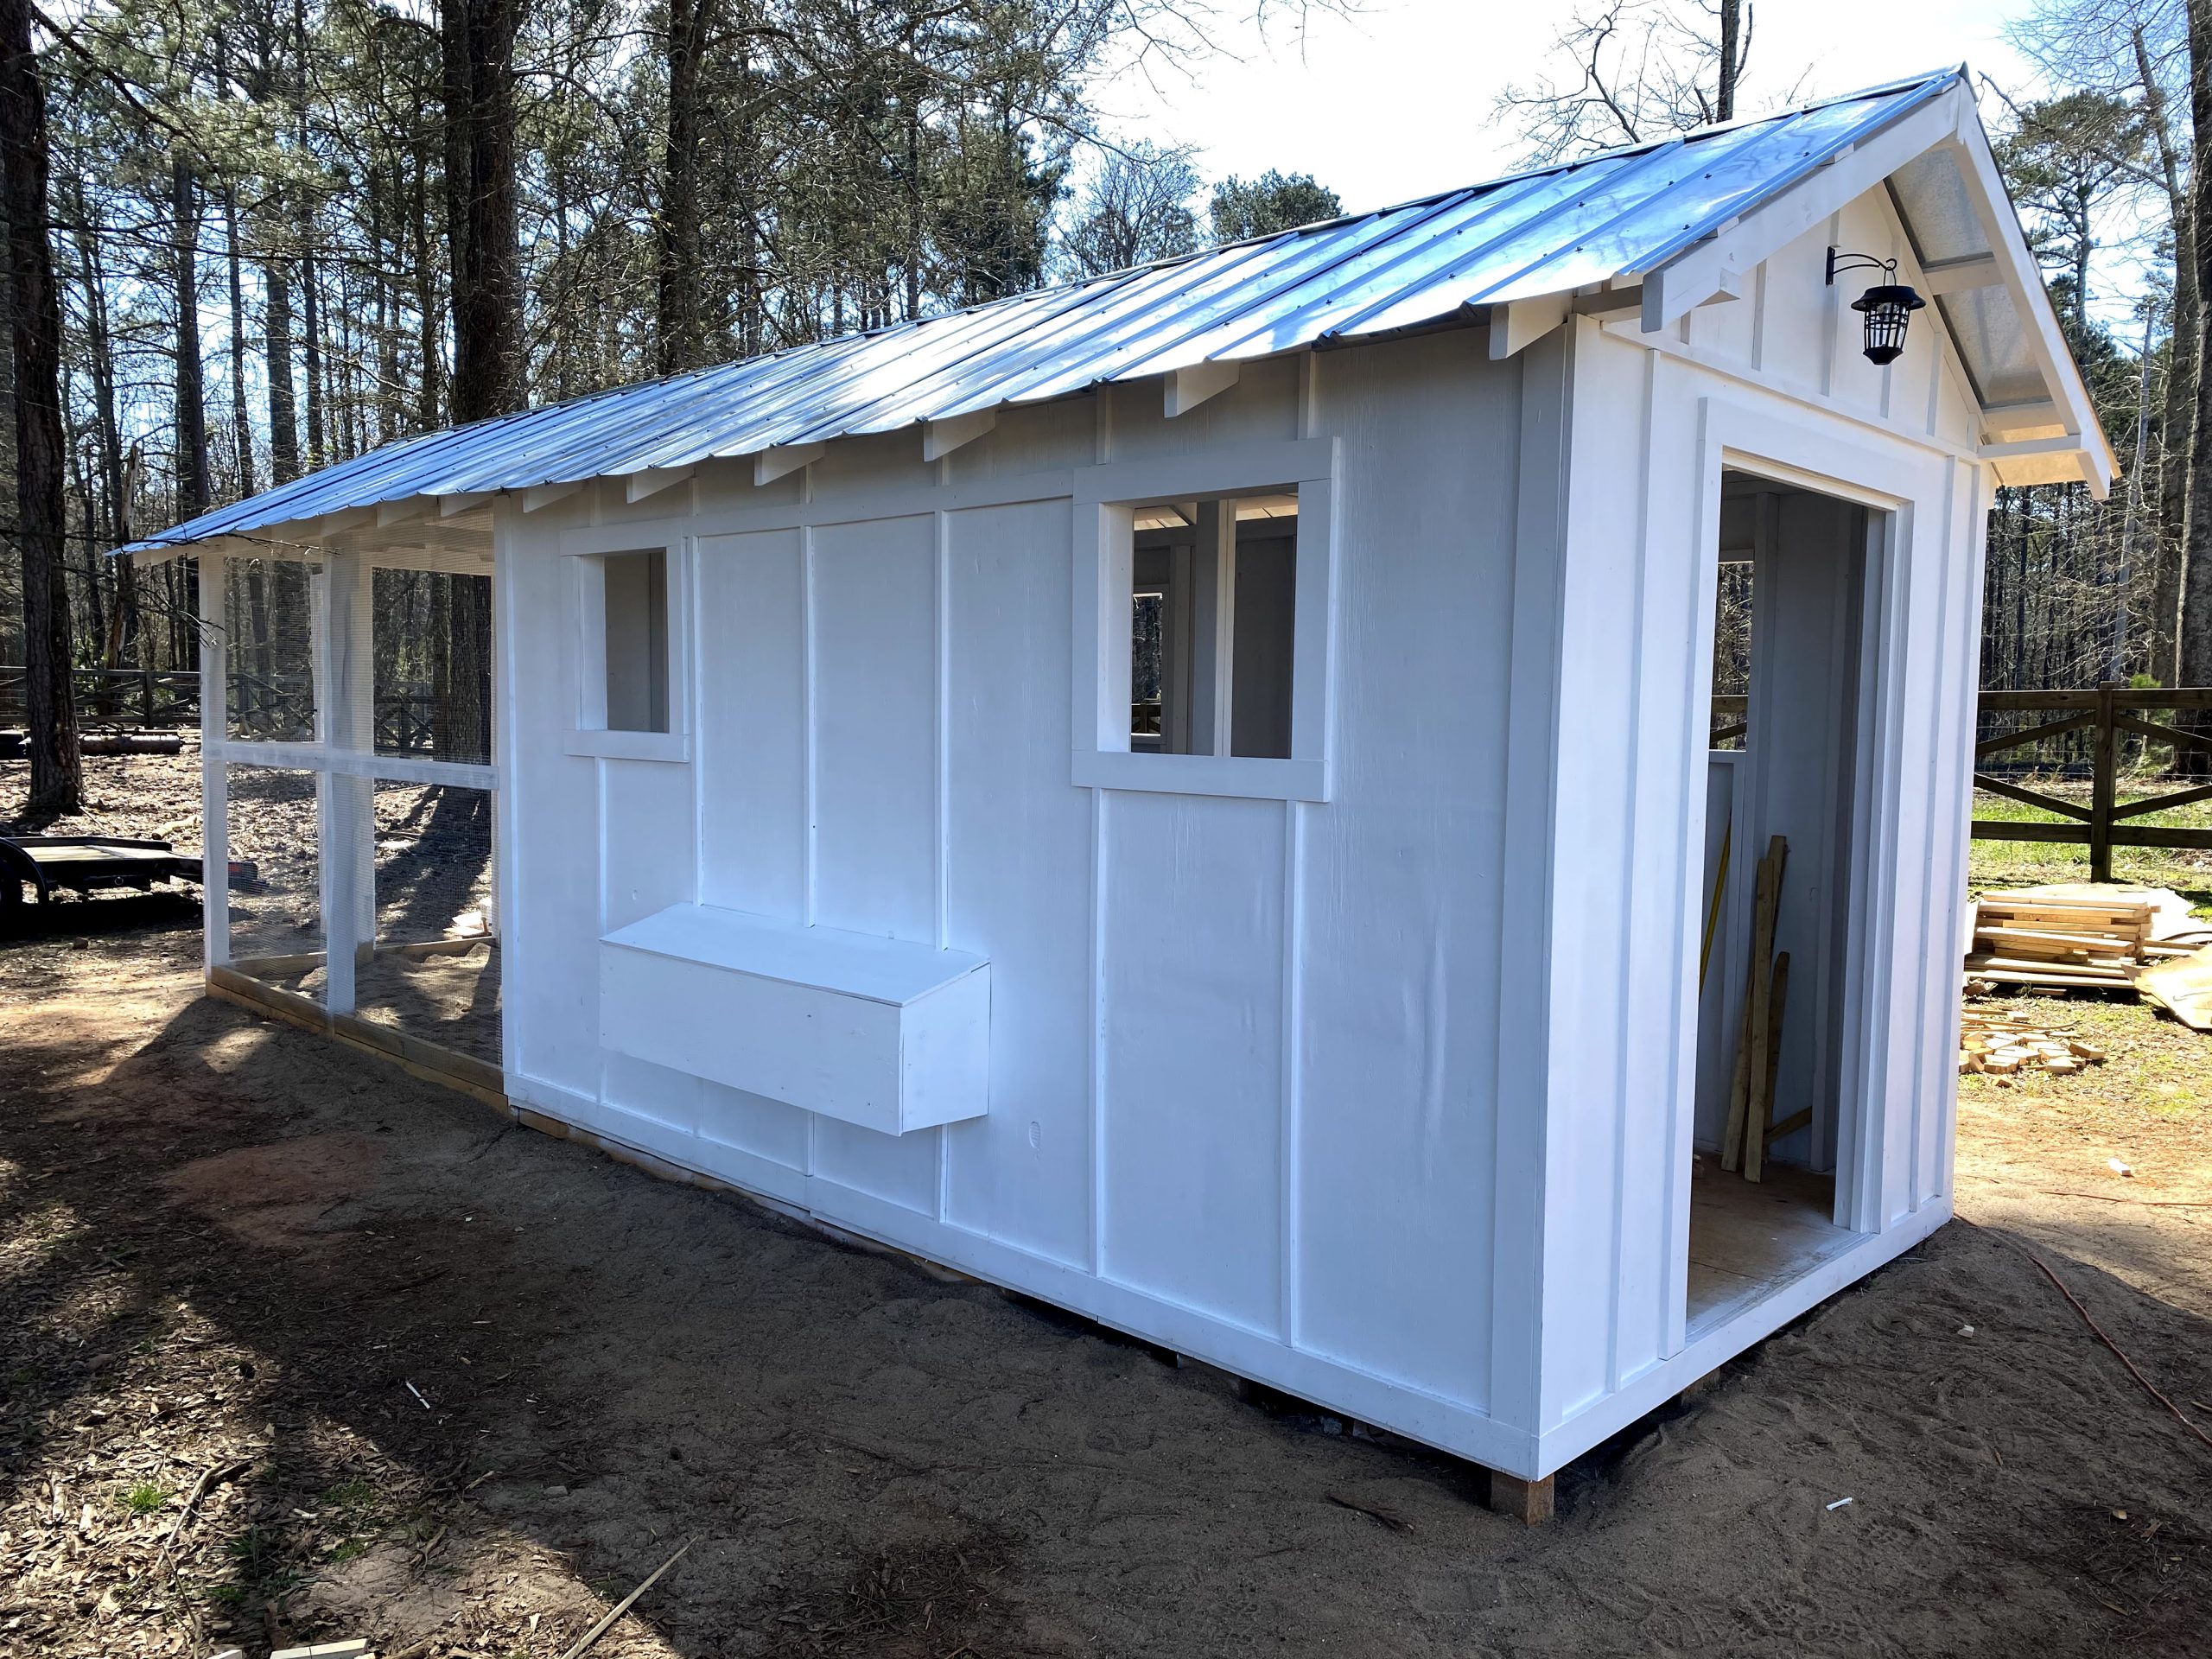
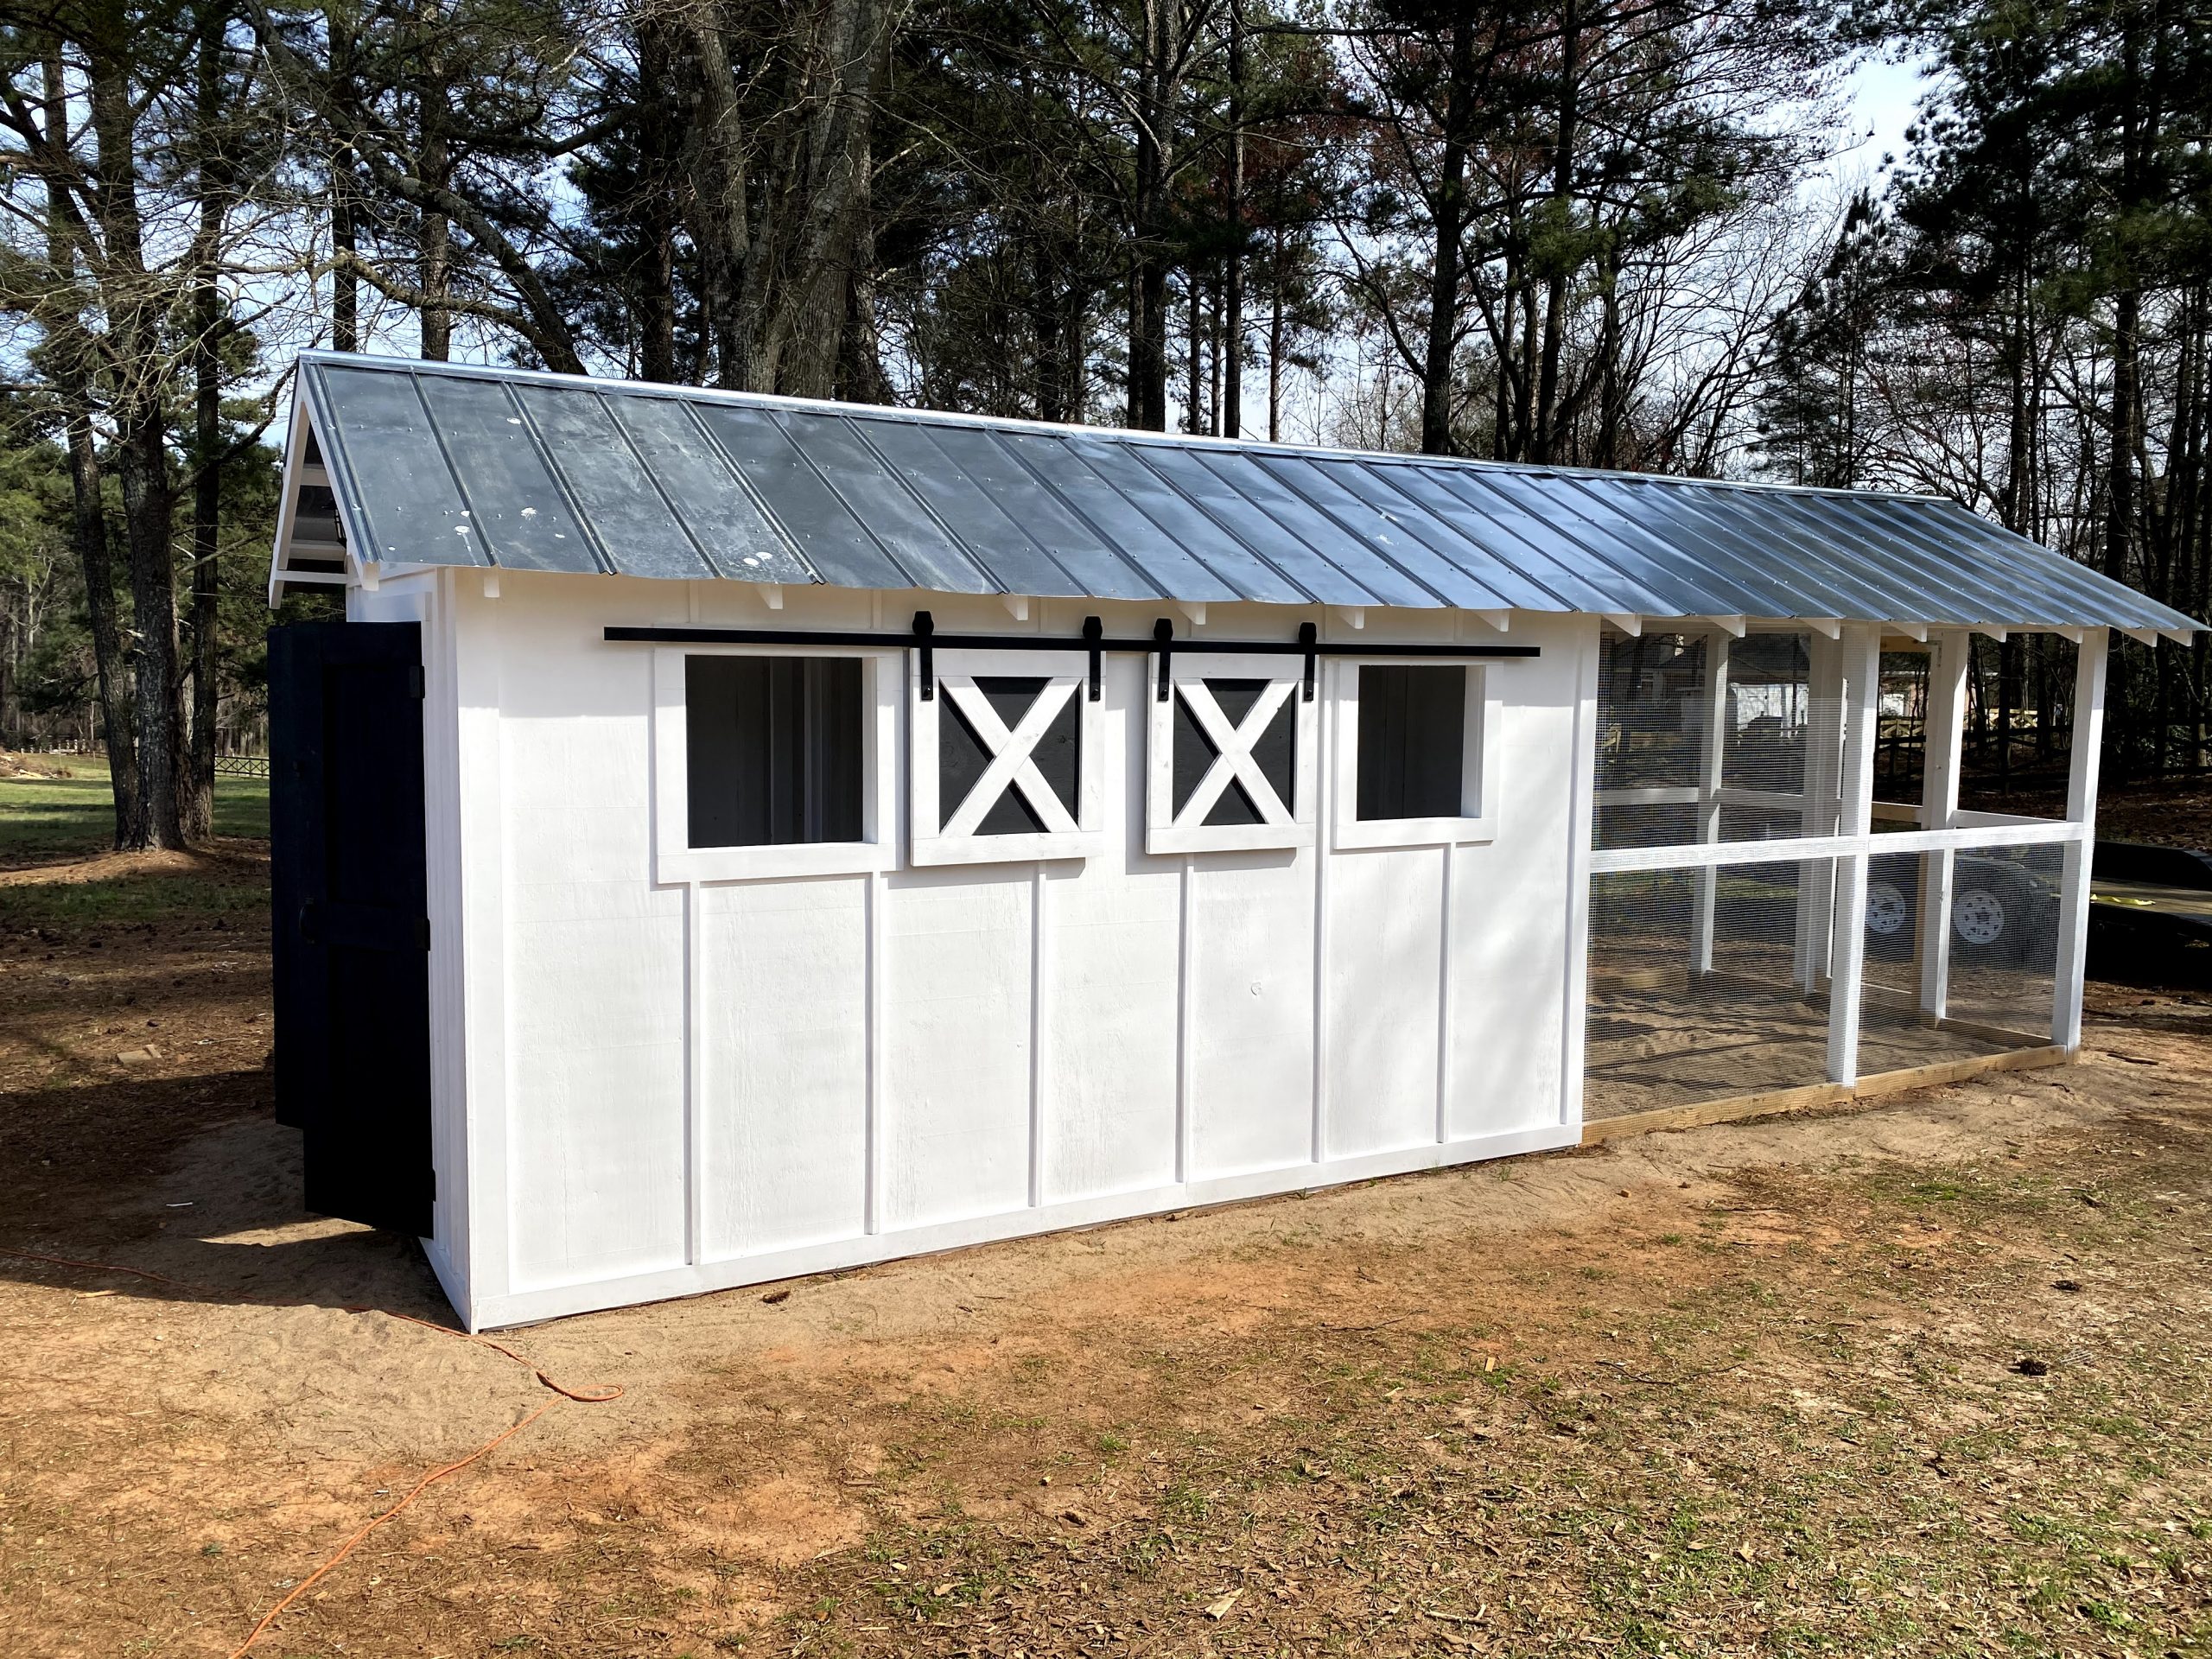


I wasn’t sure how to handle the windows as the original plans were designed for windows that they already had. So, when I was changing the layout of the dry storage room and the nesting box area, I decided to square up two window openings and cover them with sliding window covers. Sorry we stole the white and black color scheme, but it really looks good.
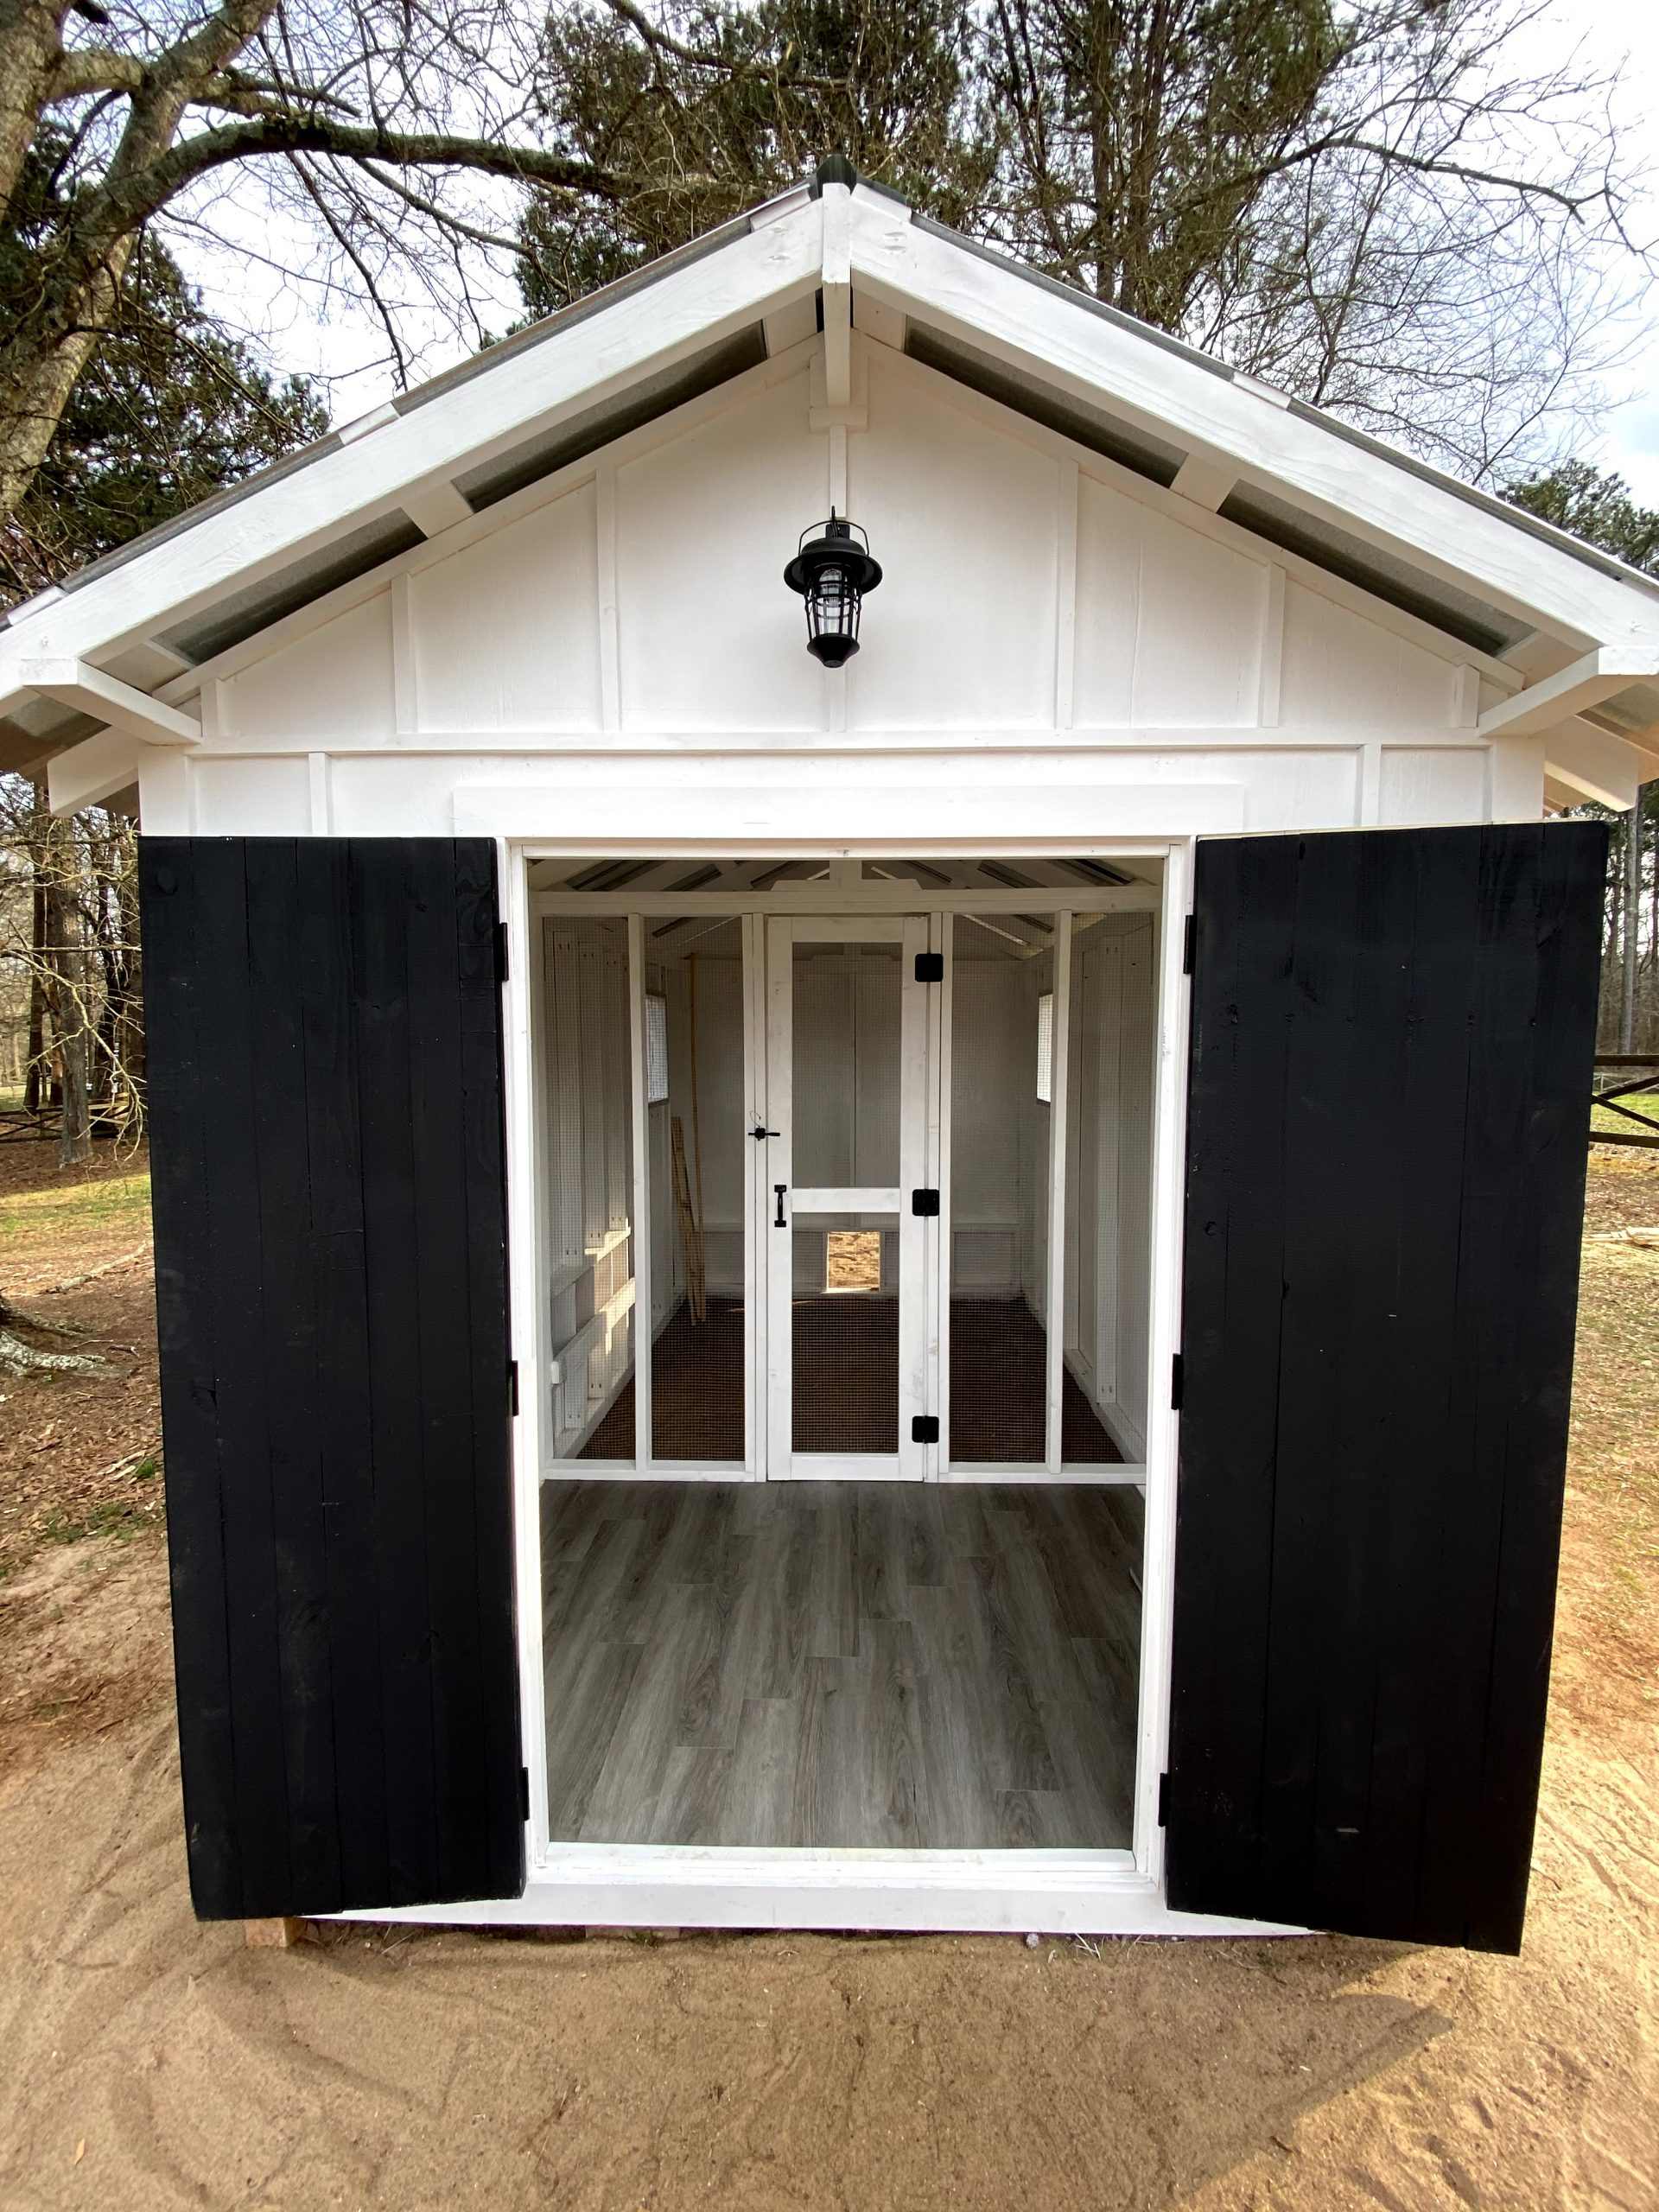
I am extremely happy with the look of this coop. We have now moved the grown chicks and three roosters in with the original 9 inhabitants.
Leave A Comment